
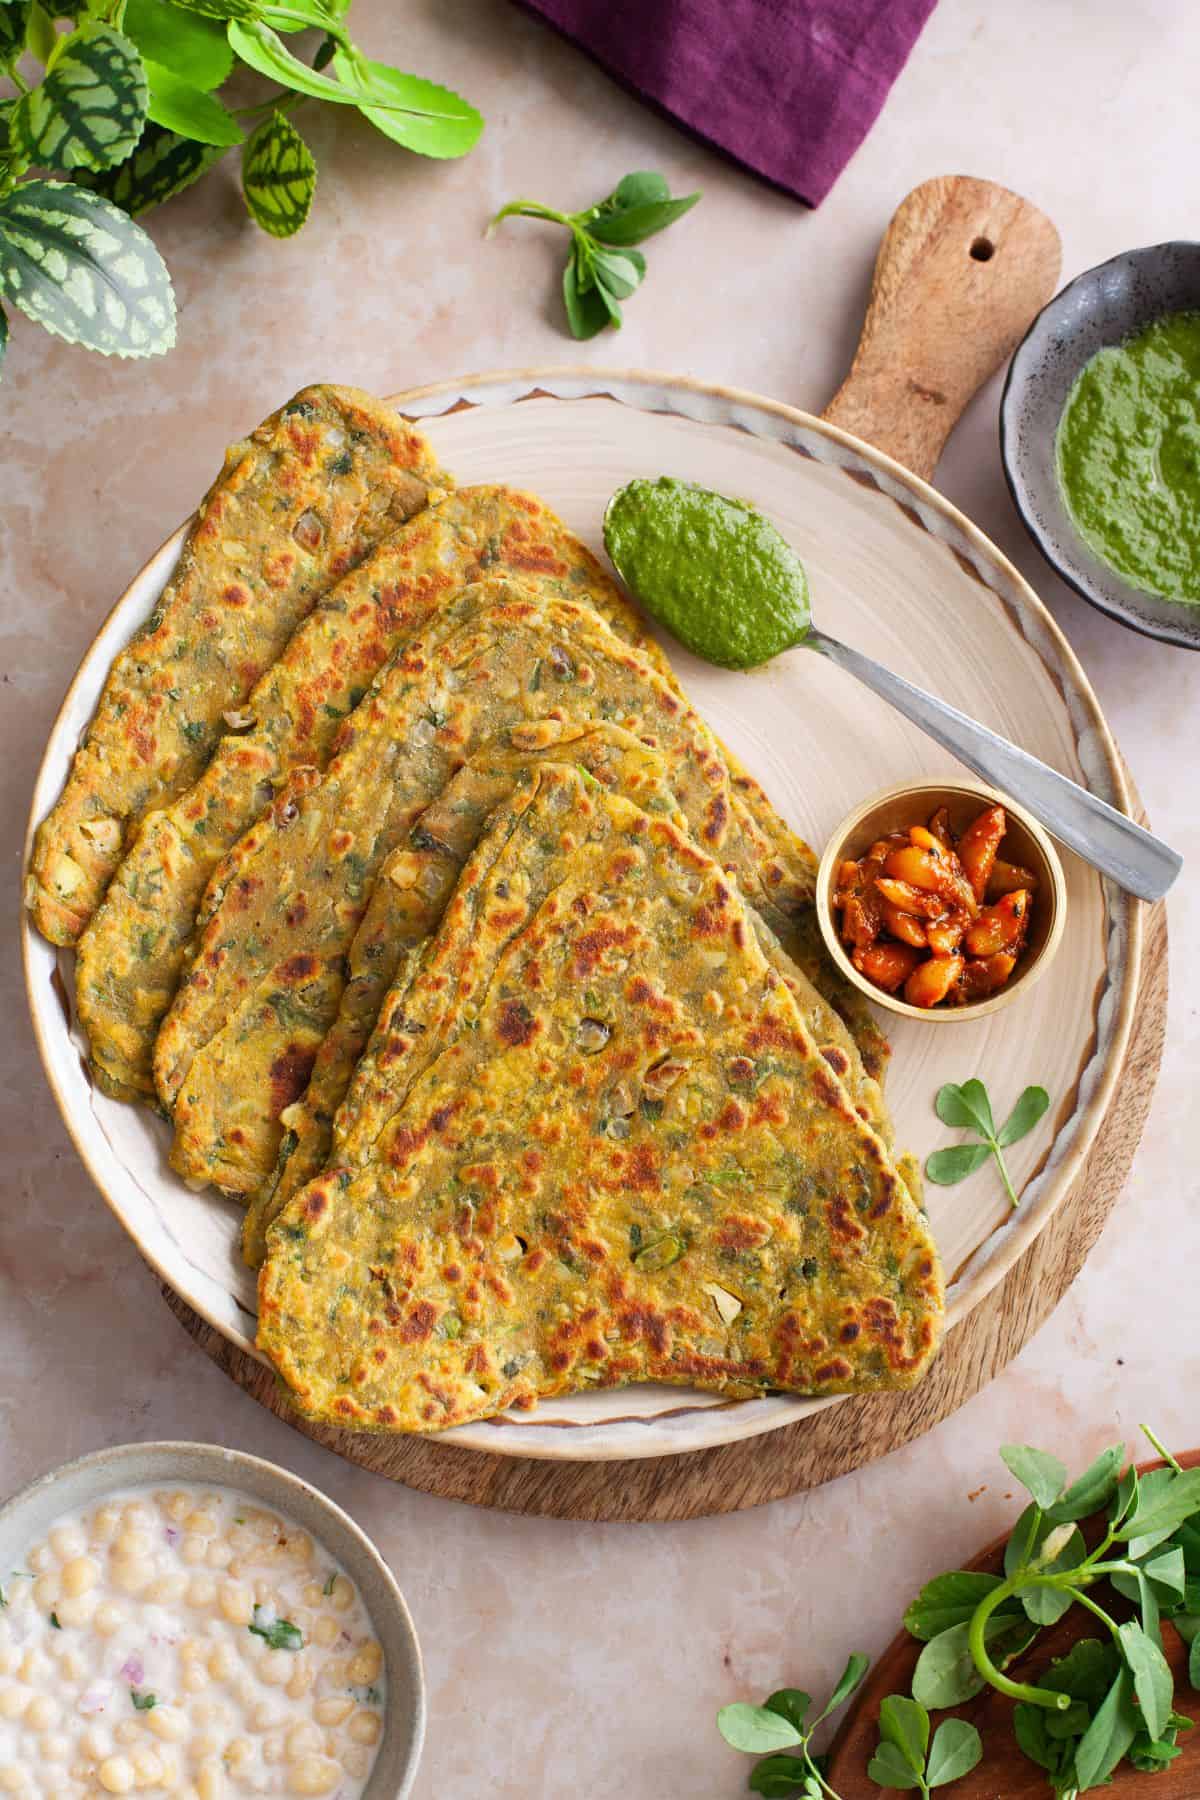
Crispy and golden on the inside and soft & slightly chewy inside with a hint of flakiness, this methi paratha recipe is perfect for winter months when fresh methi is in season! I am sharing lots of tips and tricks in this post to make sure that you won‘t end up with a wet dough (highly likely with dough made with fresh greens/ frozen greens). Pair these parathas with chutneys, or indian achar for breakfast or while traveling.
Indian flatbreads with seasonal greens such as methi or bathua are loved by all in our house. With the addition of few fragrant spices and a touch of ginger and garlic, these methi parathas are pleasantly aromatic and super flavorful. The fenugreek leaves are distributed throughout the dough to create a tender bite.
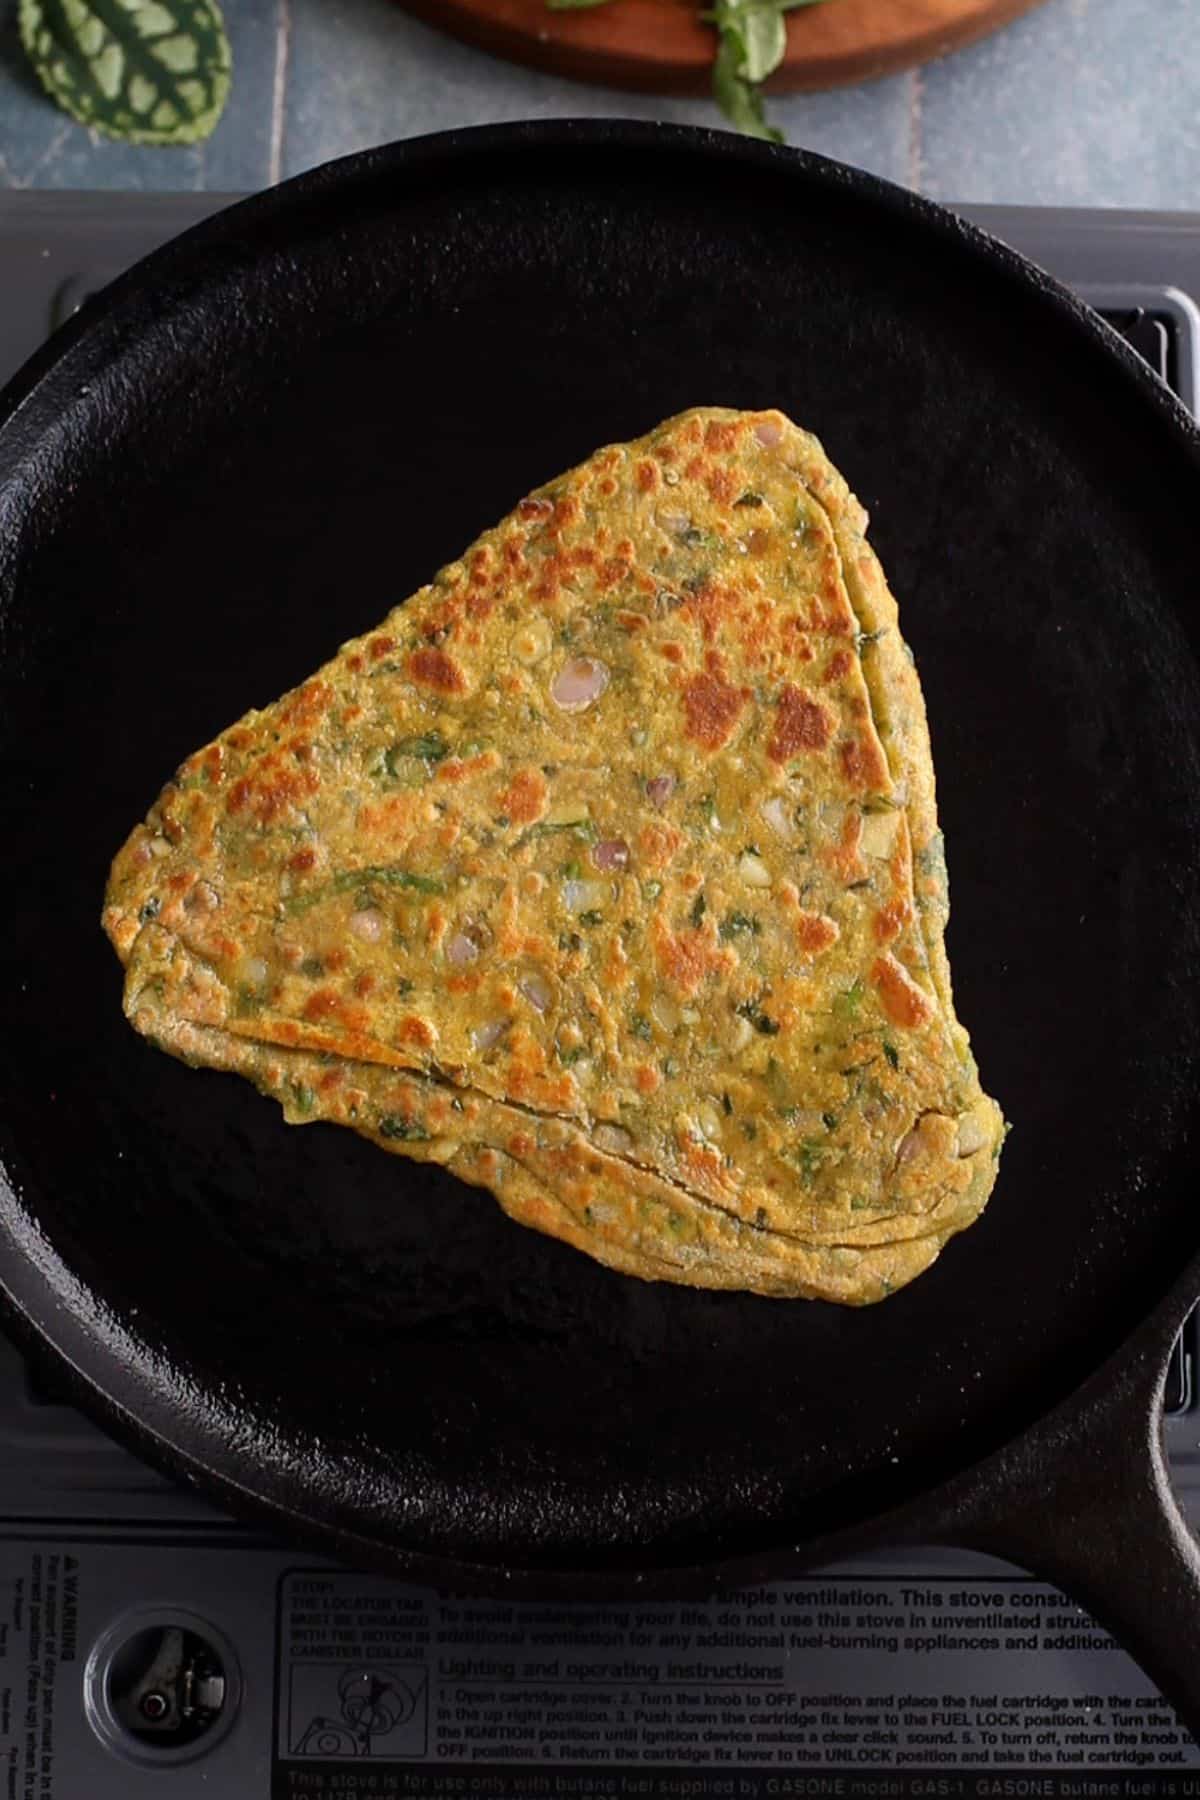
The best part about these methi parathas are that they can be made ahead, in fact you can store them for 2-3 days. When cooked just right, they are soft enough to fold but sturdy enough to hold together when dipped into yogurt or eaten with pickles. You can roll them into simple circular shape, however I usually make triangle shaped because with a brushing of oil in between layers, they are flakier.
These methi parathas are different from the aloo methi paratha I shared a couple of years ago. Unlike the stuffed version, which features a mashed potato and methi filling, these parathas are made without any stuffing.
Methi Leaves
Methi, or fenugreek leaves, is a seasonal winter green widely used in Indian cuisine. There are countless methi dishes, and it comes in a few varieties, differing mainly in aroma, bitterness levels, and leaf size.
Growing up, my mom and grandmother swore by desi methi, which is intensely aromatic but could be quite bitter. In fact, there was always a bit of fuss over managing its bitterness. Interestingly, the fresh or frozen methi I find at Indian grocery stores here in United States is rarely bitter—a lucky break! Because of this, I’ve never felt the need to soak it in salted water or blanch it before use.
That said, it’s always a good idea to taste a few leaves from your bunch before cooking. While some bitterness is characteristic of methi, excessive bitterness can ruin your parathas.
I use fresh methi to make these parathas, but frozen methi works well in a pinch. Be sure to thaw the frozen methi thoroughly before use. Since it typically comes in compact blocks, it's a good idea to plan ahead to ensure it's ready when you need it.
10 Tips for Perfect Methi Paratha Dough
- Avoid using a chopper. Food processors (even on pulse mode) result in over processed methi leaves which get watery as well as bleed green color into the dough.
- Instead, chop the methi leaves by hand, aiming for a medium chop rather than a fine one. This helps retain their texture and prevents the dough from becoming soggy.
- Add water very slowly and feel the dough. As we knead the dough, methi starts releasing its juices and those add to the moisture of the dough.
- Keep the dough soft yet firm and pilable. It should not become overly wet since methi will release its moisture while resting.
- Be cautious with the salt in the dough, as it can draw out moisture from the methi leaves. As a result, the dough can become too soft.
- While you can cook the methi parathas ahead of time, make the dough right before when you're ready to start cooking.
- For softer parathas, you can replace some of the water with yogurt when kneading the dough.
- These parathas are best made and enjoyed fresh right away. Storing the dough for too long can lead to oxidation, which affects both its appearance (causing it to darken) and its texture and elasticity.
- Don’t skip the oil! We are adding besan (gram flour) to the dough and since besan has a naturally dry texture, adding oil helps to make the parathas softer.
- Lastly, don't skip on resting the dough.
How To Make Methi Paratha
Prepare the Methi
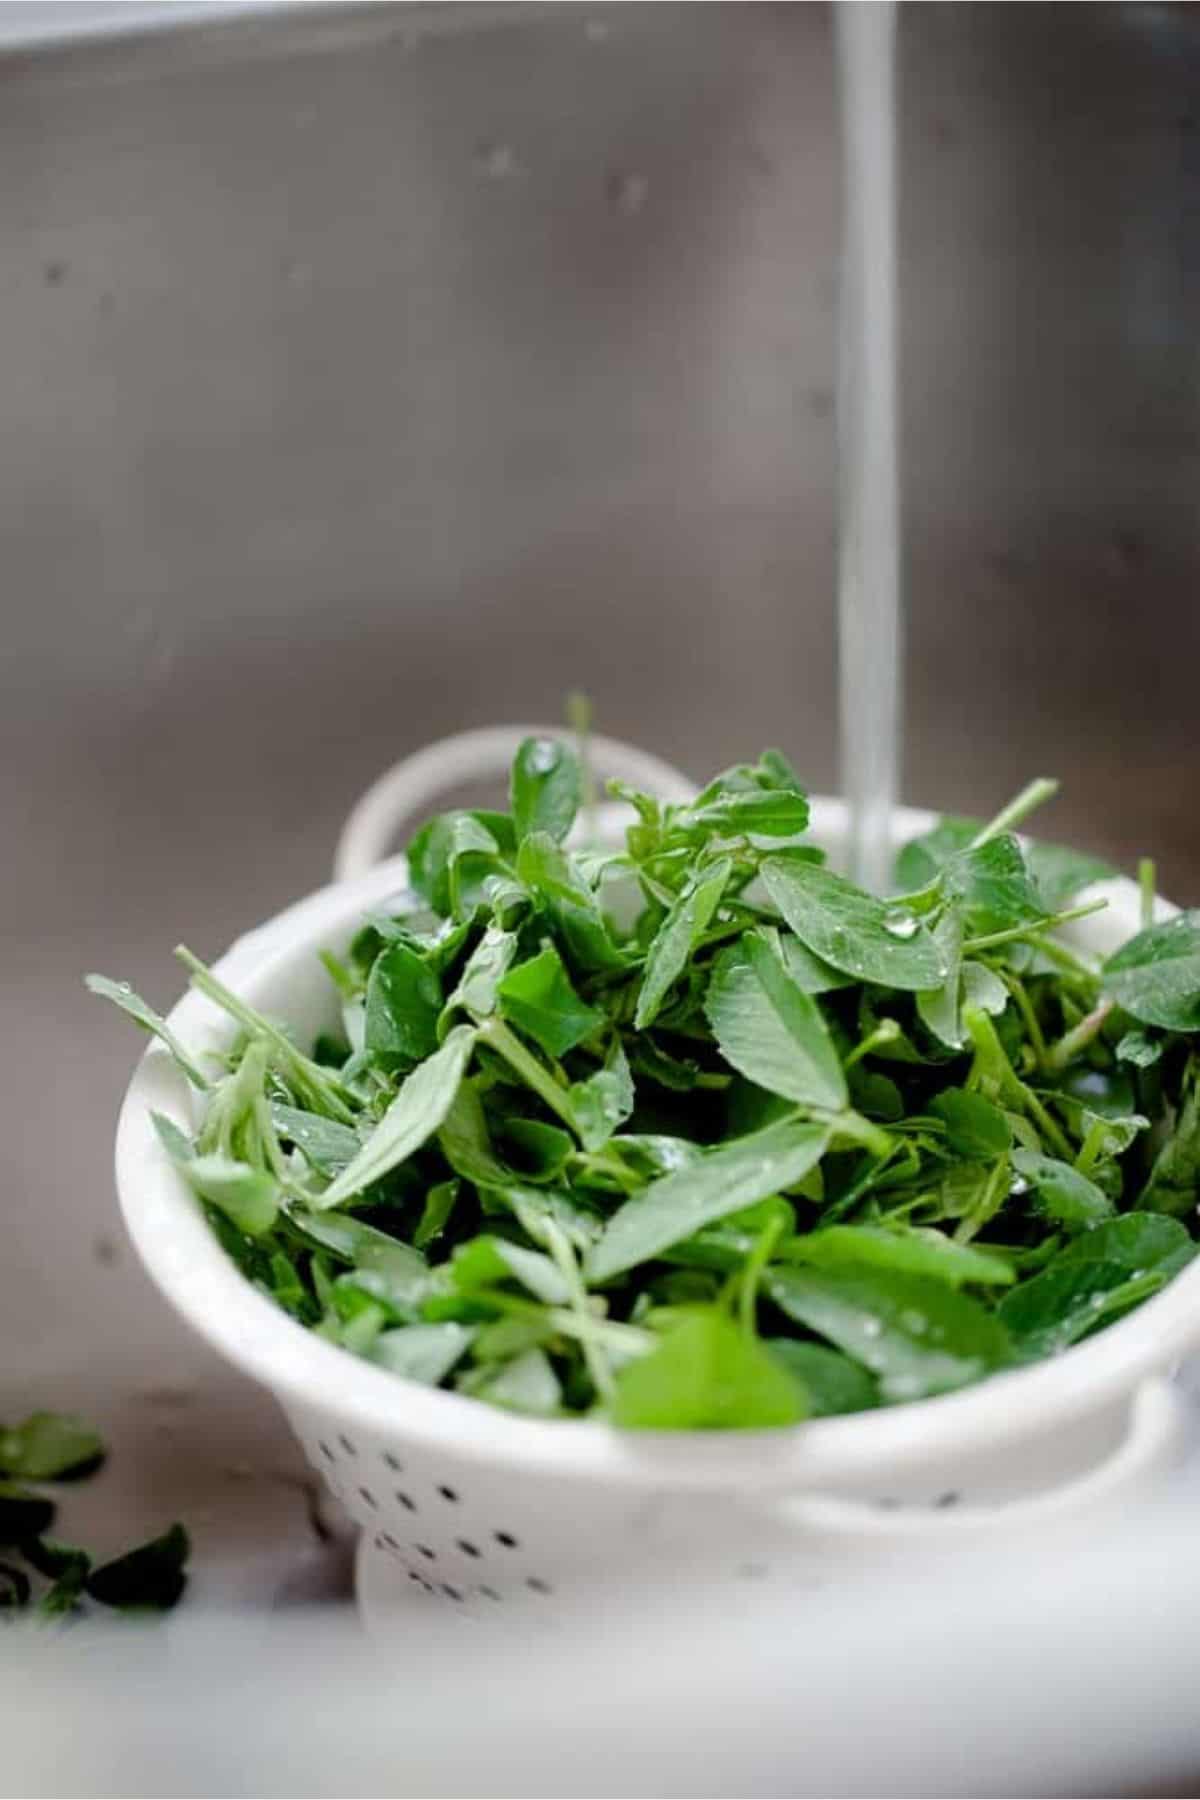
- Fresh Methi - Pick the methi leaves from stems. Discard the stems. Wash the leaves thoroughly in water 3-4 times or as needed so that all the dirt is washed away. Drain them completely. You don't need to dry them out but make sure that methi is not watery. Use a paper towel if needed.
- Frozen Methi - If you are using the frozen variety, let methi blocks thaw fully or overnight. Squeeze out the water from the leaves and if needed chop it.
- Chop the methi leaves. Keep ready.

Make The Methi Dough
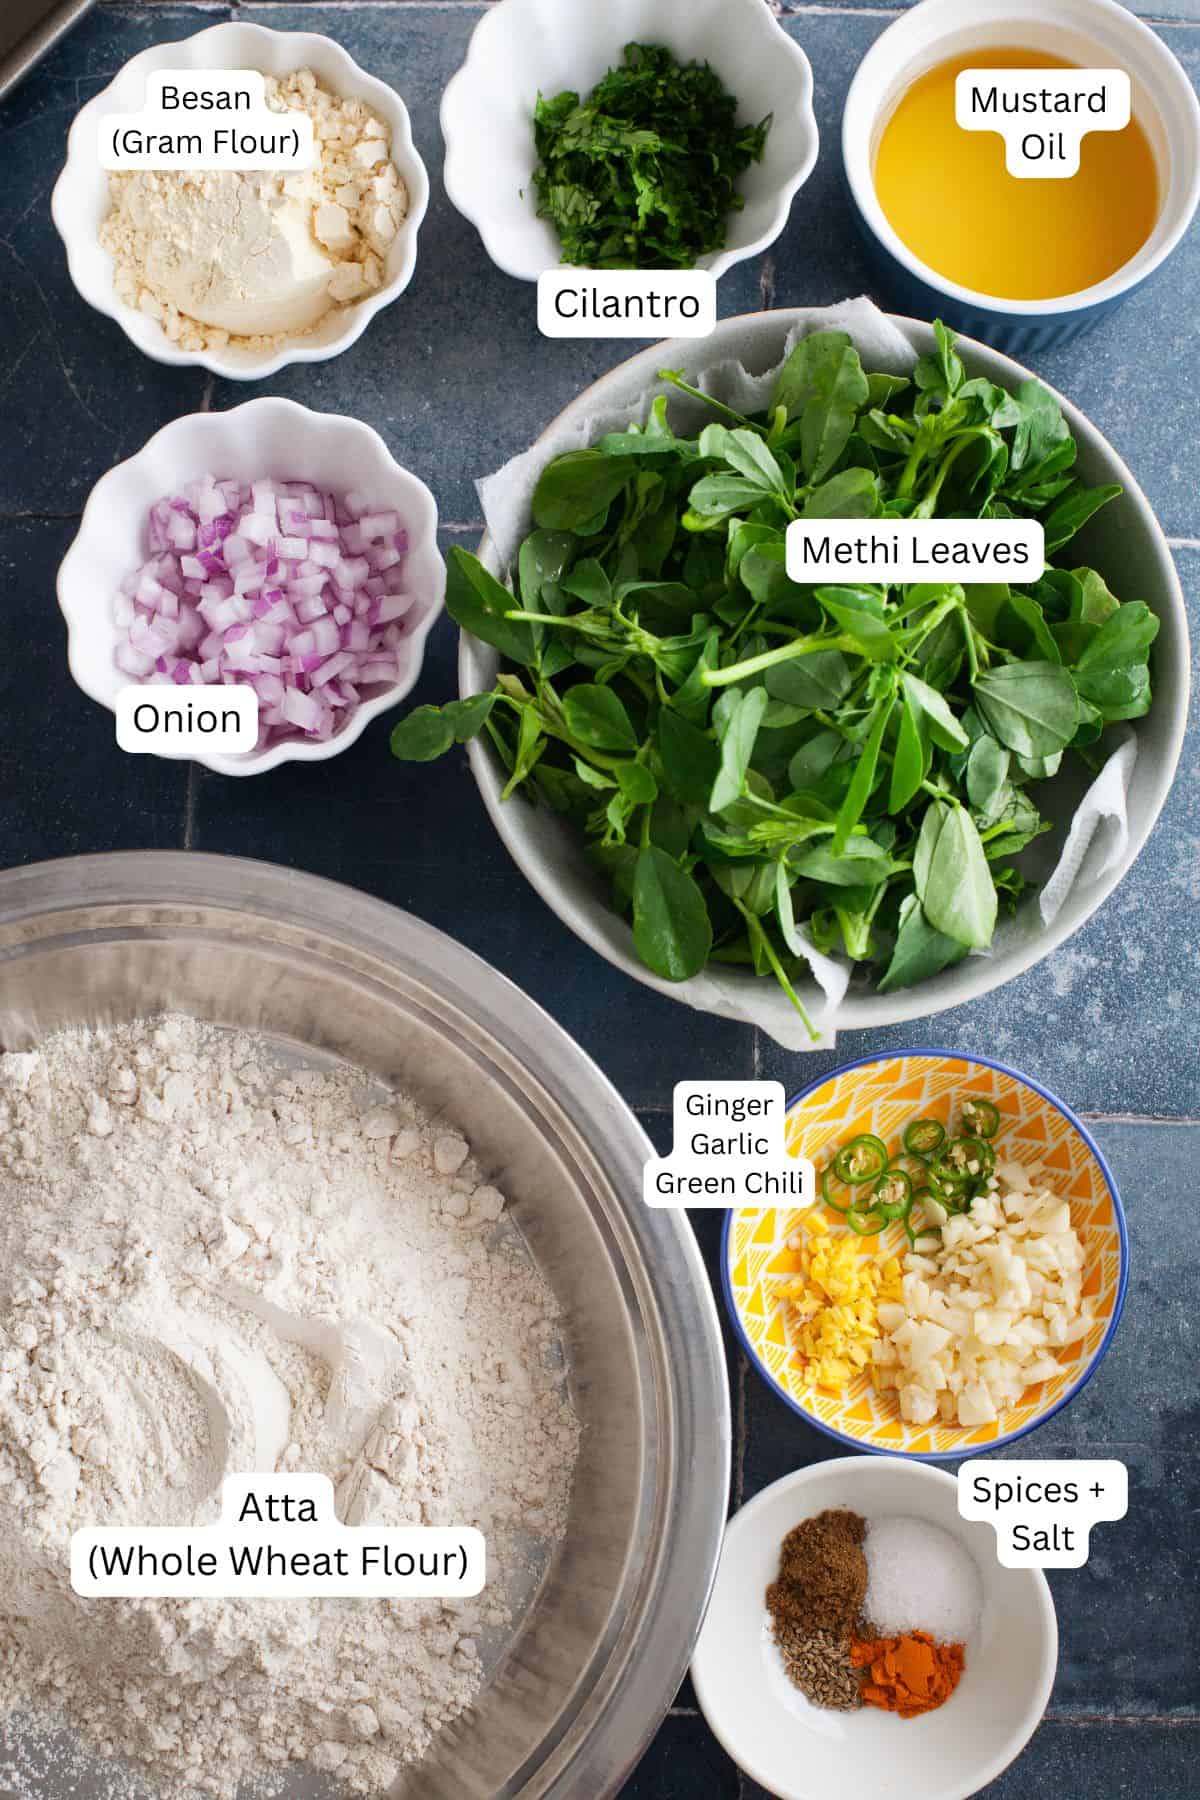
- In a large mixing bowl, combine the atta and besan flours, ajwain, hing, cumin powder and turmeric powder. Add the oil and rub it into the flour mixture using your fingers until it resembles coarse crumbs.
- Toss in the chopped methi leaves, onions, garlic, cilantro, ginger, and green chilies. Mix thoroughly to distribute the flavors evenly.
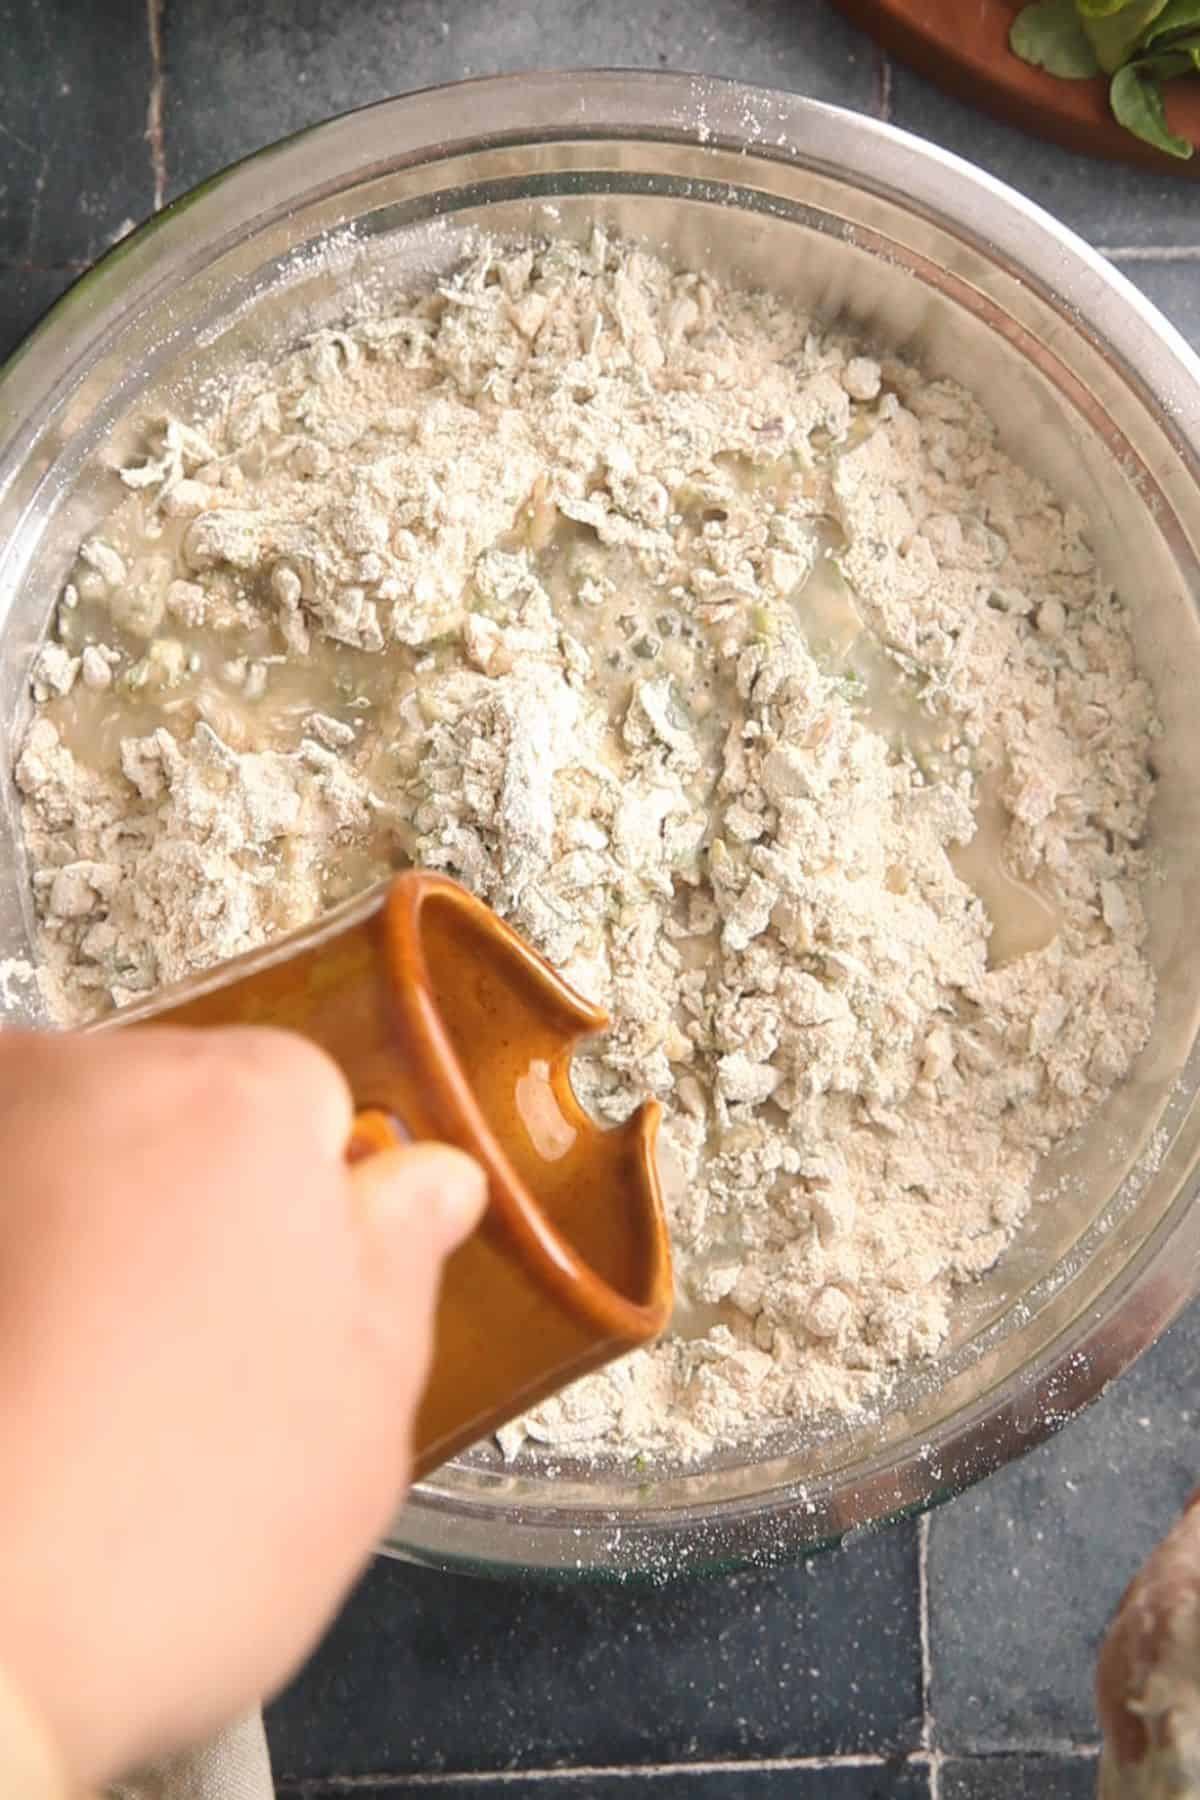
- Gradually add small amounts of water while mixing until the dough starts to come together. Once it clumps into a rough ball, begin kneading.
- Use your knuckles to flatten the dough, then gather it towards yourself using your palm and fingers.

- Continue kneading with your knuckles for 5–6 minutes, flattening and gathering repeatedly.If the dough feels tight or dry, sprinkle a little water (but avoid over-wetting it).
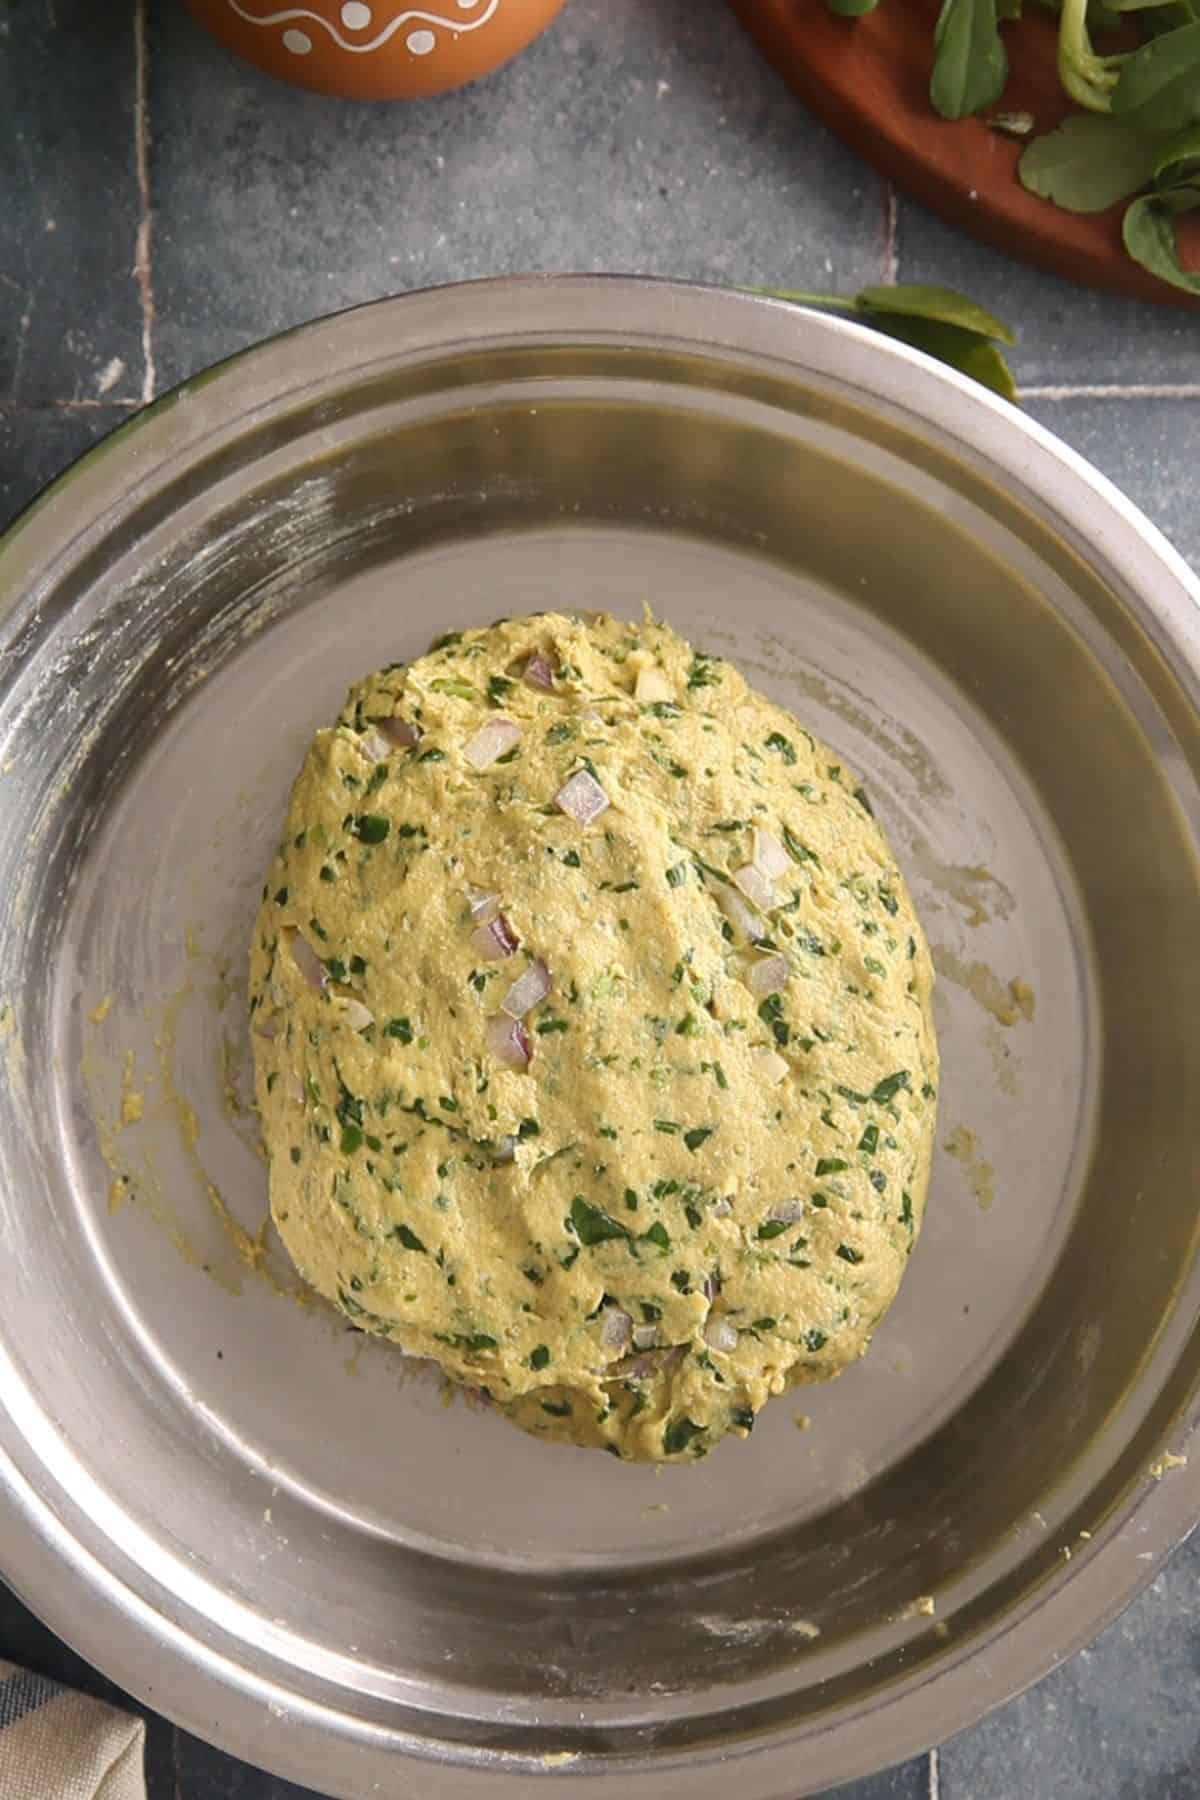
- In the final 1–2 minutes, add a teaspon of oil and knead to make a smooth and firm dough. It should not be too soft.
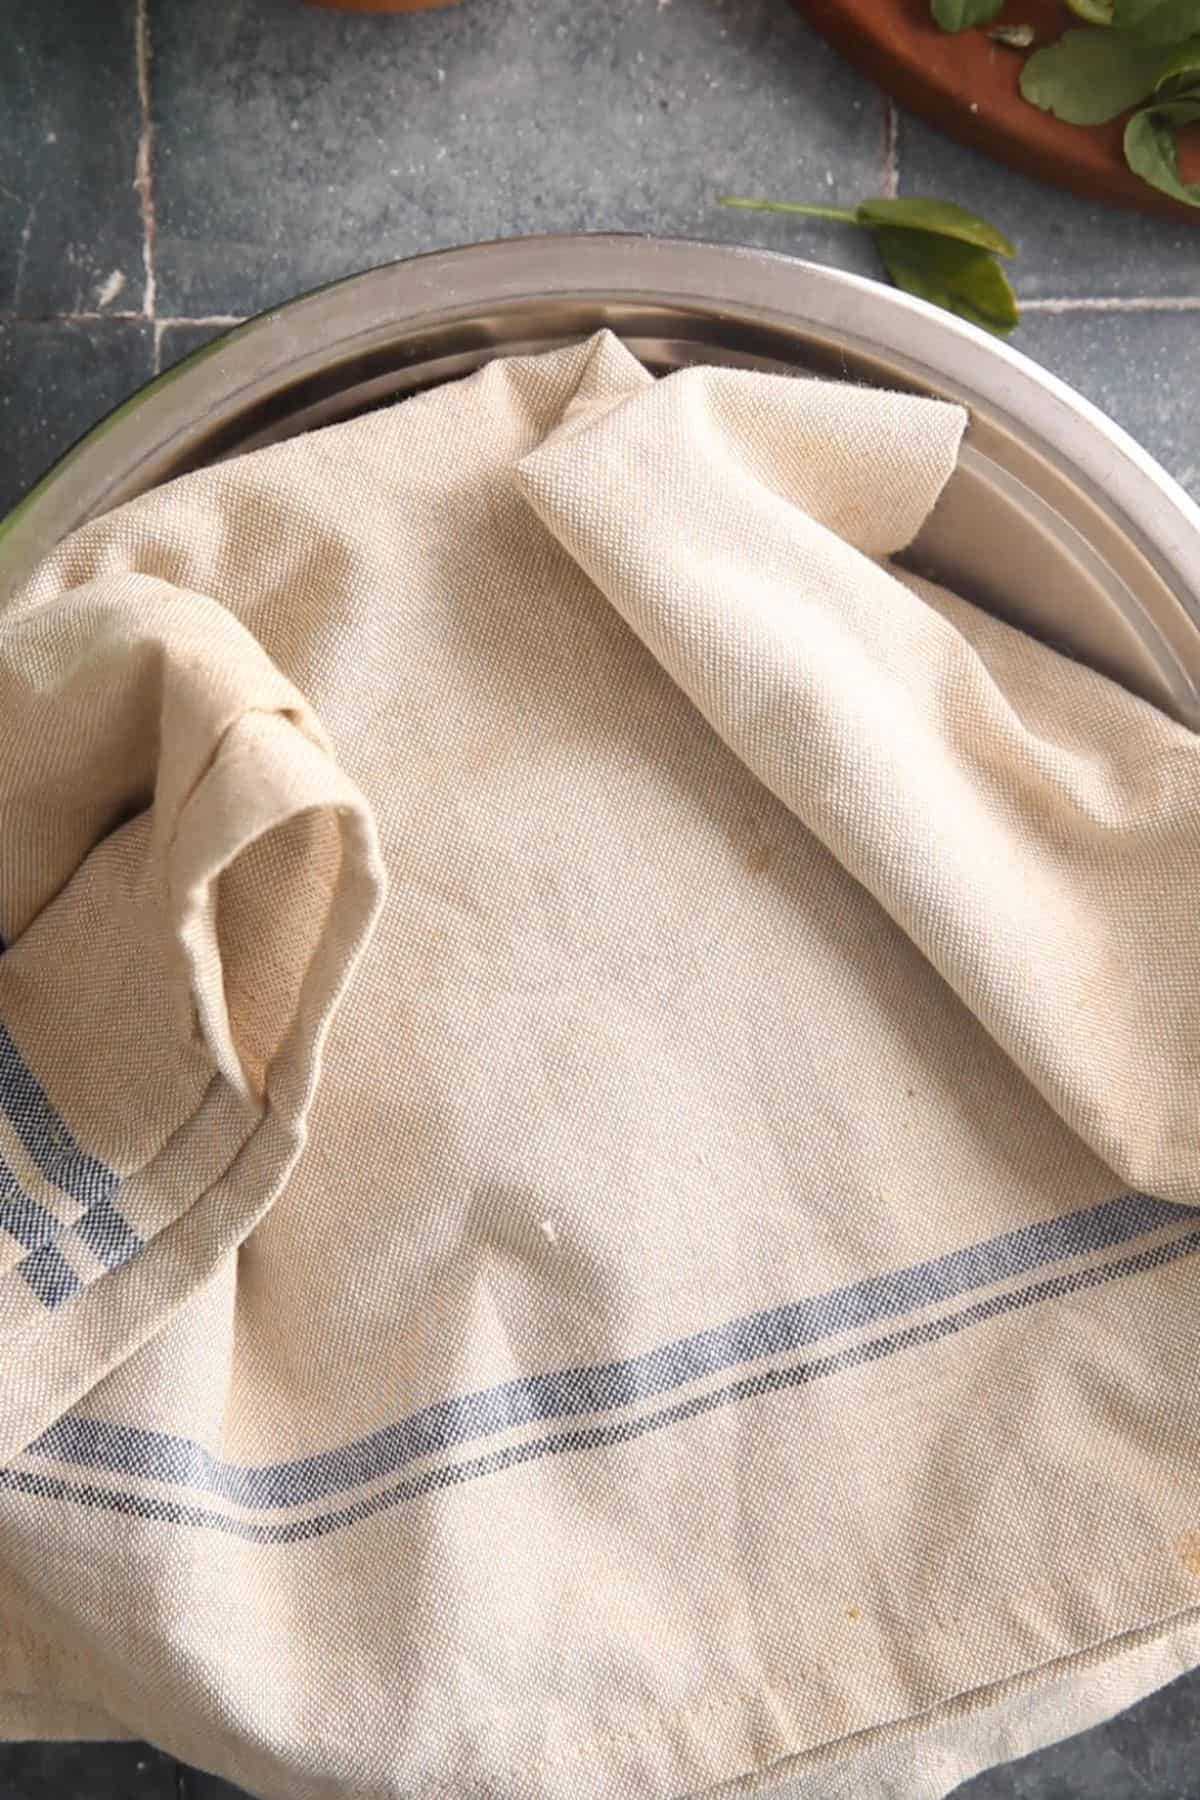
- Cover the dough with a kitchen towel and let it rest for 15–20 minutes. During this time, it will soften further and be ready for rolling.If you are not planning to make parathas right away, place the dough into an air tight container with lid and refrigerate for 2-3 hours.
Roll and cook the paratha
- Uncover the dough and divide it into equal portions.
- Take each portion in your palms and roll it into a smooth ball. Flatten slightly to form discs.Keep some loose atta (flour) on a plate for dusting.
- Place a dough disc on a floured rolling surface. Use your fingertips to lightly flatten the edges.
- Begin rolling with a rolling pin, dusting the surface and dough as needed.Roll into a circle about 3 inches in diameter.
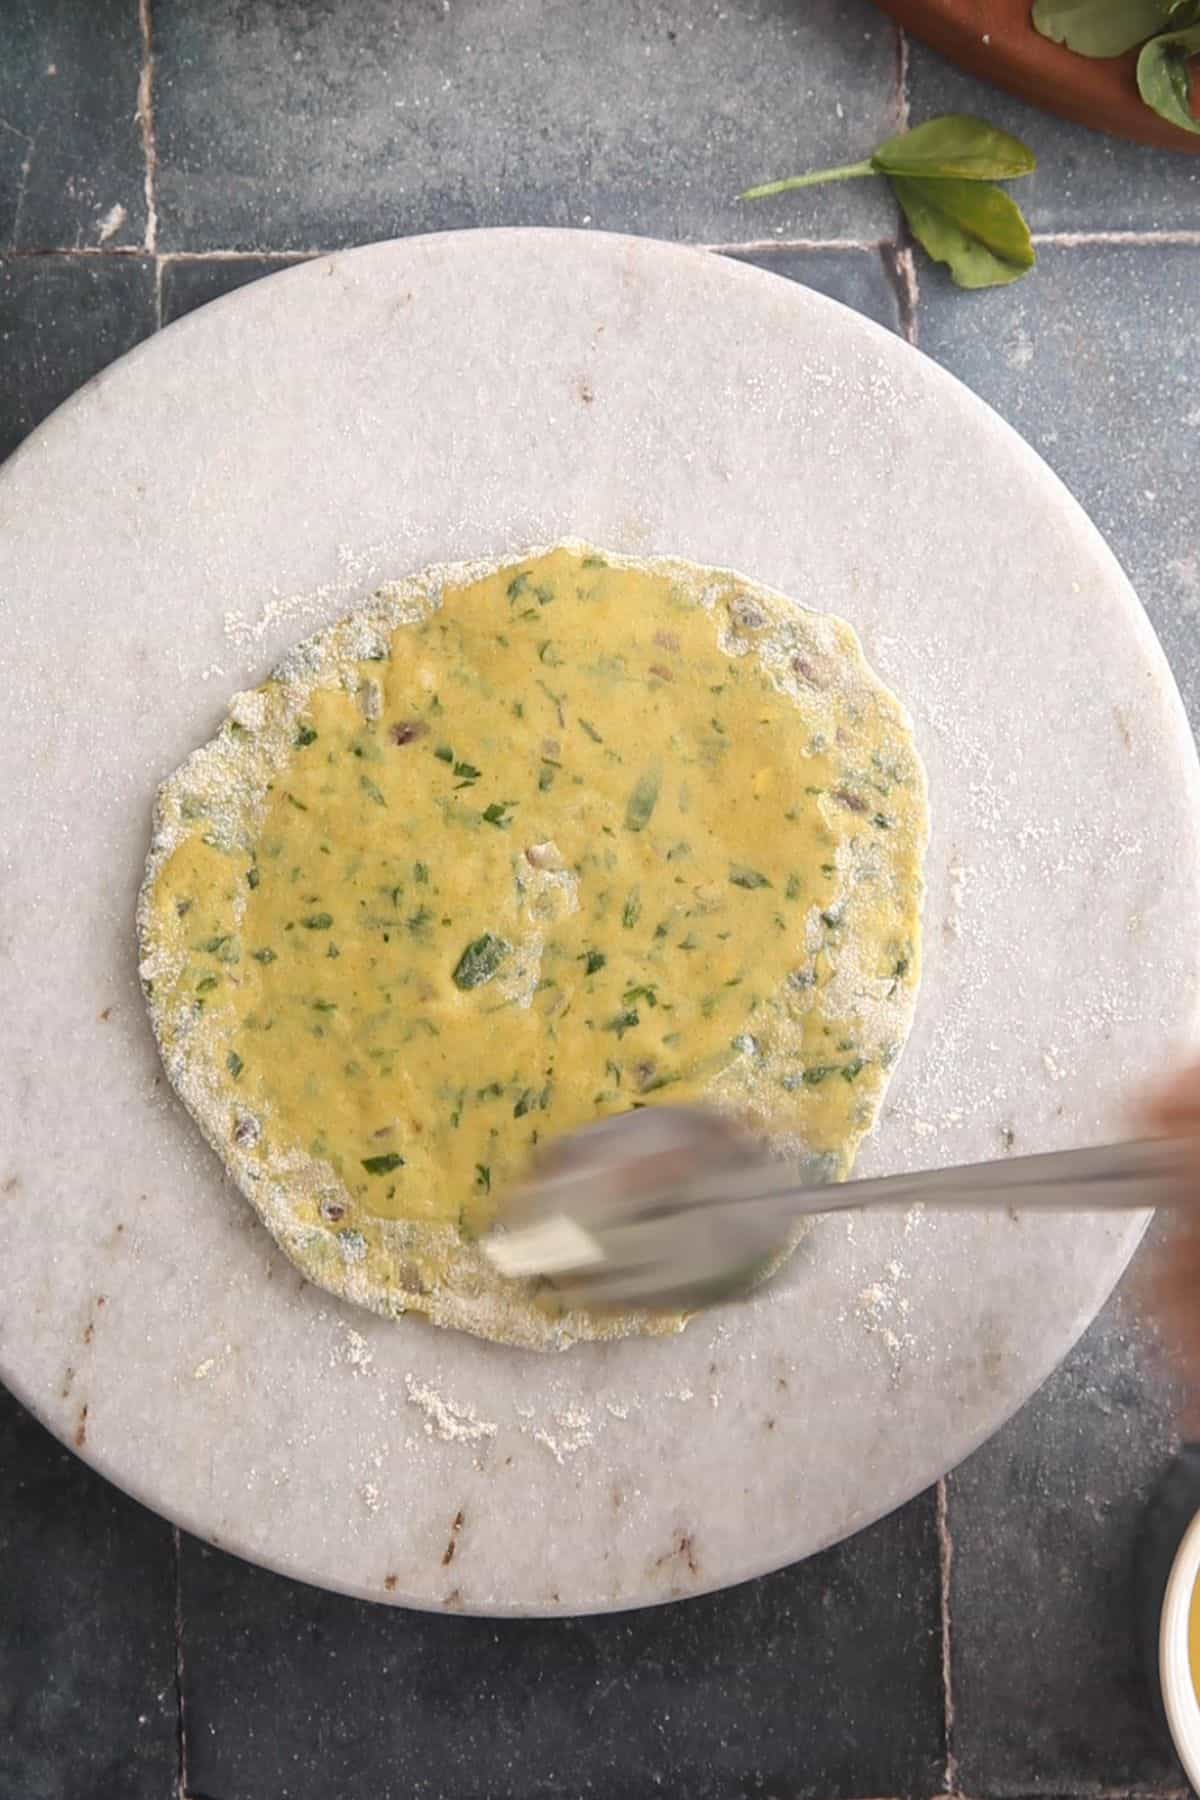
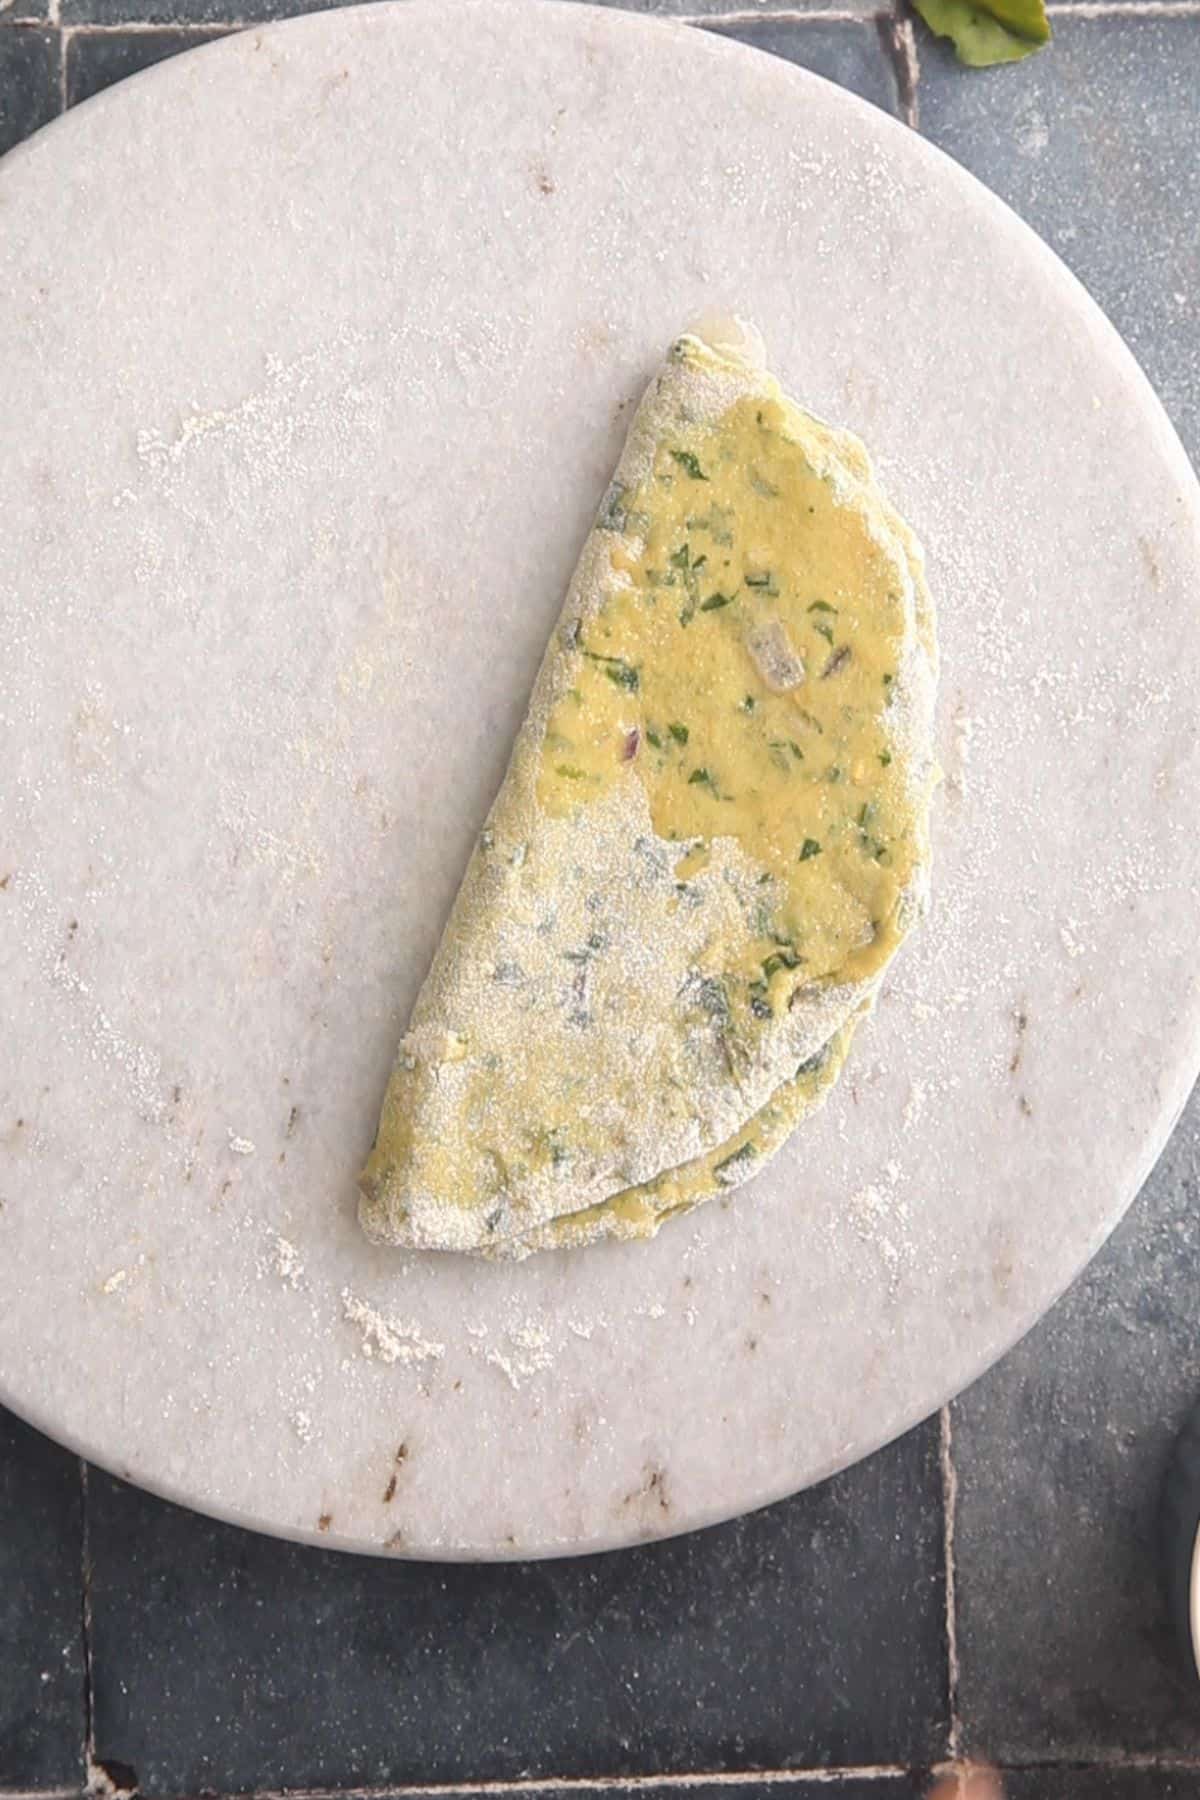
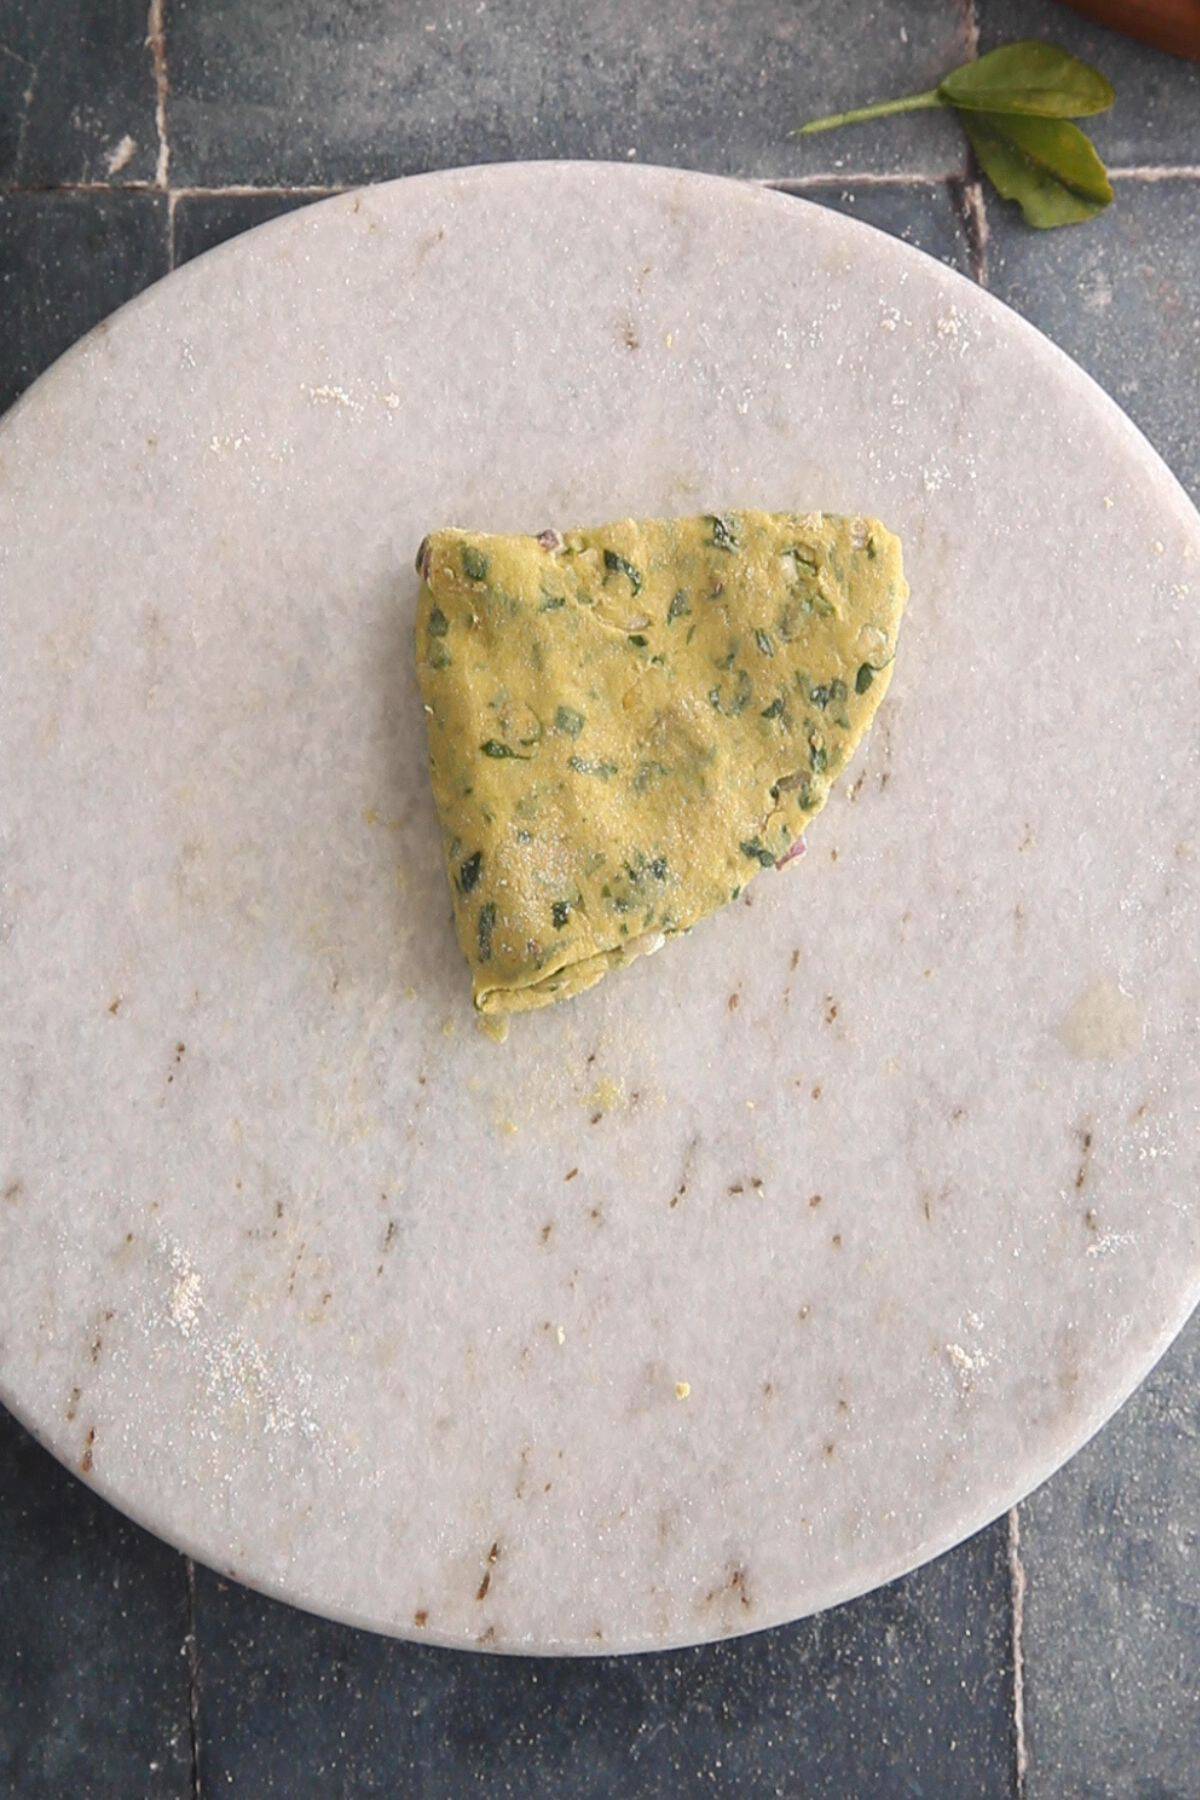
- Brush a little oil over the surface.Fold the circle into a semi-circle, brush with oil again, and fold once more to form a triangle.Sprinkle flour on the triangle and roll it out gently to ¼-inch thickness, maintaining the triangle shape.
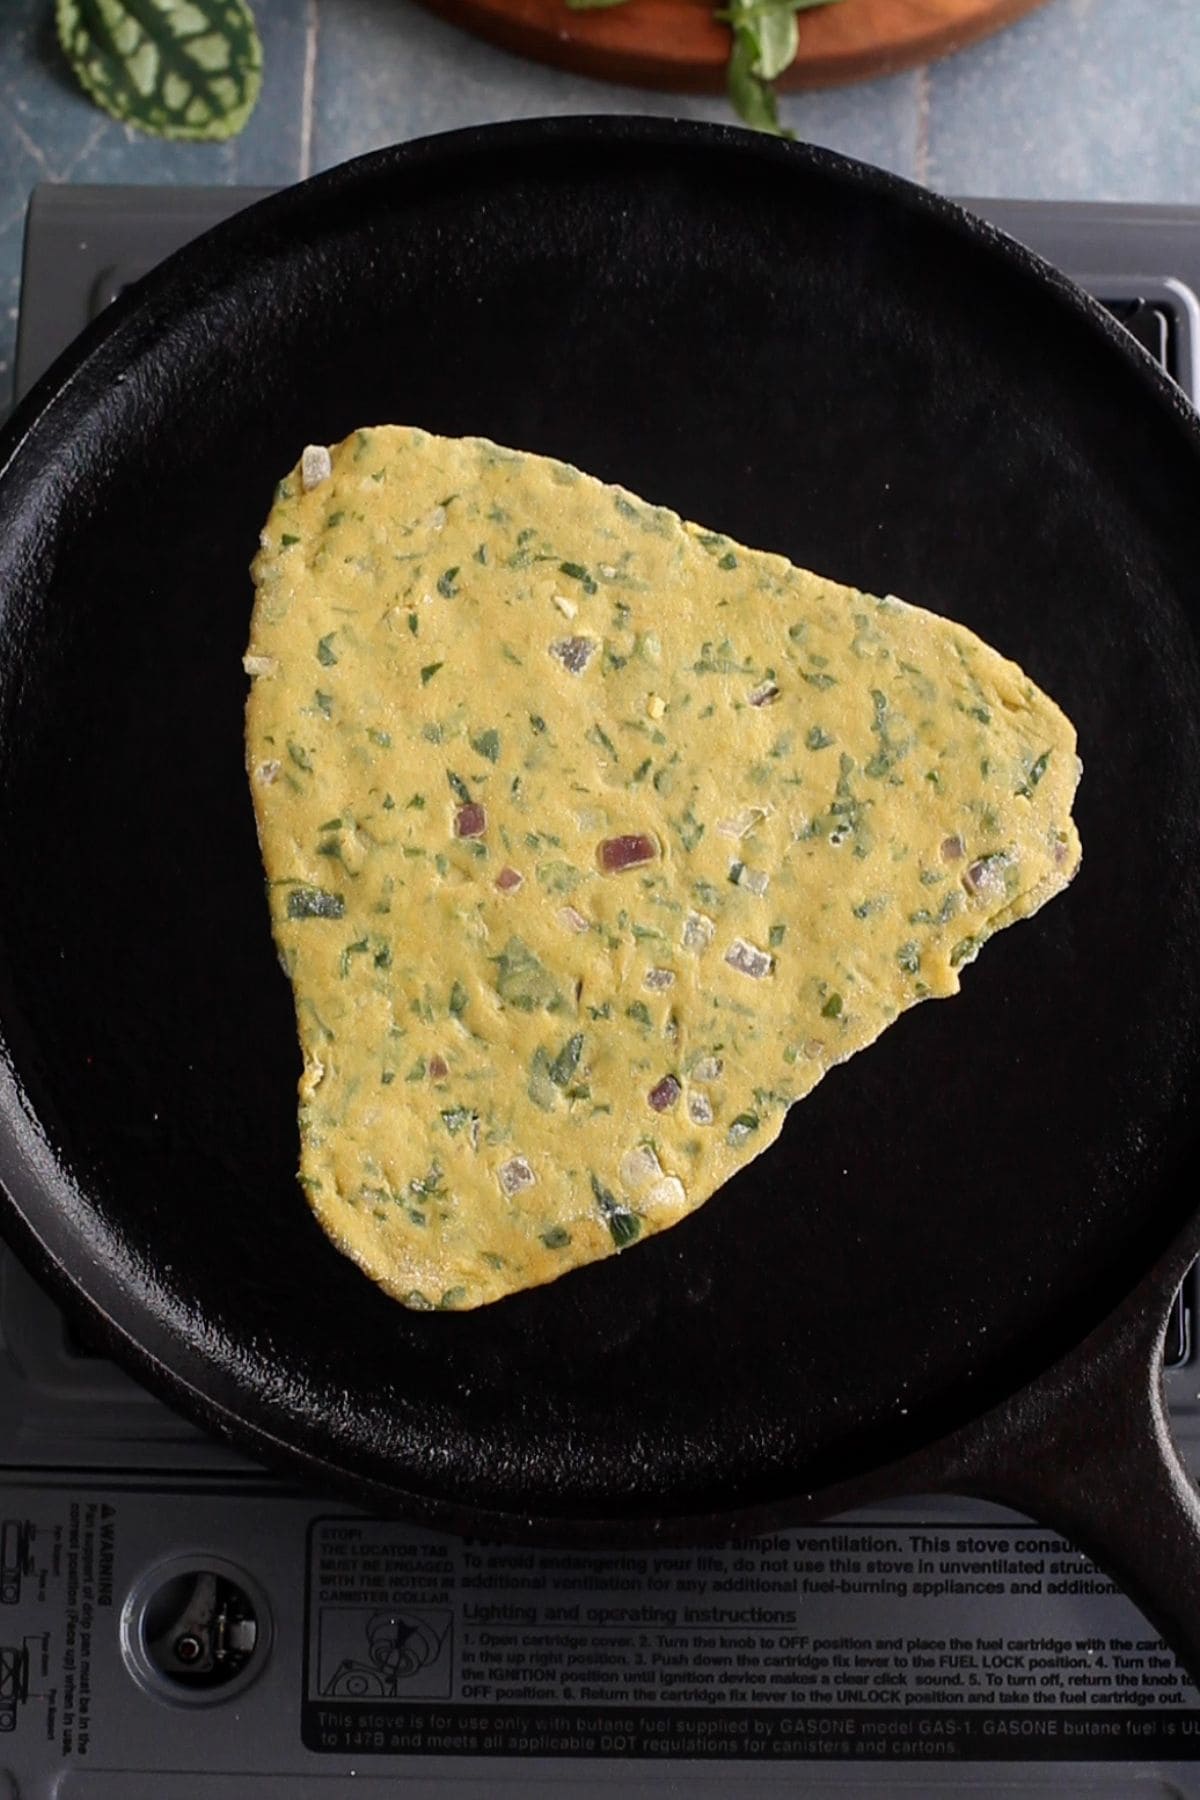
- Heat a griddle (tawa) on medium heat and spread a little oil over the surface.Carefully lift the rolled paratha and place it on the griddle.

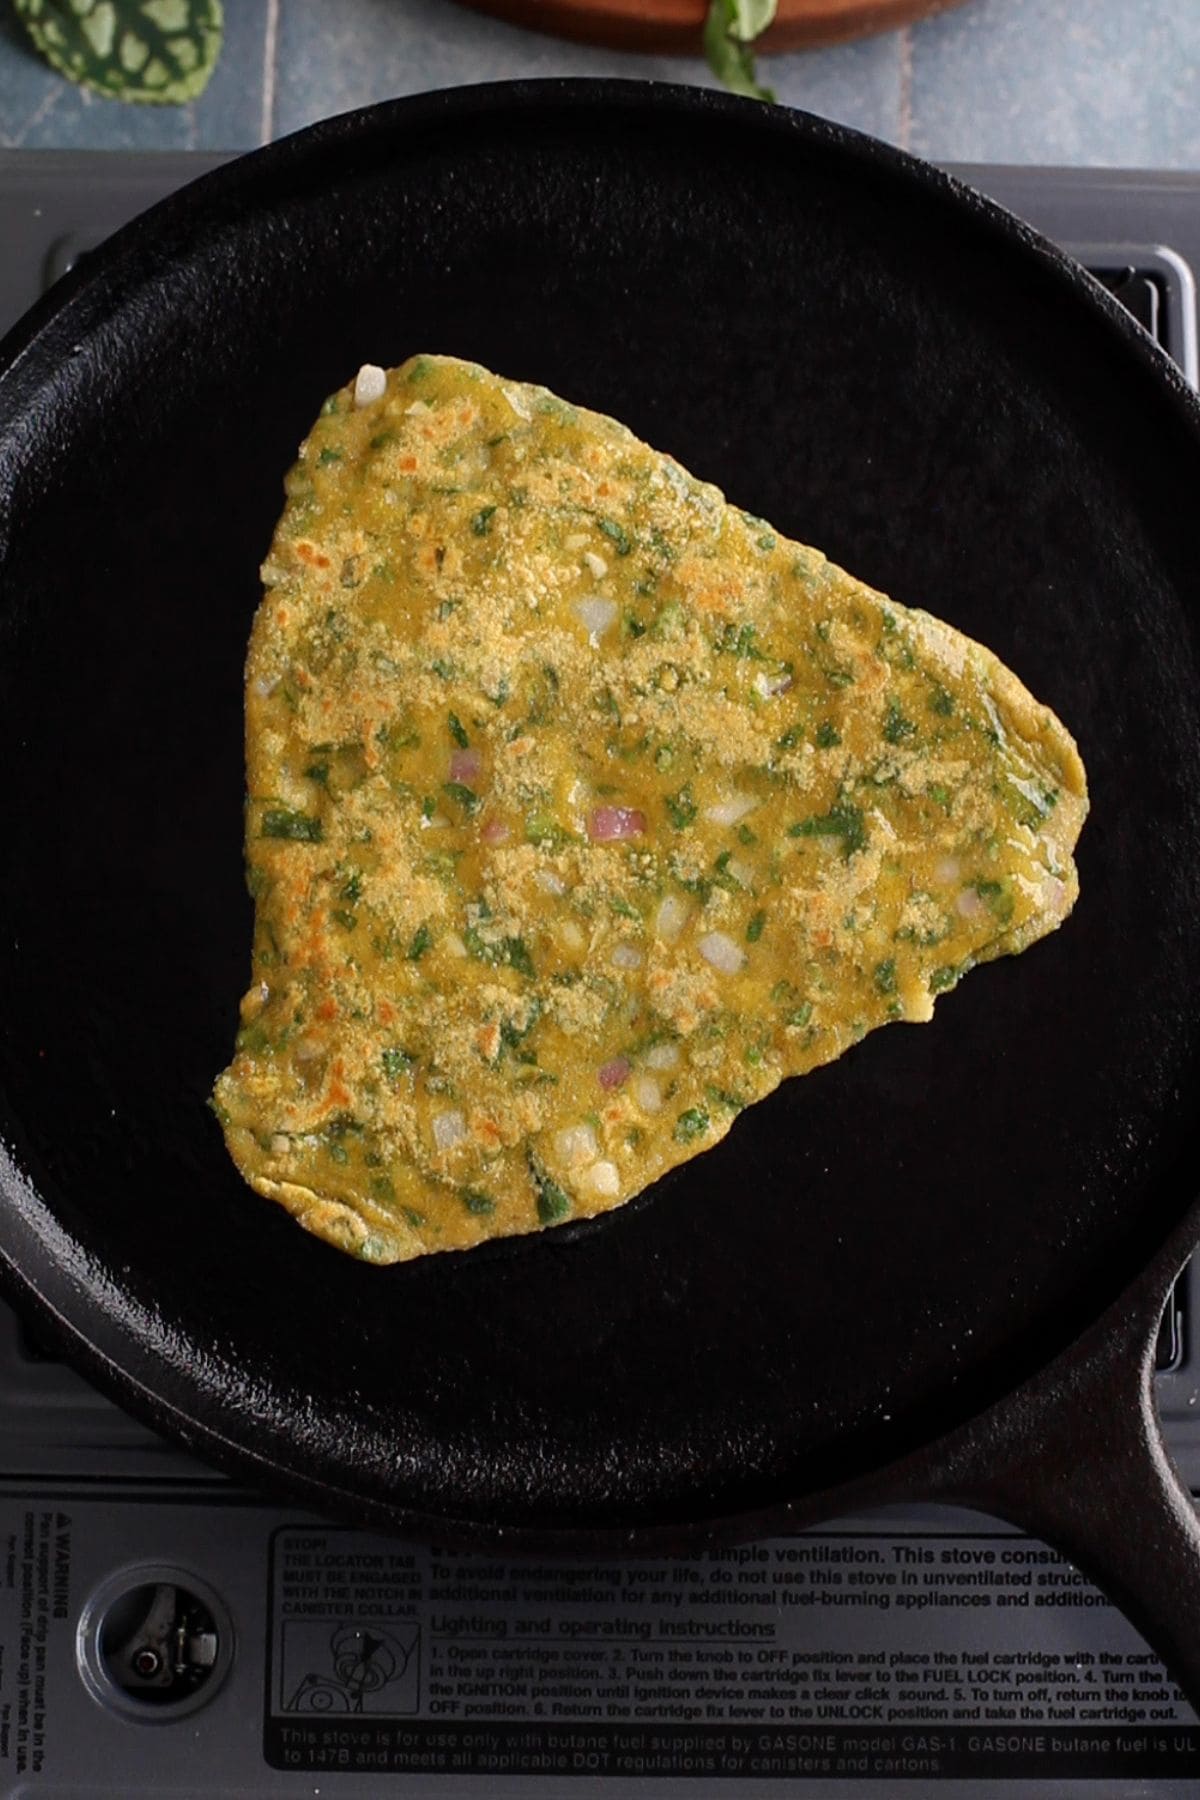
- Cook for 2 minutes until light spots appear.Flip the paratha with a spatula and spread 1 tablespoon of oil evenly over the first side.
- Cook the second side for 1–2 minutes.Flip again, spread oil on the second side, and cook until both sides are golden brown with small brown spots.If the paratha puffs up during cooking, that’s a great sign! Be mindful of escaping steam when pressing it down lightly with a spatula if needed.
- Remove the cooked methi paratha from the griddle and place it on a cooling rack to prevent sogginess. Once slightly cooled, store them in a box lined with a dry cloth or paper towel.
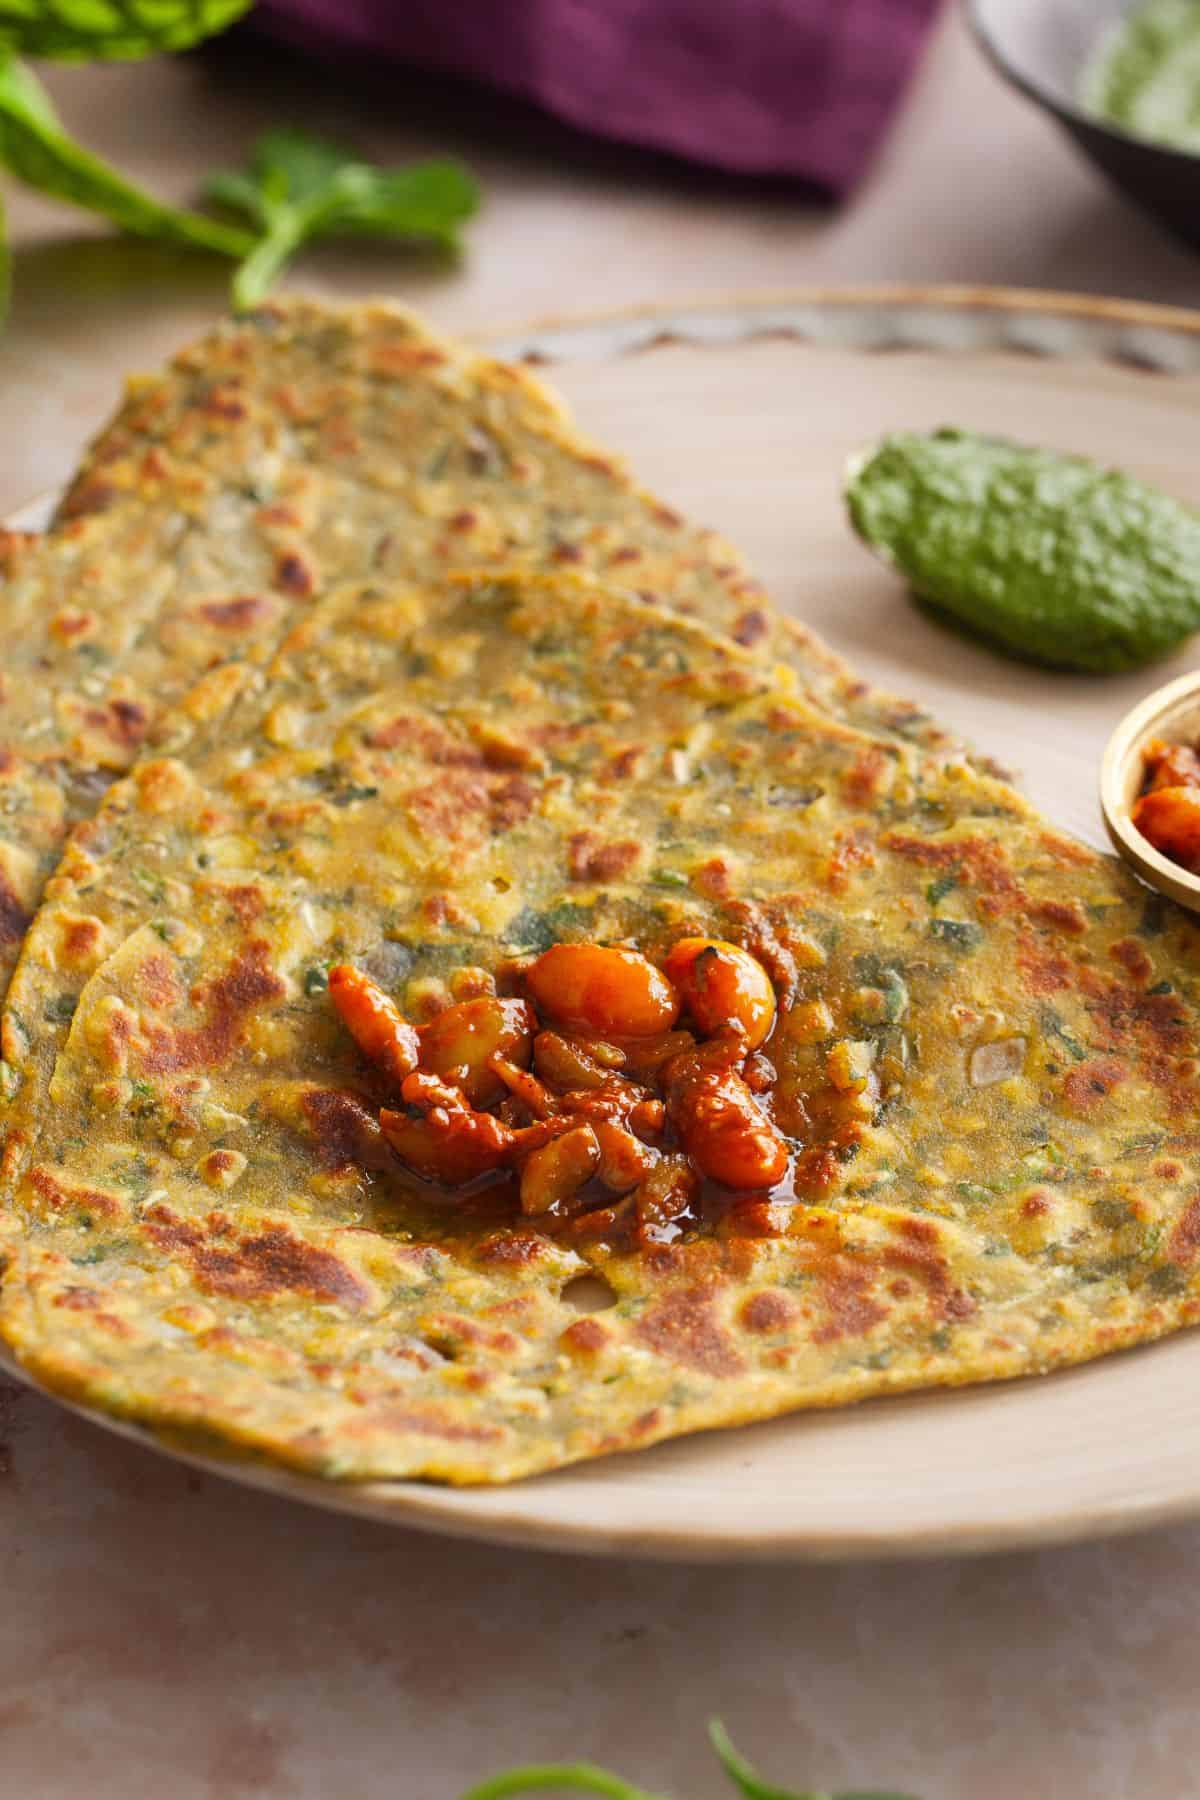
- Serve the parathas warm with pickle, green chutney, garlic chutney, or raita. You can serve with a cup of masala chai for breakfast!
Recipe Tips
- It is best to use cast iron griddle for cooking the parathas. The methi paratha turn out crispy and flaky. If you use non stick, the parathas are little soft but still delicious.
- My mom uses mustard oil for cooking the parathas. They taste is absolutely heavenly and unique. You can try it too, before you ask, no the oil doesn't taste raw.
- You can add additional ingredients such as garlic greens or scallions to the dough.
- Lastly, if you cannot find methi, this recipe will work with greens such as spinach, chard or


Layered Methi Paratha (Triangle Shaped)
Ingredients
To Make The Dough
- 1.5 cup atta whole wheat flour
- ⅓ cup besan gram flour or use chickpea flour
- 1 tablespoon mustard oil for moyan, use any cooking oil instead
- ¼ teaspoon turmeric powder add extra for deep yellow color
- ¼ teaspoon cumin powder
- ⅛ teaspoon ajwain
- 1.5 cup methi fresh or frozen fenugreek leaves, hand chopped
- 4 tablespoon onion finely chopped
- 2-3 garlic cloves finely chopped
- ½ tablespoon ginger finely chopped, adjust to taste
- 2 tablespoon cilantro finely chopped
- 2 green chillies finely chopped, adjust to taste
- ½ teaspoon salt or to taste
- ⅓ -½ cup water or as needed
- Oil for frying the paratha I use avocado oil
Instructions
PREPARE THE METHI
- Fresh Methi - Pick the methi leaves from stems. Discard the stems. Wash the leaves thoroughly in water 3-4 times or as needed so that all the dirt is washed away. Drain them completely. You don't need to dry them out but make sure that methi is not watery. Use a paper towel if needed.
- Frozen Methi - If you are using the frozen variety, let methi blocks thaw fully or overnight. Squeeze out the water from the leaves and if needed chop it.
- If you are unsure about bitterness of methi leaves, you can soak the leaves in cold salted water for 30-40 minutes prior to using.
- Drain and chop the methi leaves. Keep ready.
MAKE THE METHI DOUGH
- In a large mixing bowl, combine the atta and besan flours, ajwain, hing, cumin powder and turmeric powder. Add the oil and rub it into the flour mixture using your fingers until it resembles coarse crumbs.
- Toss in the chopped methi leaves, onions, garlic, cilantro, ginger, and green chilies. Mix thoroughly to distribute the flavors evenly.
- Gradually add small amounts of water while mixing until the dough starts to come together. Once it clumps into a rough ball, begin kneading.
- Use your knuckles to flatten the dough, then gather it towards yourself using your palm and fingers.
- Continue kneading with your knuckles for 5–6 minutes, flattening and gathering repeatedly.If the dough feels tight or dry, sprinkle a little water (but avoid over-wetting it).
- In the final 1–2 minutes, add a teaspon of oil and knead to make a smooth and firm dough. It should not be too soft.
- Cover the dough with a kitchen towel and let it rest for 15–20 minutes. During this time, it will soften further and be ready for rolling.If you are not planning to make parathas right away, place the dough into an air tight container with lid and refrigerate for 2-3 hours
ROLL AND FRY THE PARATHA
- Uncover the dough and divide it into equal portions.
- Take each portion in your palms and roll it into a smooth ball. Flatten slightly to form discs.Keep some loose atta (flour) on a plate for dusting.
- Place a dough disc on a floured rolling surface. Use your fingertips to lightly flatten the edges.
- Begin rolling with a rolling pin, dusting the surface and dough as needed.Roll into a circle about 3 inches in diameter.
- Brush a little oil over the surface.Fold the circle into a semi-circle, brush with oil again, and fold once more to form a triangle.Sprinkle flour on the triangle and roll it out gently to ¼-inch thickness, maintaining the triangle shape.
- Heat a griddle (tawa) on medium heat and spread a little oil over the surface.Carefully lift the rolled paratha and place it on the griddle.
- Cook for 2 minutes until light spots appear.Flip the paratha with a spatula and spread 1 tablespoon of oil evenly over the first side.
- Cook the second side for 1–2 minutes.Flip again, spread oil on the second side, and cook until both sides are golden brown with small brown spots.If the paratha puffs up during cooking, that’s a great sign! Be mindful of escaping steam when pressing it down lightly with a spatula if needed.
- Remove the cooked methi paratha from the griddle and place it on a cooling rack to prevent sogginess. Once slightly cooled, store them in a box lined with a dry cloth or paper towel.
- Serve the parathas warm with pickle, green chutney, garlic chutney, or raita. You can serve with a cup of masala chai for breakfast!
Video
Notes
- It is best to use cast iron griddle for cooking the parathas. The methi paratha turn out crispy and flaky. If you use non stick, the parathas are little soft but still delicious.
- My mom uses mustard oil for cooking the parathas. They taste is absolutely heavenly and unique. You can try it too, before you ask, no the oil doesn't taste raw.
- You can add additional ingredients such as garlic greens or scallions to the dough.
- You can absolutely roll the parathas into circular shape.
- Lastly, if you cannot find methi, this recipe will work with greens such as spinach, chard or


I'd Love to Hear from You!