

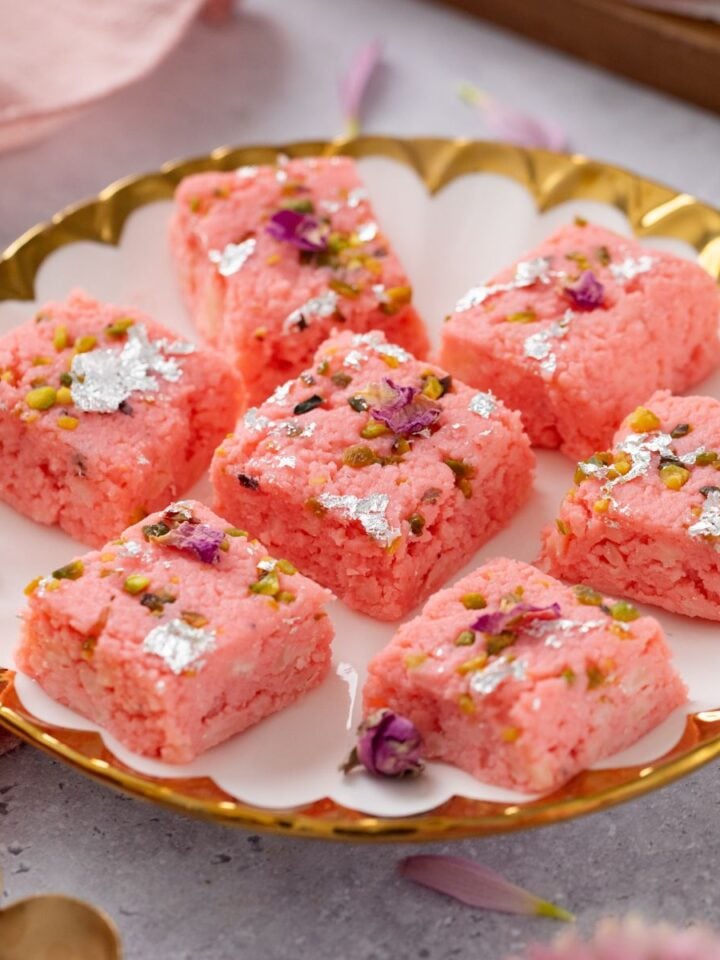
Khoya Badam Burfi is a traditional Indian sweet made with just 5 ingredients. Khoya gives it a soft, creamy texture, while almond flour adds a delicate nuttiness. If you've never made it at home, this is a great recipe to start with! I've tested and fine-tuned it for a fragrant, perfectly set burfi every time. It comes together in just 20 minutes (plus setting time) and is perfect for Diwali or other festive celebrations!
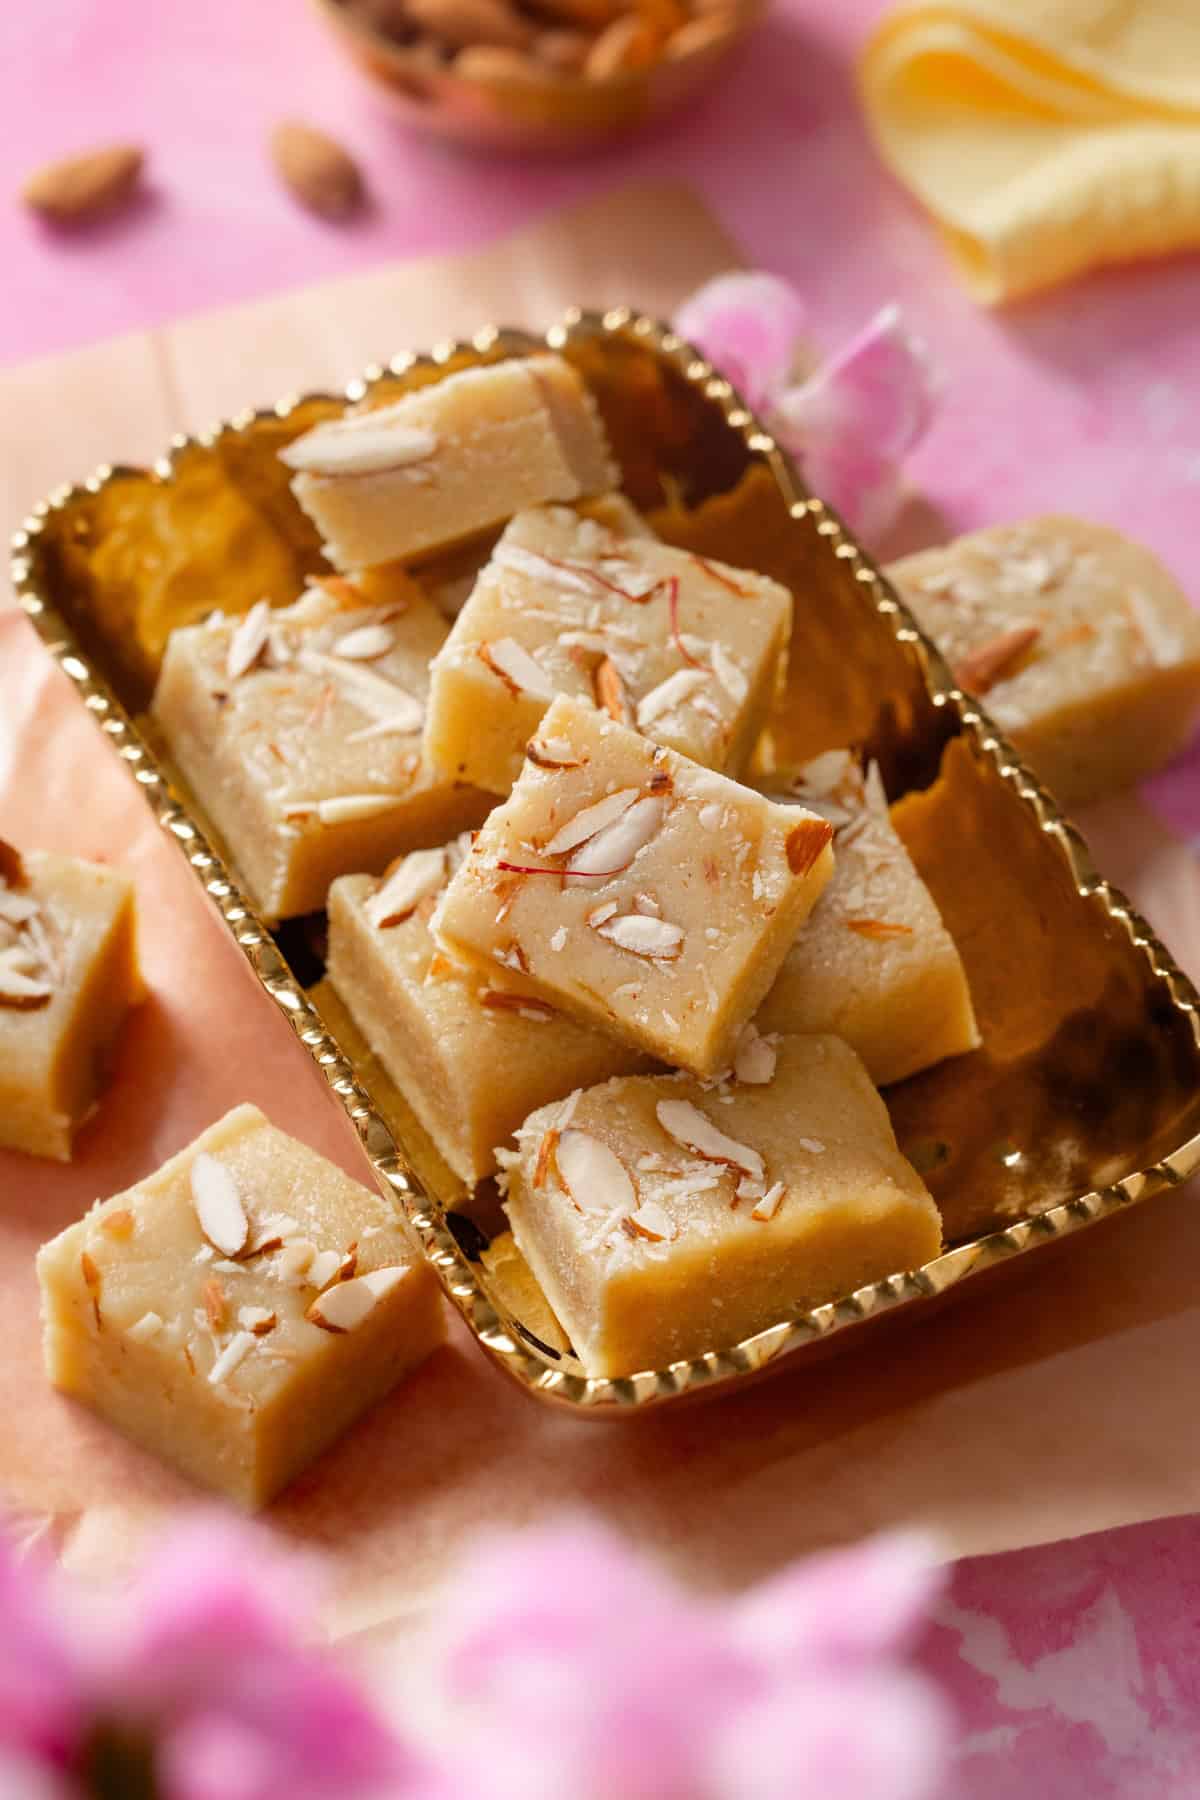
Burfi is one of my favorite homemade Indian mithai, and come festive season, I always have to make a few kinds. Khoya badam burfi is the one I return to most, and after living in the States for so many years, I have kind of made it my own by using easily available almond flour.
I use store bought khoya from the Vadilal brand, which in my opinion is one of the best available in the market. If you cannot get khoya, you can also make mawa at home using milk powder. If almond flour is not available, ground raw almonds work too, but keep in mind that the color will be different due to ground badam skins.
I also use powdered sugar in this recipe, since the bit of cornstarch mixed into it contributes to the texture of the burfi. Since good quality khoya is already rich in milk fats, you do not need any additional ghee. That said, different brands vary so just add ghee if your khoya doesn't release lot of ghee after softening(details in recipe card).
I use fine ground almond flour, which is made from blanched almonds, so you do not have to worry about cooking it for long to get rid of the raw taste. The burfi has a milky mouthfeel and needs nothing more than pinch cardamom to bring out its flavor.
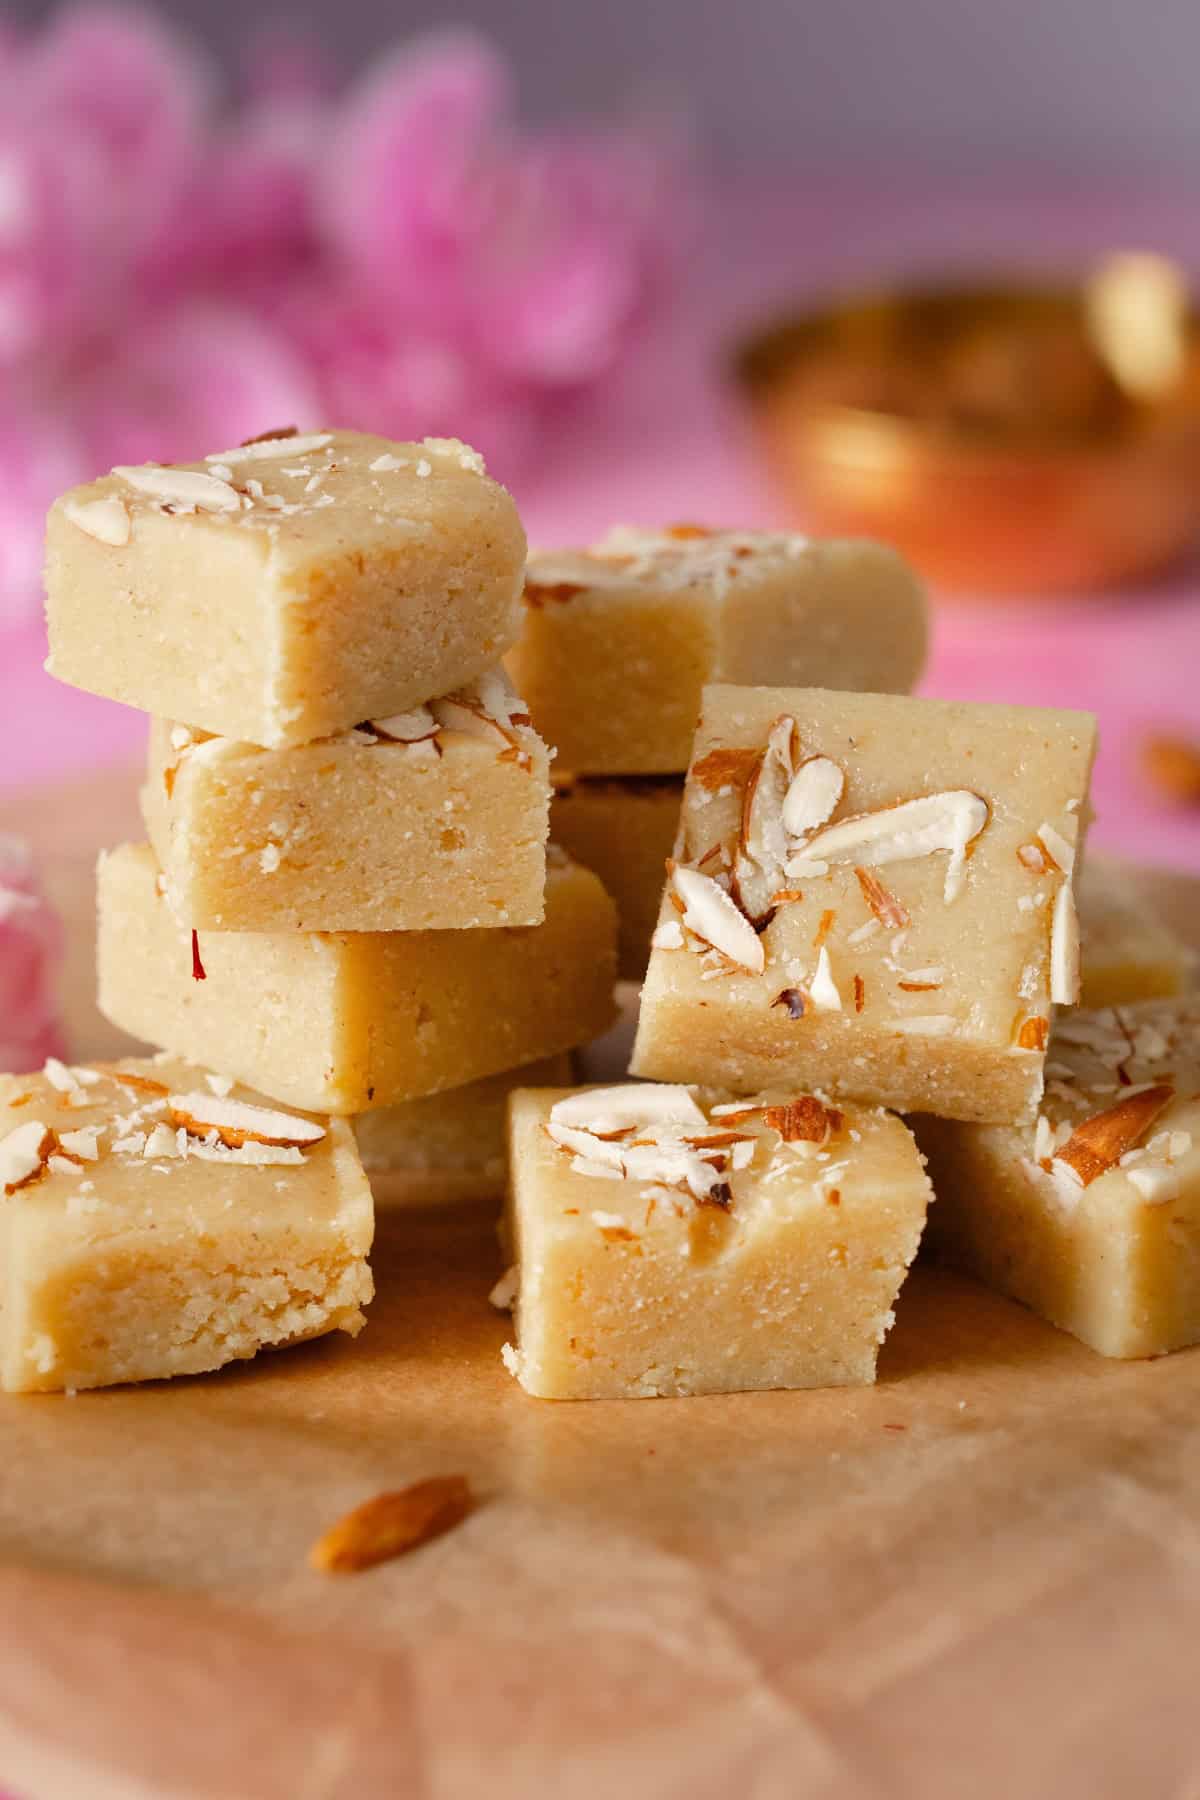
My Little Secrets for Perfect Badam Burfi
- Keep a close eye while cooking. High heat cooking or overcooking drives out too much moisture, and steals the creaminess of mawa and leaves it dry, hard or crumbly. Once the mixture thickens, begins to come together and starts leaving the sides of the pan, pay close attention. It should form a soft mass but still feel moist and pliable.
- Go easy on the cardamom and saffron. Yes, we definitely need them so don't skip. But, almonds have a lovely delicate flavor, and you don't want to overpower it with too much flavor and aroma.
- We want super fine ground almonds (I use Bob's Red Mill almond flour). It is not the same as almond meal. The finer the almond powder, the smoother your burfi will be.If grinding almonds at home, pulse them in short bursts. Overgrinding releases their oils and can turn the powder into a paste.
- Lastly, don't just go by cooking times I mention. You know, it all depends on the brand and the quality of khoya or almond flour you are using. So the burfi mixture may take slightly longer or fewer minutes to come together.
Lets Make KhoYa Badam Burfi
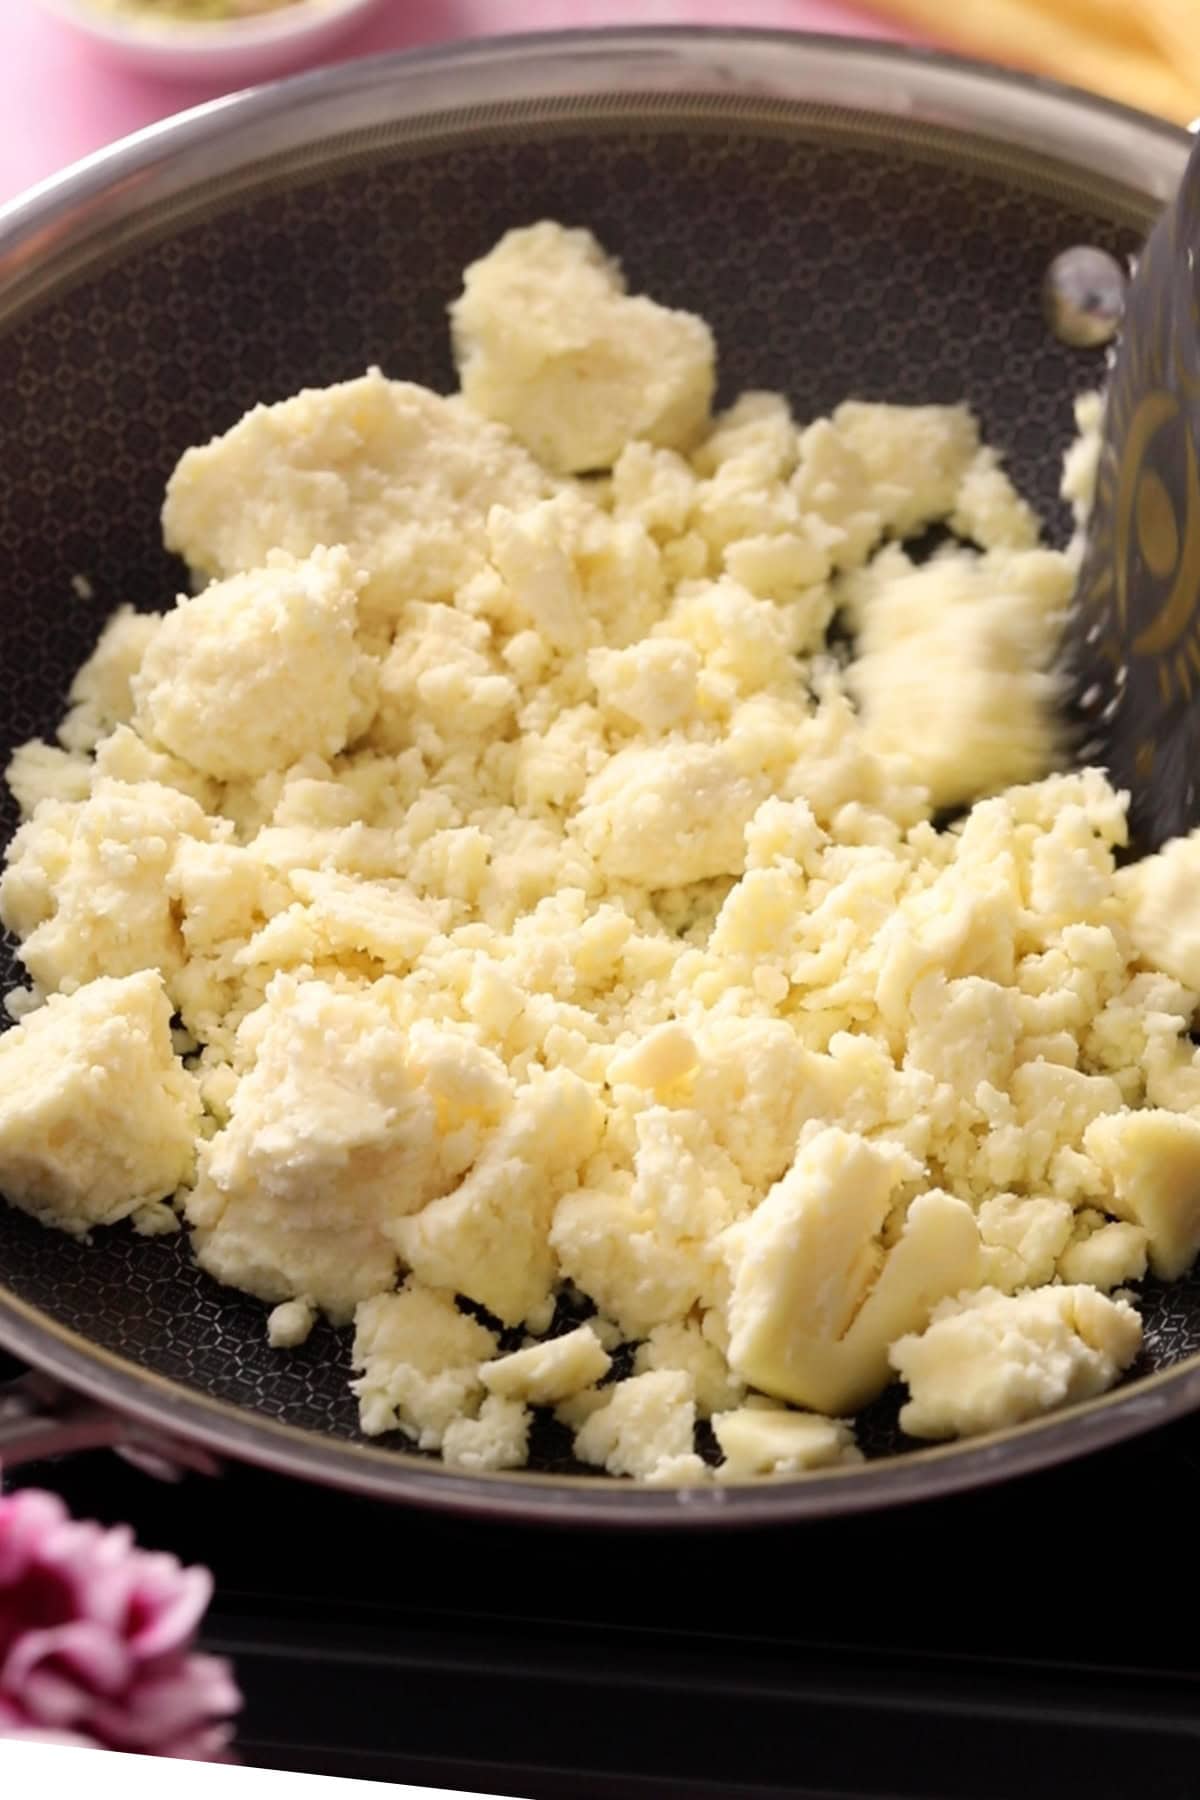
- Crumble the khoya into a heavy bottomed, non stick pan(I use a 10 inch hybrid steel skillet) breaking up any lumps so it melts evenly.
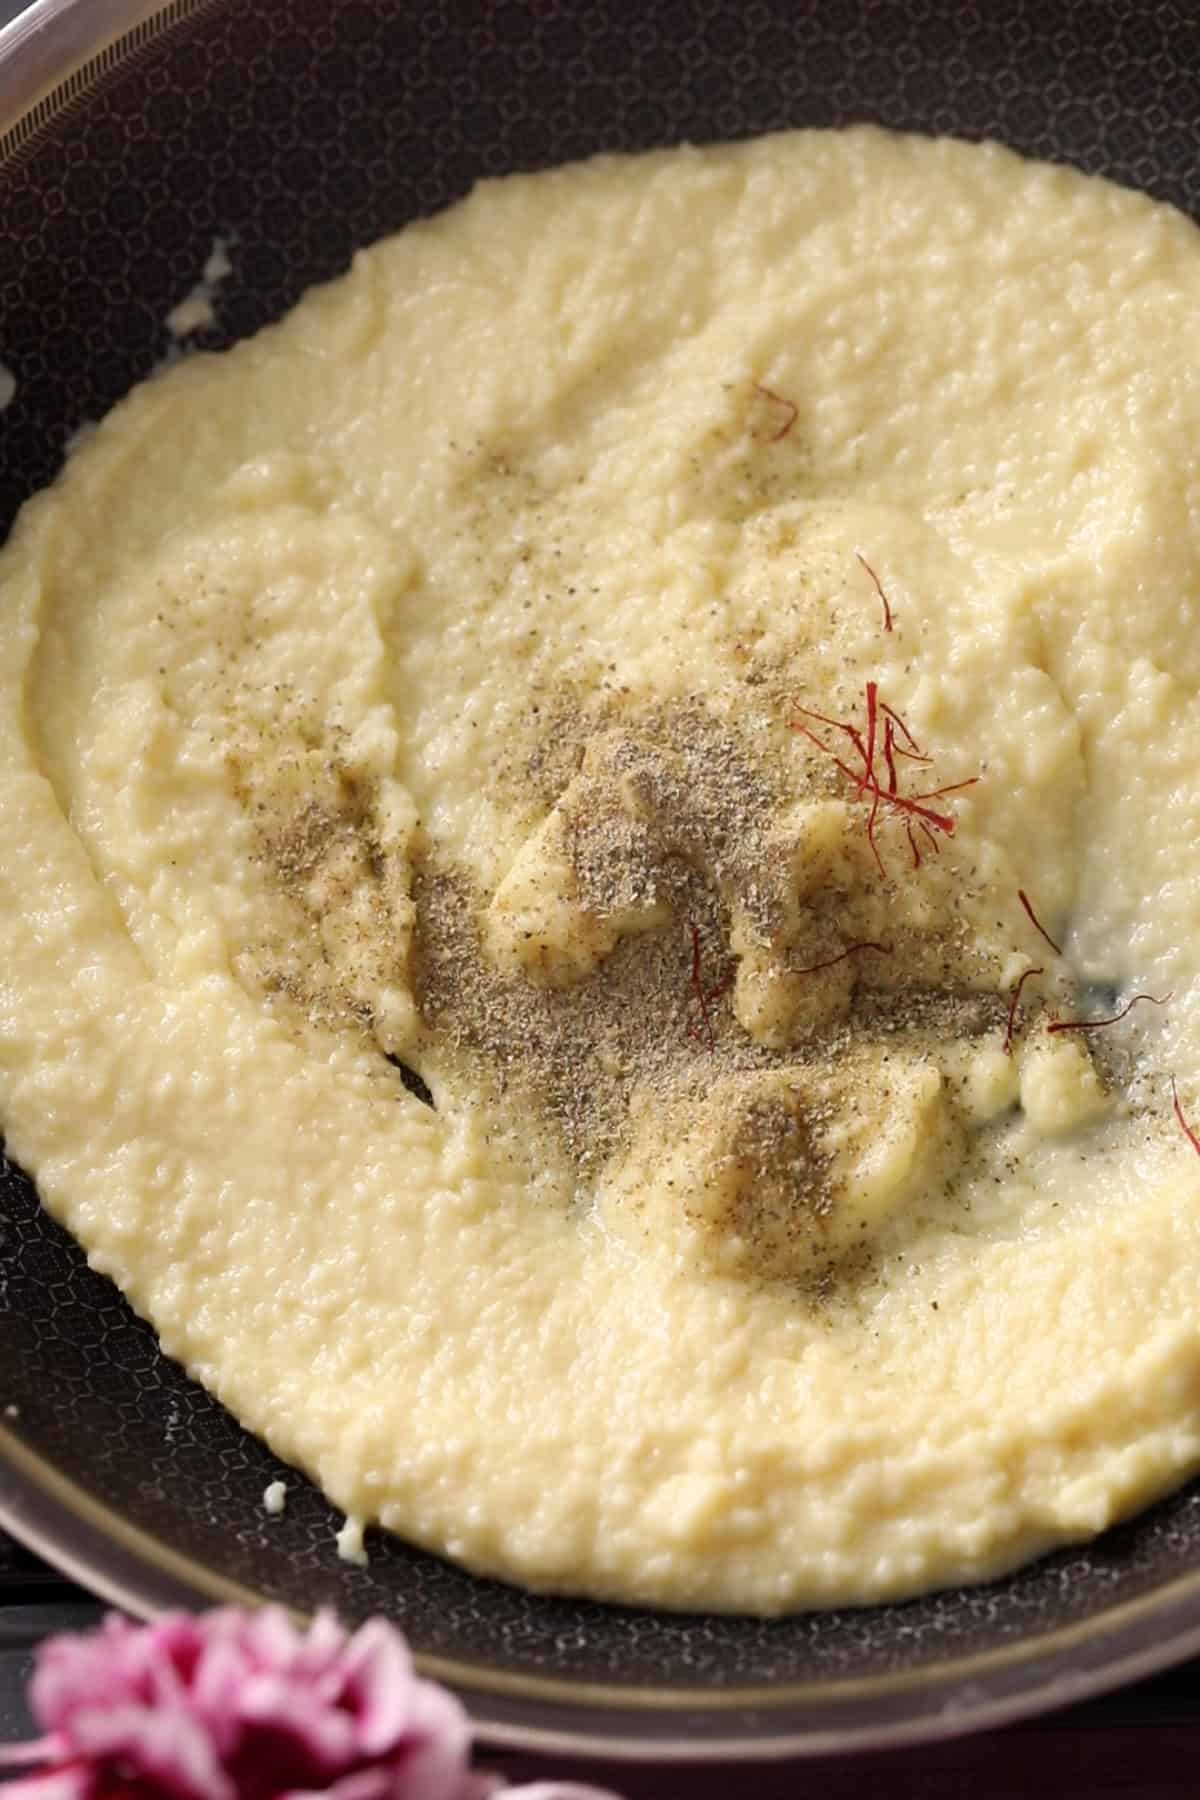
- Cook on low heat, stirring often, for 4 to 5 minutes until it softens and looks smooth and glossy. Do not let it brown. Add the cardamom powder and saffron strands.
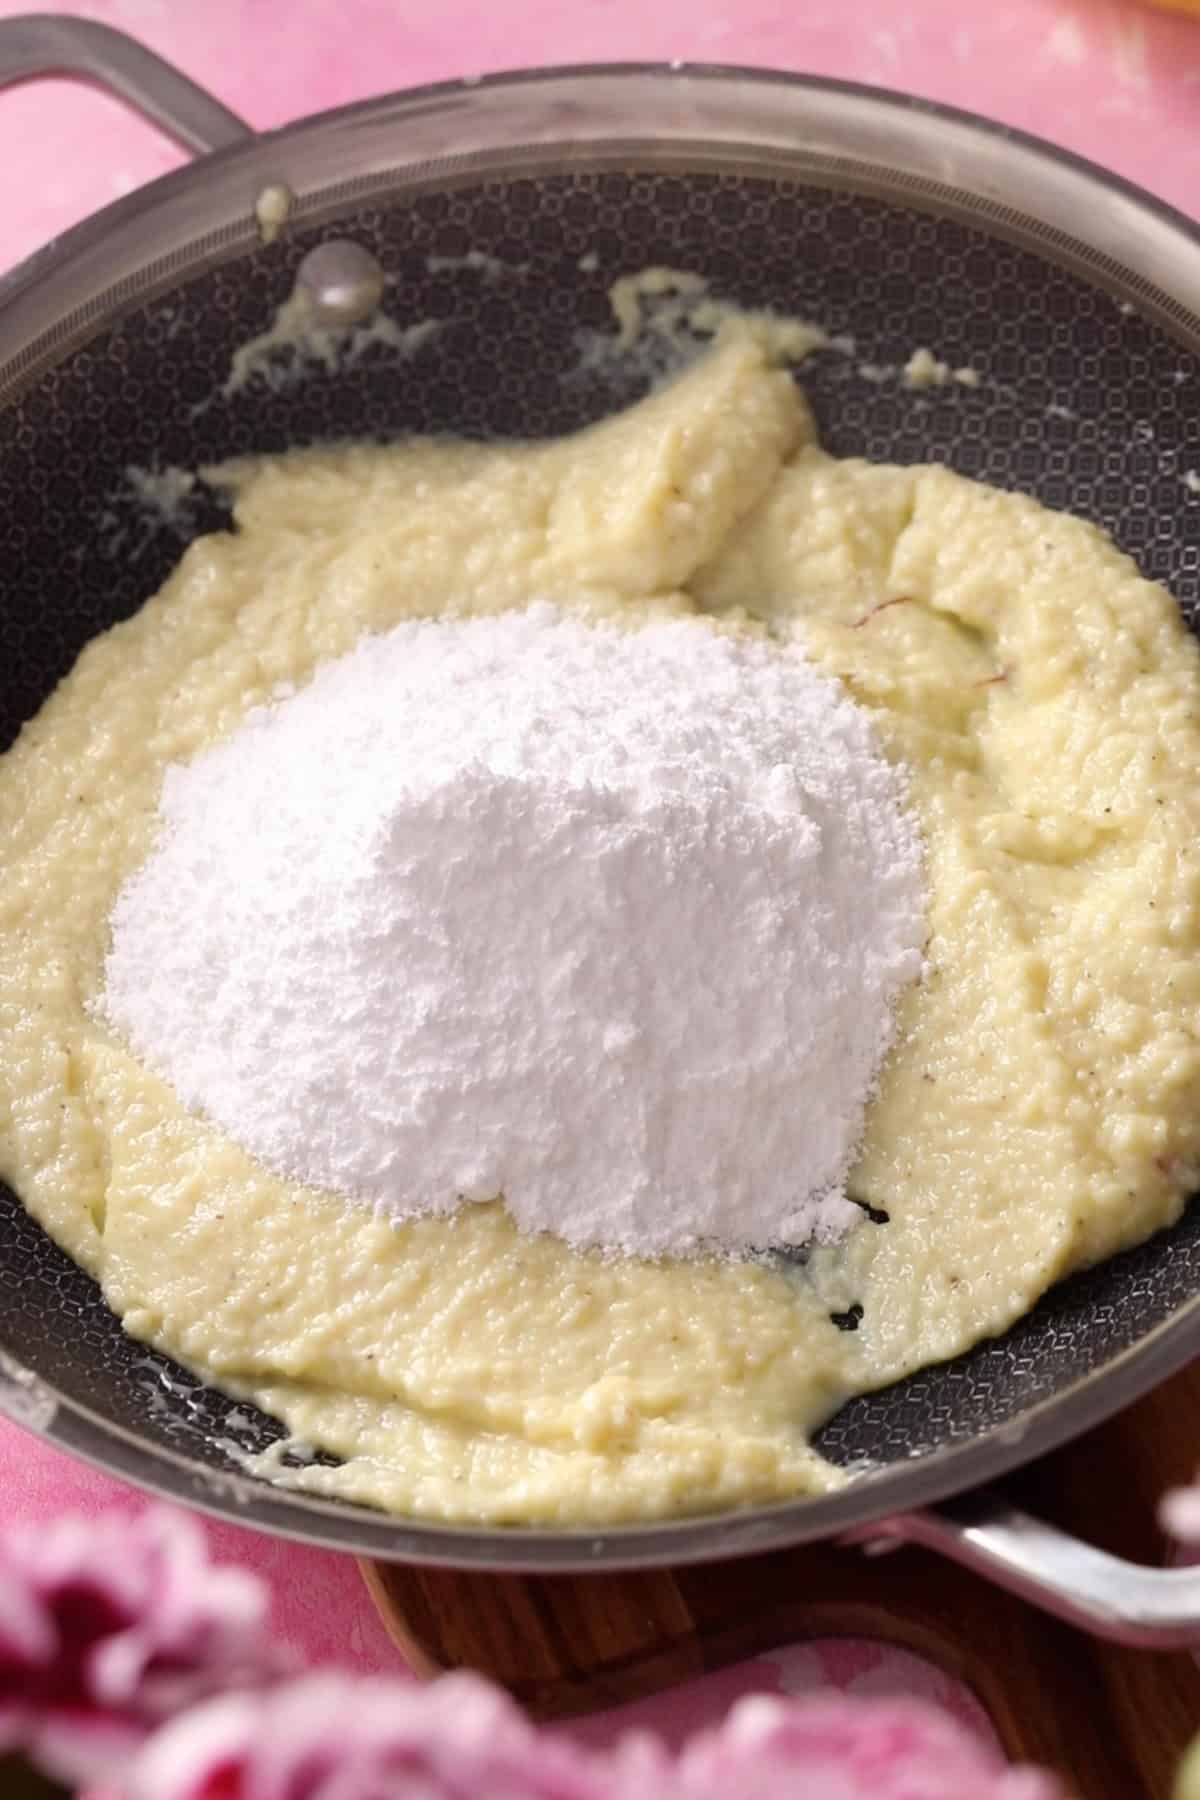
- Next, add the powdered sugar and fold until fully mixed with softened khoya.
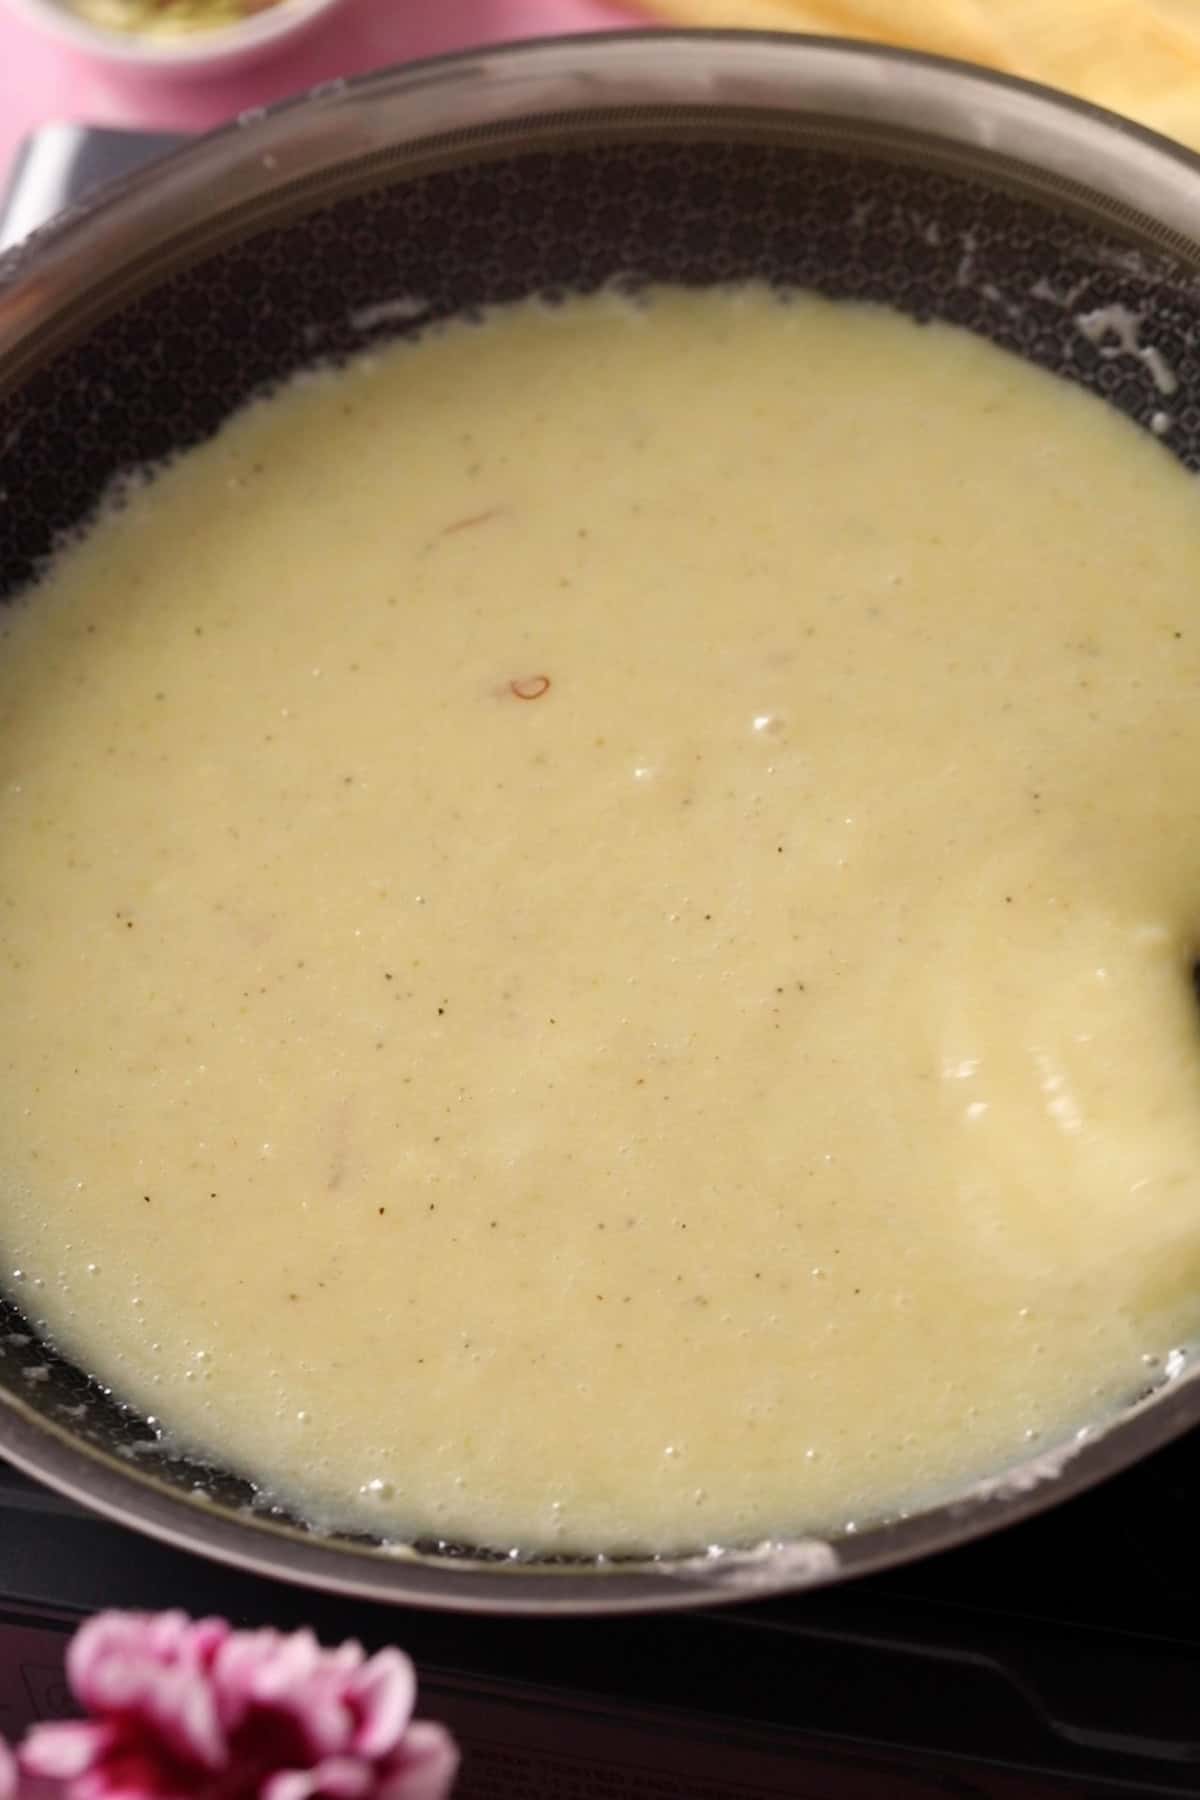
- Cook the khoya and sugar mixture on low heat for 4-5 minutes. You will see that it starts looking like a slurry.
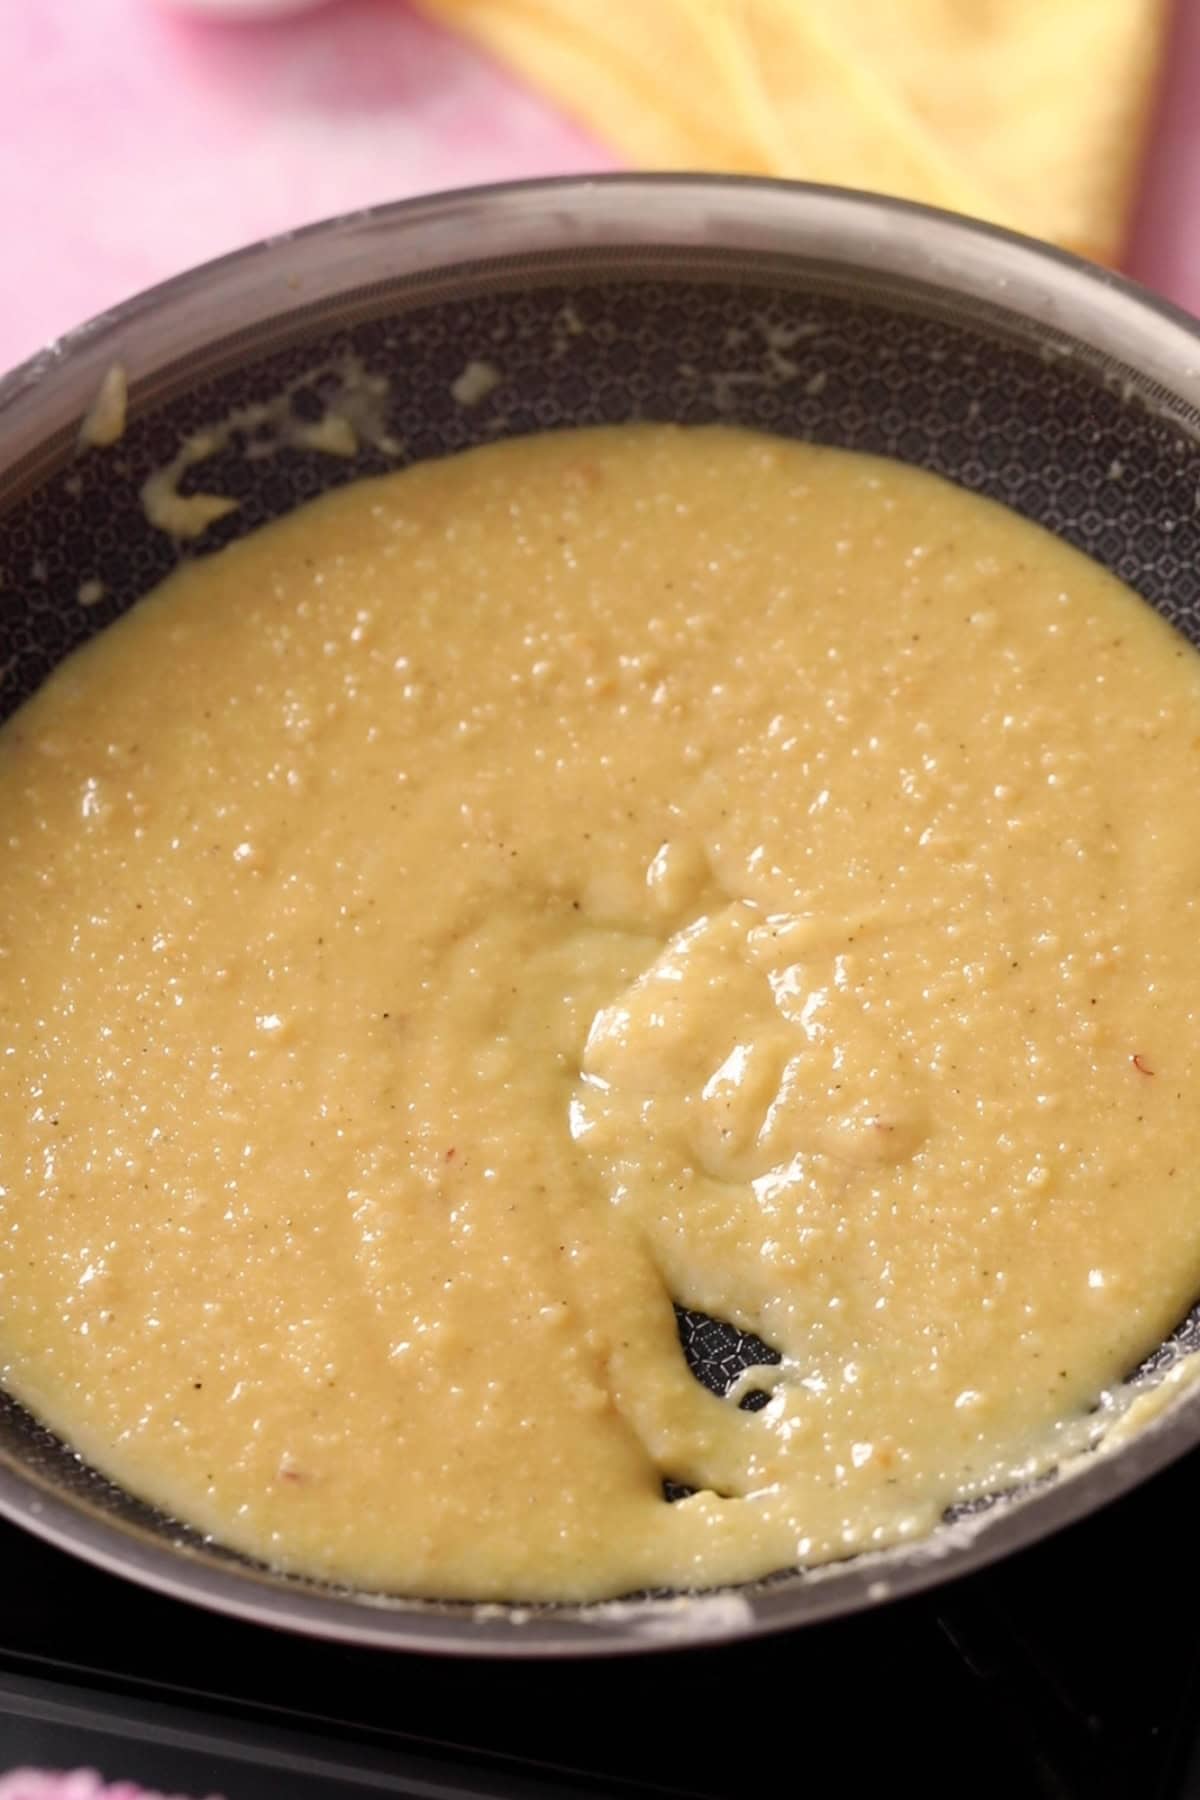
5. As the mixture cooks, it will take on color of saffron and the color will be pale golden.
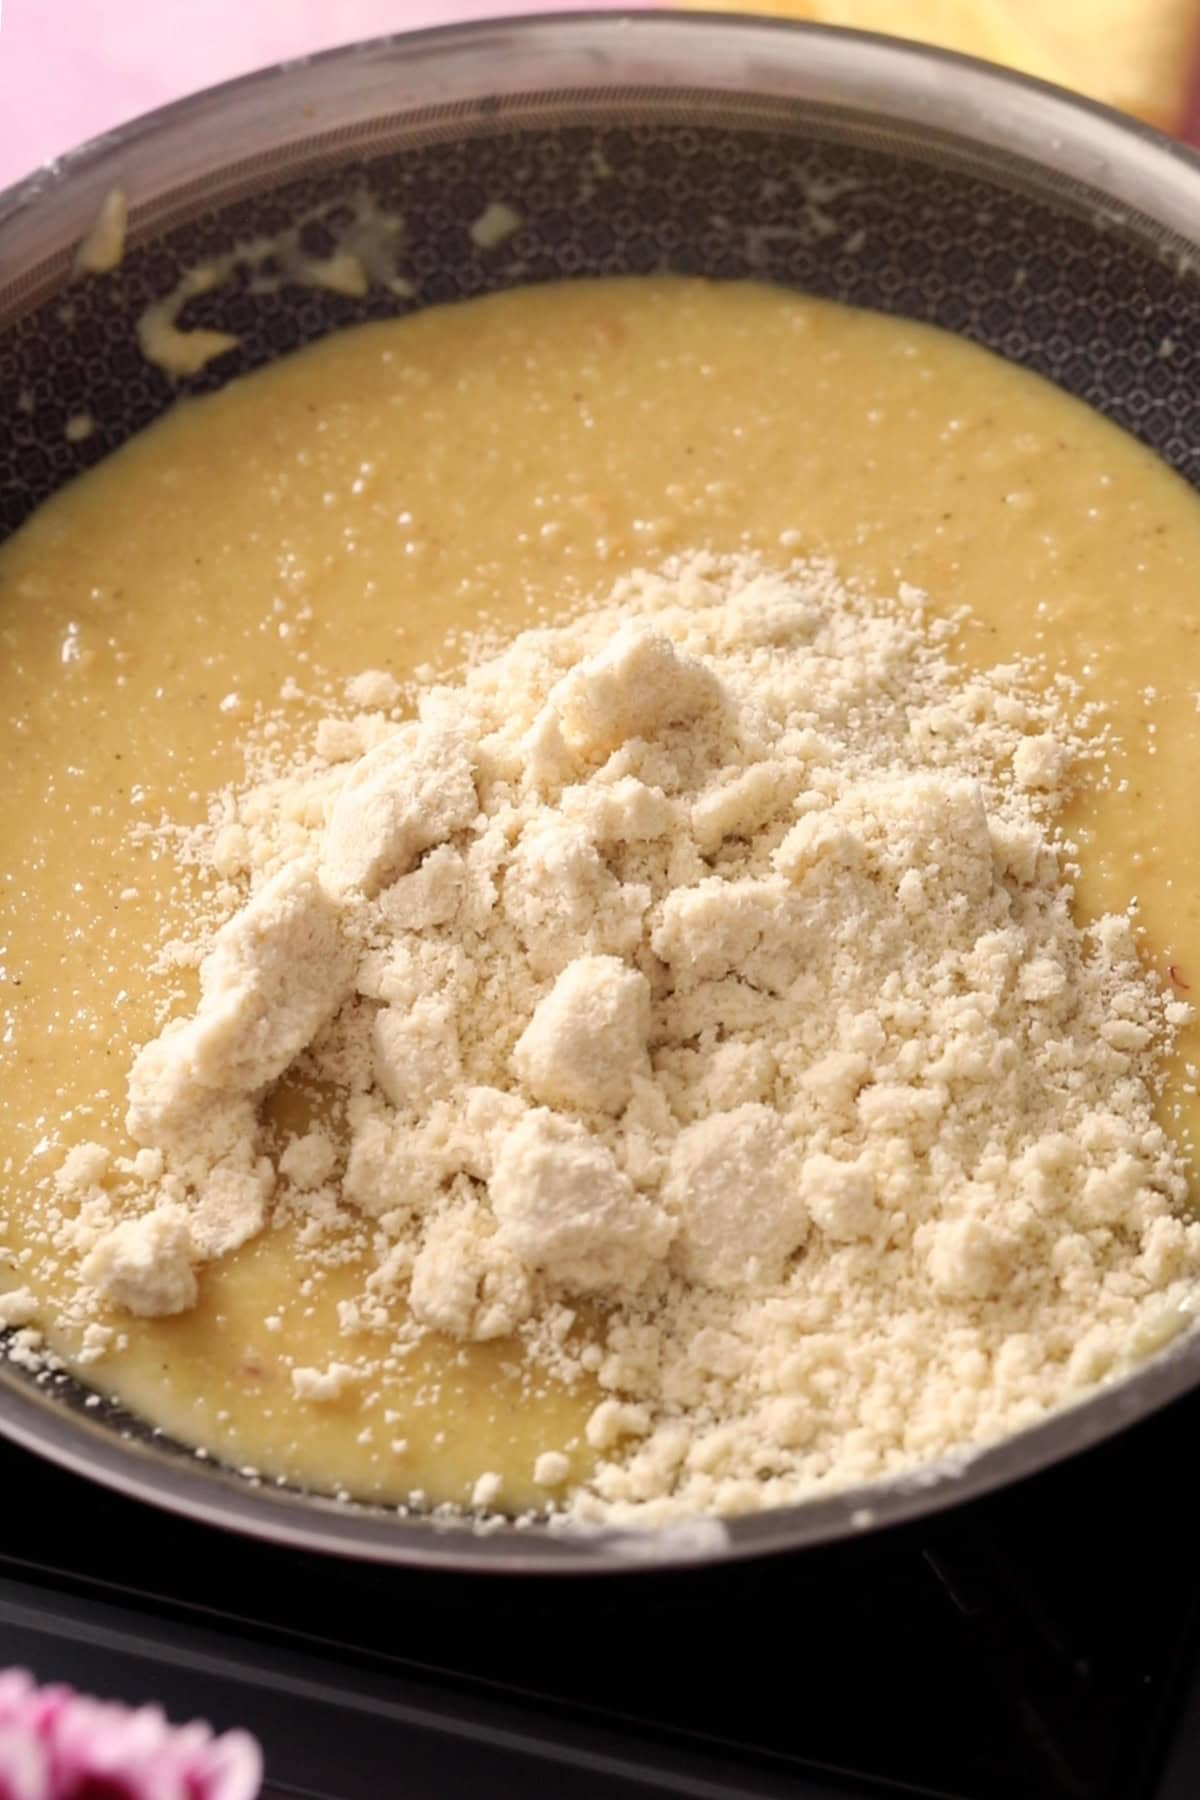
6. Next, add the almond flour to the burfi mixture and mix well to make sure that their are no lumps. Also, add in the milk.
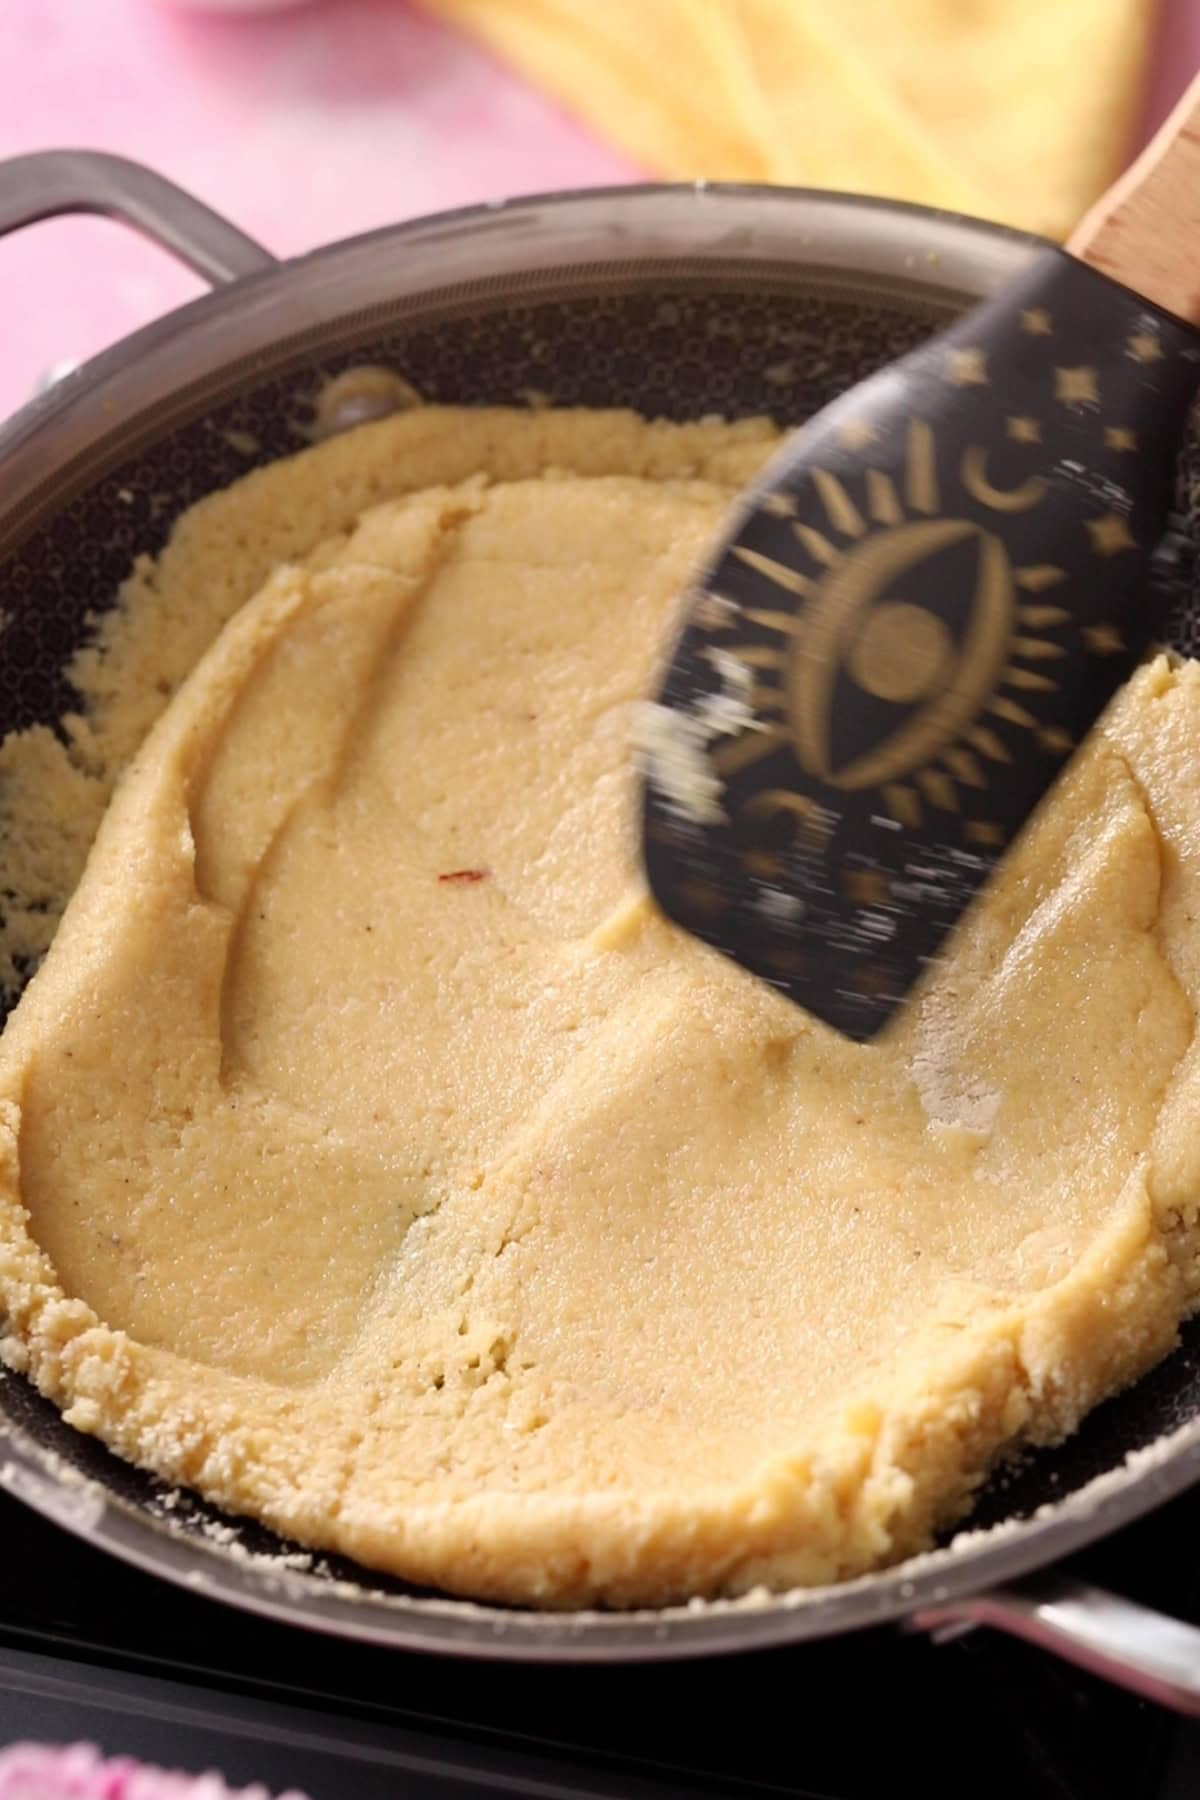
7. Cook for 2 to 4 minutes, while stirring constantly until the milk is absorbed and the mixture smells nutty and gathers into a soft mass. The burfi mixture will feel soft & pliable under the spatula.
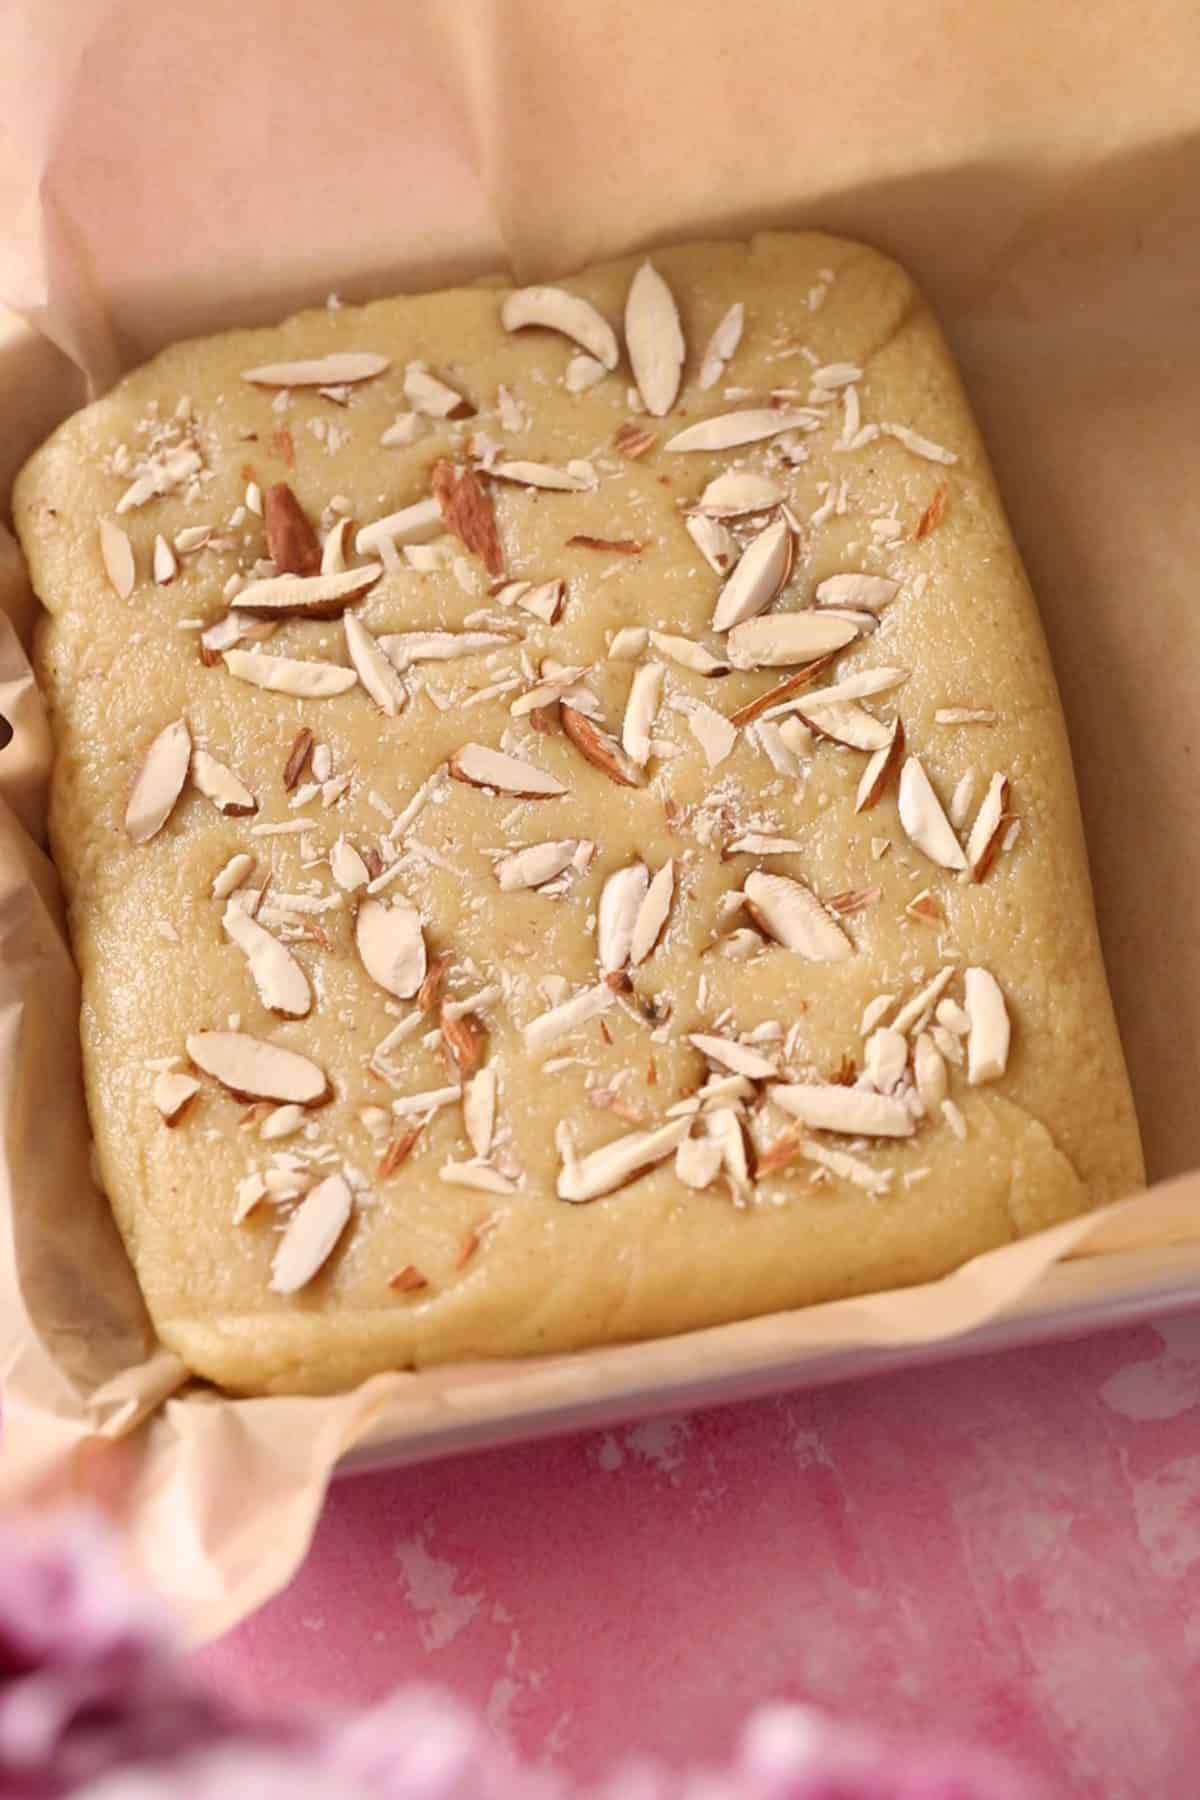
8. Transfer to the prepared pan and press down firmly with a greased spatula, getting into the corners and smoothing the top. Scatter the almonds over the top and press them in gently.
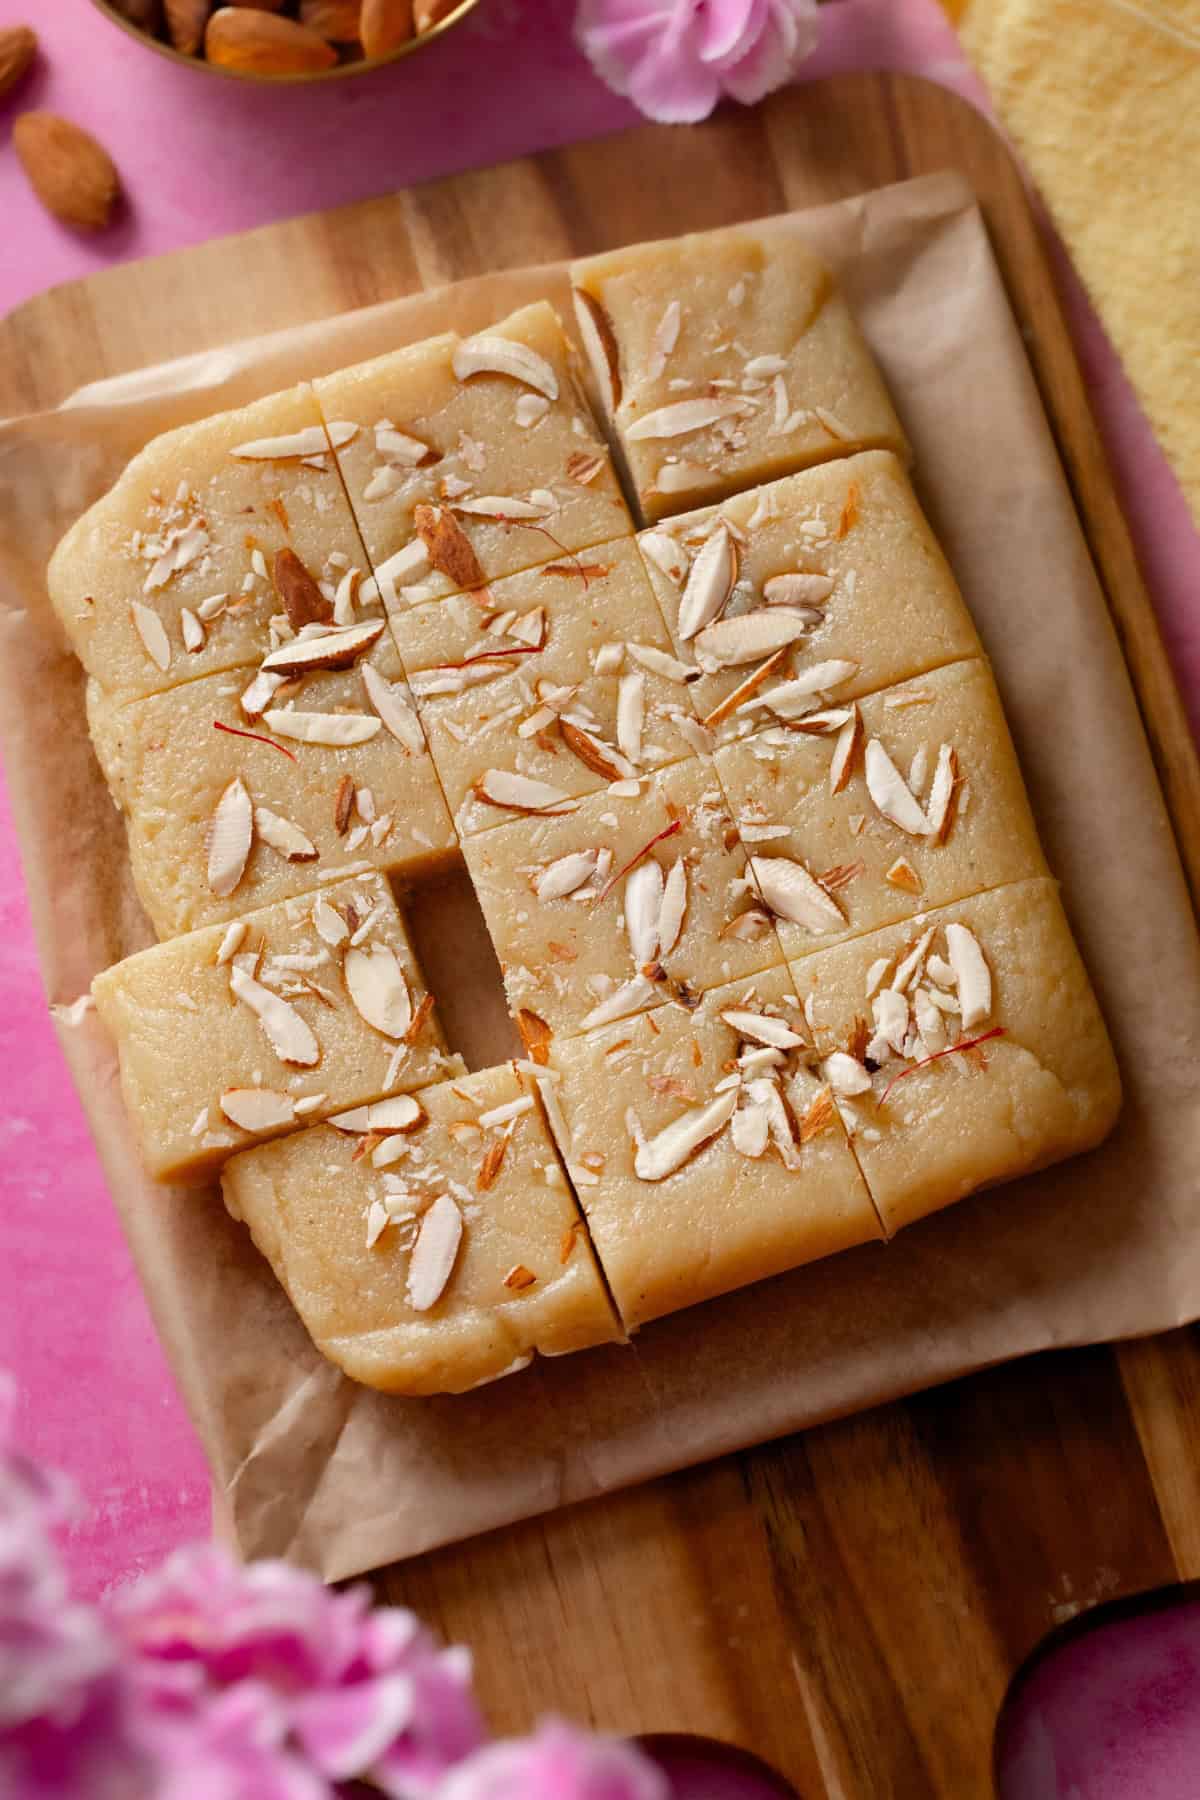
Lightly grease a small square pan or line it with parchment paper. Transfer the warm burfi mixture to the pan and spread it evenly using a greased spatula. Gently press and smooth the surface, then garnish with chopped almonds or pistachios. Let the burfi cool and set at room temperature for 3 to 5 hours before cutting into squares or diamonds.
5 Ingredient Khoya Badam Burfi
Save The Recipe!
Ingredients
- 300 gm khoya
- 75 gm (~10 tablespoon) powdered sugar (weight is of unsifted sugar) it has bit of cornstarch which contributes to the texture of burfi
- 80 gm (~¾ cup) super fine almond flour not almond meal (You can grind almonds at home)
- ¾ teaspoon cardamom powder
- 5-8 strands saffron
Instructions
- Lightly grease a small square pan or tray with ghee, or line it with parchment paper for easy removal. While the burfi mixture is still warm and pliable, transfer it to the prepared pan. Use a spatula to spread it evenly, pushing the mixture into the corners so there are no gaps.
- Crumble or grate the khoya into a wide, heavy-bottomed, nonstick pan. I use a 10-inch hybrid stainless steel skillet, which works well for this recipe. Break up any large lumps with your fingers or a spatula before turning on the heat. This helps the khoya soften evenly without leaving behind any hard pieces.
- Set the pan over low heat and cook the khoya for about 4 to 5 minutes and start stirring and pressing down frequently with a spatula. As it warms up, the crumbles will gradually soften and come together into a smooth, glossy mass. Keep scraping the bottom and sides of the pan so nothing sticks or burns. We are only trying to soften the khoya at this stage, not roast it. Do not let it brown, as that will change the delicate flavor and color of the burfi.
- Once the khoya is soft and smooth, add the ground cardamom and saffron strands. Mix well to distribute them evenly throughout the warm khoya. The heat will help release their fragrance, and the saffron will gradually begin to lend its beautiful pale golden color to the mixture.
- Add the powdered sugar next to the softened khoya and gently fold it in using a spatula. Continue mixing until the sugar is completely incorporated and no dry pockets remain. Keep the heat low throughout this step.
- Continue cooking over low heat for another 4 to 5 minutes, while stirring regularly. As the sugar dissolves, you will notice that the mixture loosens considerably and takes on a soft, almost slurry-like consistency. This is completely normal, so don't be tempted to increase the heat to thicken it quickly. As the mixture cooks, the saffron will also begin to release more color, and the khoya will take on a lovely pale golden shade.
- Next, add the almond flour to the khoya mixture. Stir thoroughly, while pressing any lumps against the sides of the pan with your spatula to break them up. You want the almond flour to blend evenly with the khoya without leaving any dry or grainy patches.
- Continue cooking over low heat for another 2 to 4 minutes, while stirring constantly. As the almond flour absorbs the excess moisture, the mixture will gradually thicken. If the mixture feels a little dry or crumbly after adding the almond flour, add milk, 1 tablespoon at a time, and mix well after each addition. The milk is optional, so only add it if needed to help the mixture come together. Be careful not to add too much, as excess moisture will increase the cooking time and affect how the burfi sets.
- As everything cooks together, you will notice a lovely nutty aroma. Keep folding and pressing the mixture with your spatula until it gathers into a soft, cohesive mass. The mixture should feel soft and pliable under the spatula, without being too wet or sticky. Avoid cooking it longer than necessary, as the mixture will continue to firm up as it cools. Overcooking can make the finished burfi dry and hard instead of soft and melt-in-your-mouth.
- While the burfi mixture is still warm and pliable, transfer it to the prepared pan. Use a spatula to spread it evenly, and push the mixture into the corners so there are no gaps. Using the back of a lightly greased spatula, gently press and smooth the mixture into an even layer.Avoid pressing too firmly, as we want the burfi to retain its soft, delicate texture. Sprinkle chopped almonds or pistachios on top, and press them lightly so they stick.
- Leave the pan undisturbed at room temperature until the burfi has cooled completely and feels firm enough to cut. Depending on the thickness of the burfi and the temperature of your kitchen, this may take 3 to 6 hours. The burfi should feel set to the touch but still have a little softness when gently pressed.
- Once set, lift the burfi out of the pan using the parchment paper. With a sharp knife, cut it into squares or diamonds of your preferred size. Wipe the knife clean between cuts for neat edges. Handle the pieces gently. Enjoy at room temperature for the best flavor and melt-in-your-mouth consistency.
Notes
- Use good quality khoya. If your khoya doesnt release much ghee after softening, add 1-2 tablespoons ghee to the burfi mixture along with almond flour. Keep in mind that almond flour is also very rich so add ghee gradually.

I'd Love to Hear from You!