

These homemade rasgulla are soft, light and have perfectly spongy centers when you bite into them.You need just 2 main ingredients to make rasgulla at home, but this is one recipe where technique really matters. Follow my tips and timings closely, and you'll have juicy rasgulla that are just as good as the ones from your favorite sweet shop.
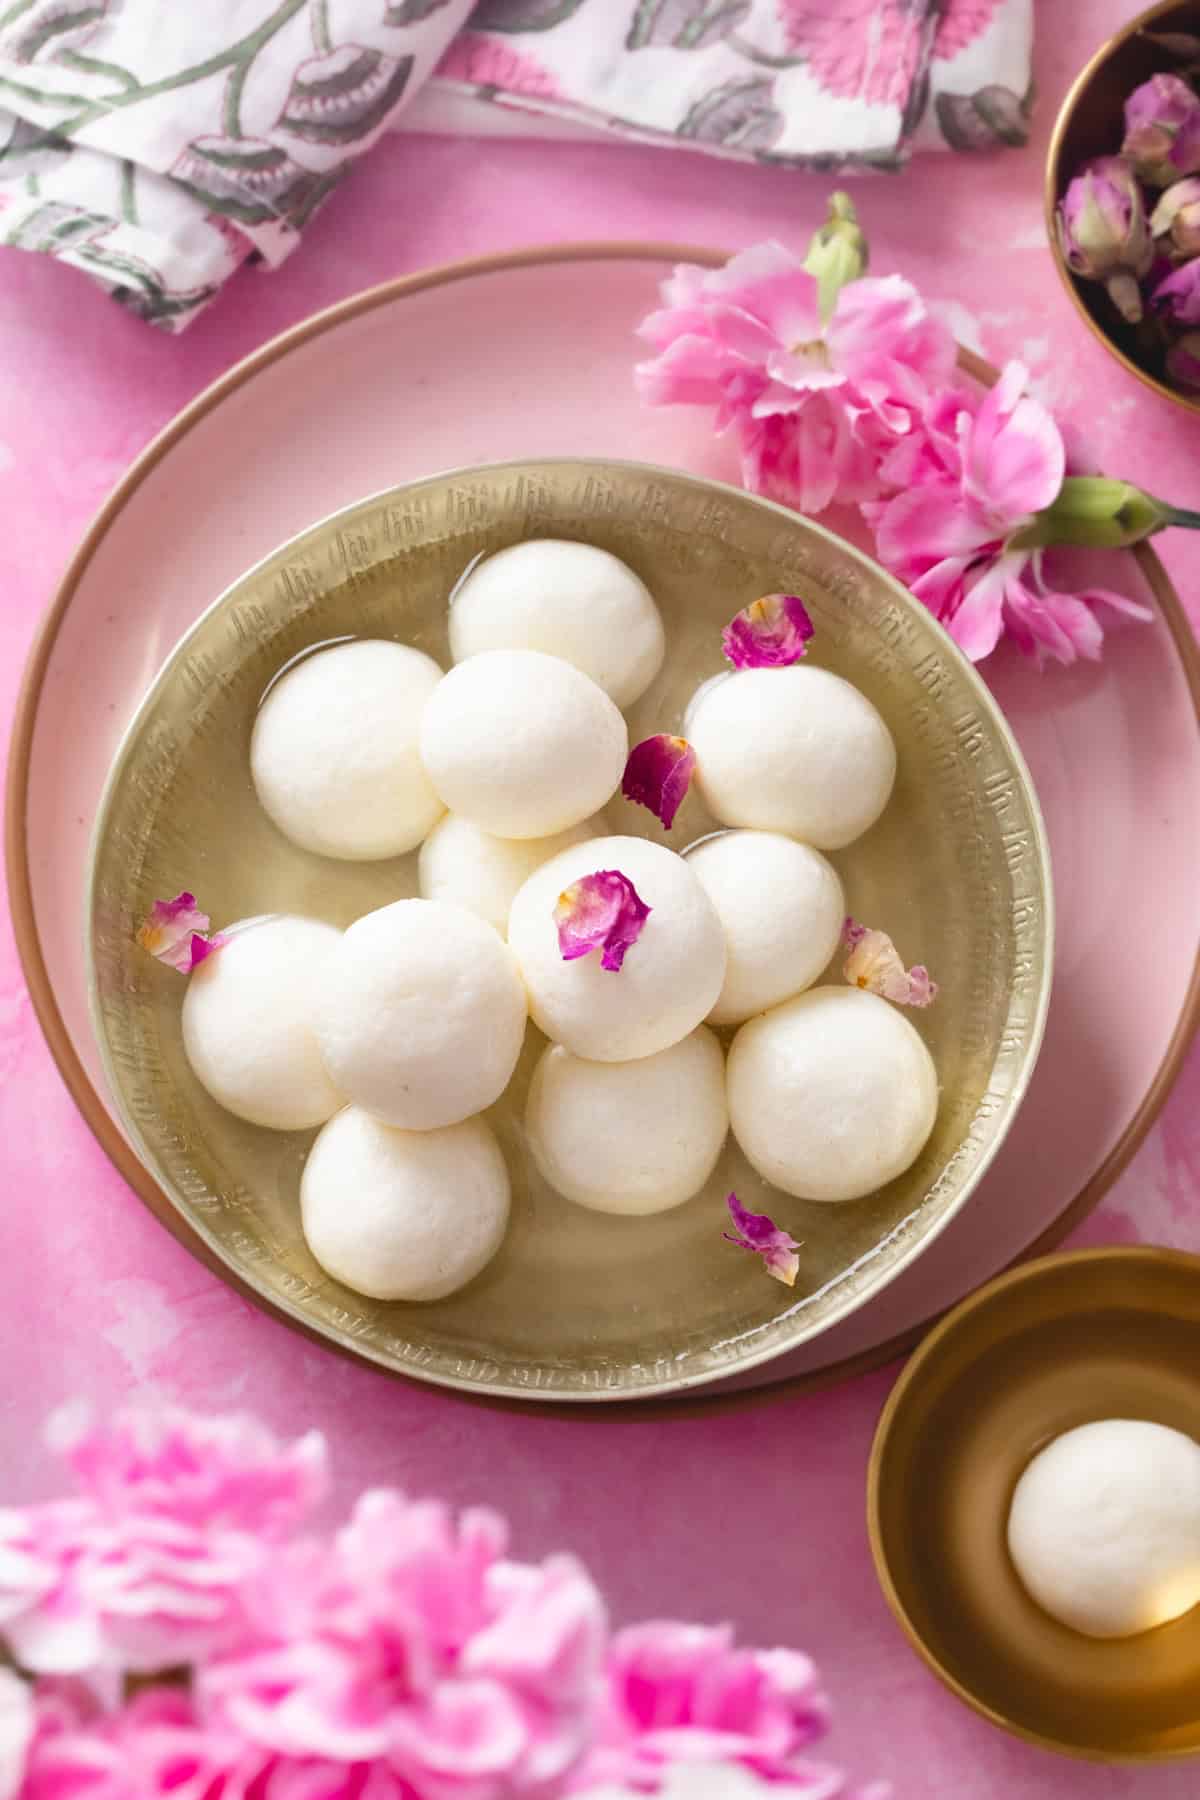
What I love about homemade rasgulla is how simple the ingredients are.It's really just whole milk, sugar and vinegar to curdle the milk. I have had my share of flat, dense rasgullas and failed batches over the years, but each one taught me something about the technique.
Rasgulla is one of those recipes where small technique really matters, from how you curdle the milk and drain the chenna to how much you knead it and how long you cook. It may take a little practice the first time, but once you get a feel for the chenna, rasgullas are actually quite simple to make.
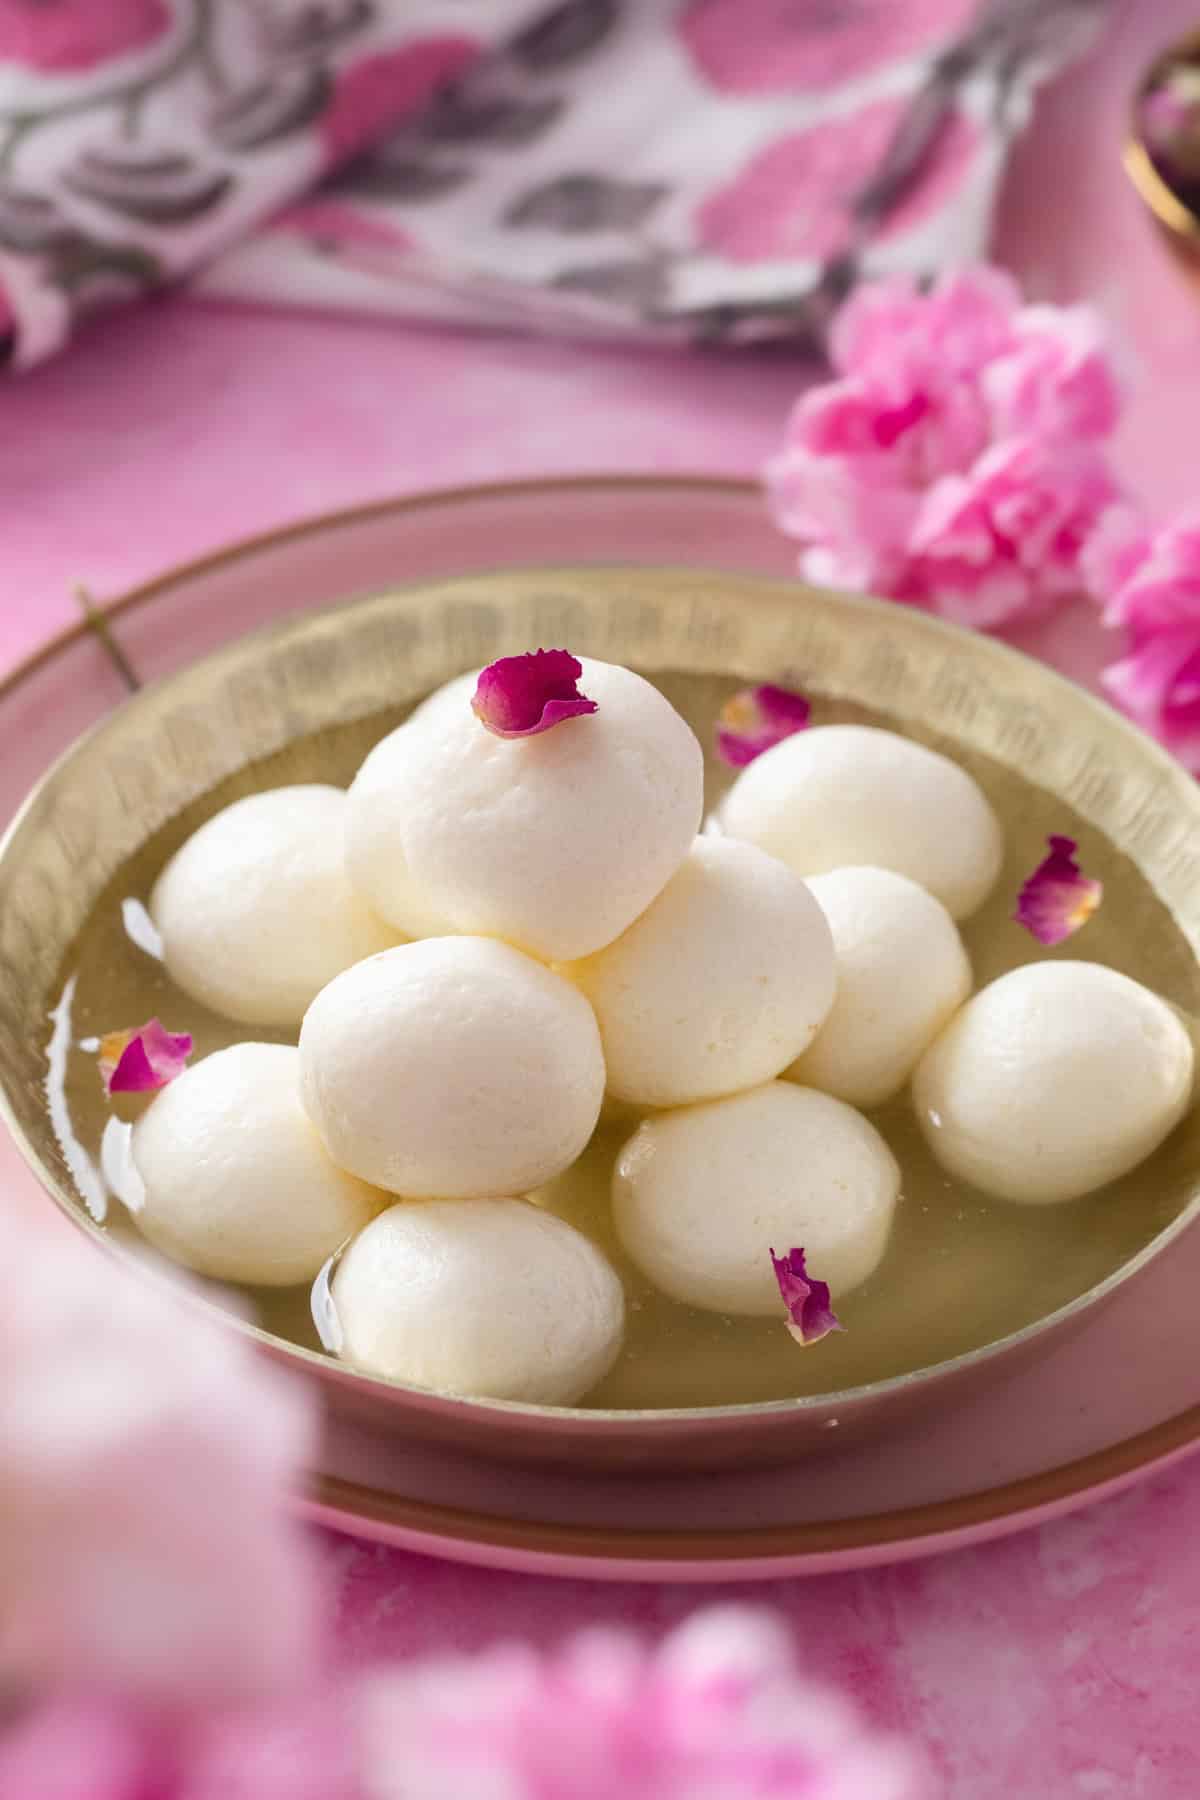
Chenna Is The Most Important STep
1. Use Whole Milk - Whole milk is what you need for rasgulla. The higher fat content gives you chenna that's easier to knead and shape. Many recipes use skimmed milk, but in my trials, I felt that whole milk gives softer rasgulla. Here in US, cow milk is easily avalibale to me & that's what I use.
2. I prefer using white vinegar over lemon juice when making rasgulla. In my expericence, the citrusy taste and aroma of lemon can be bit difficult to wash off the chenna. Vinegar on the other hand is neutral and rinses off easily with no residual smell.
3. Don't shock the chenna- We don't want to curdle the milk while its boiling.Dilute the vinegar before adding and add it in parts. Nothing abrupt in terms of cooking or handling to get soft curds, rather than firm,rubbery ones.
4. Make sure that as soon as the chenna forms, you immediately separate it from the whey. Don't let chenna sit in the acidic and hot whey for too long. Leaving it in for long will continue to cook the curds and make them firm. Drain right away so the chenna stays soft and tender.
5. Avoid draining the chenna for long - If drained for too long, chenna will become dry and difficult to knead. This will eventually give you a chewy rasgulla.
6. Don't overknead - Knead the chenna until it goes from crumbly to smooth and you can easily shape it into crack-free balls. Stop once you reach that stage. If you keep kneading until the chenna becomes greasy or starts releasing fat, you've gone too far. I have mentioned the exact time of kneading in the recipe and that will help you achieve perfect results.
Why Rasgulla Needs A Sweeter Sugar Syrup
Many people say that making rasgulla at home is very similar to homemade rasmalai, and while I partly agree, it took me a few attempts to understand one important difference. During my trials, I made a couple of batches using my rasmalai method and couldn't figure out why the rasgulla tasted flat. Turns out, I wasn't adjusting the sweetness of the sugar syrup.
With rasmalai, the chenna patties are eventually soaked in sweetened milk, so they can be cooked in a lightly sweetened sugar syrup. Rasgulla, on the other hand, gets all its sweetness from the syrup it is cooked and soaked in. If you use the same lightly sweet syrup for soaking, the rasgulla itself can taste quite bland.
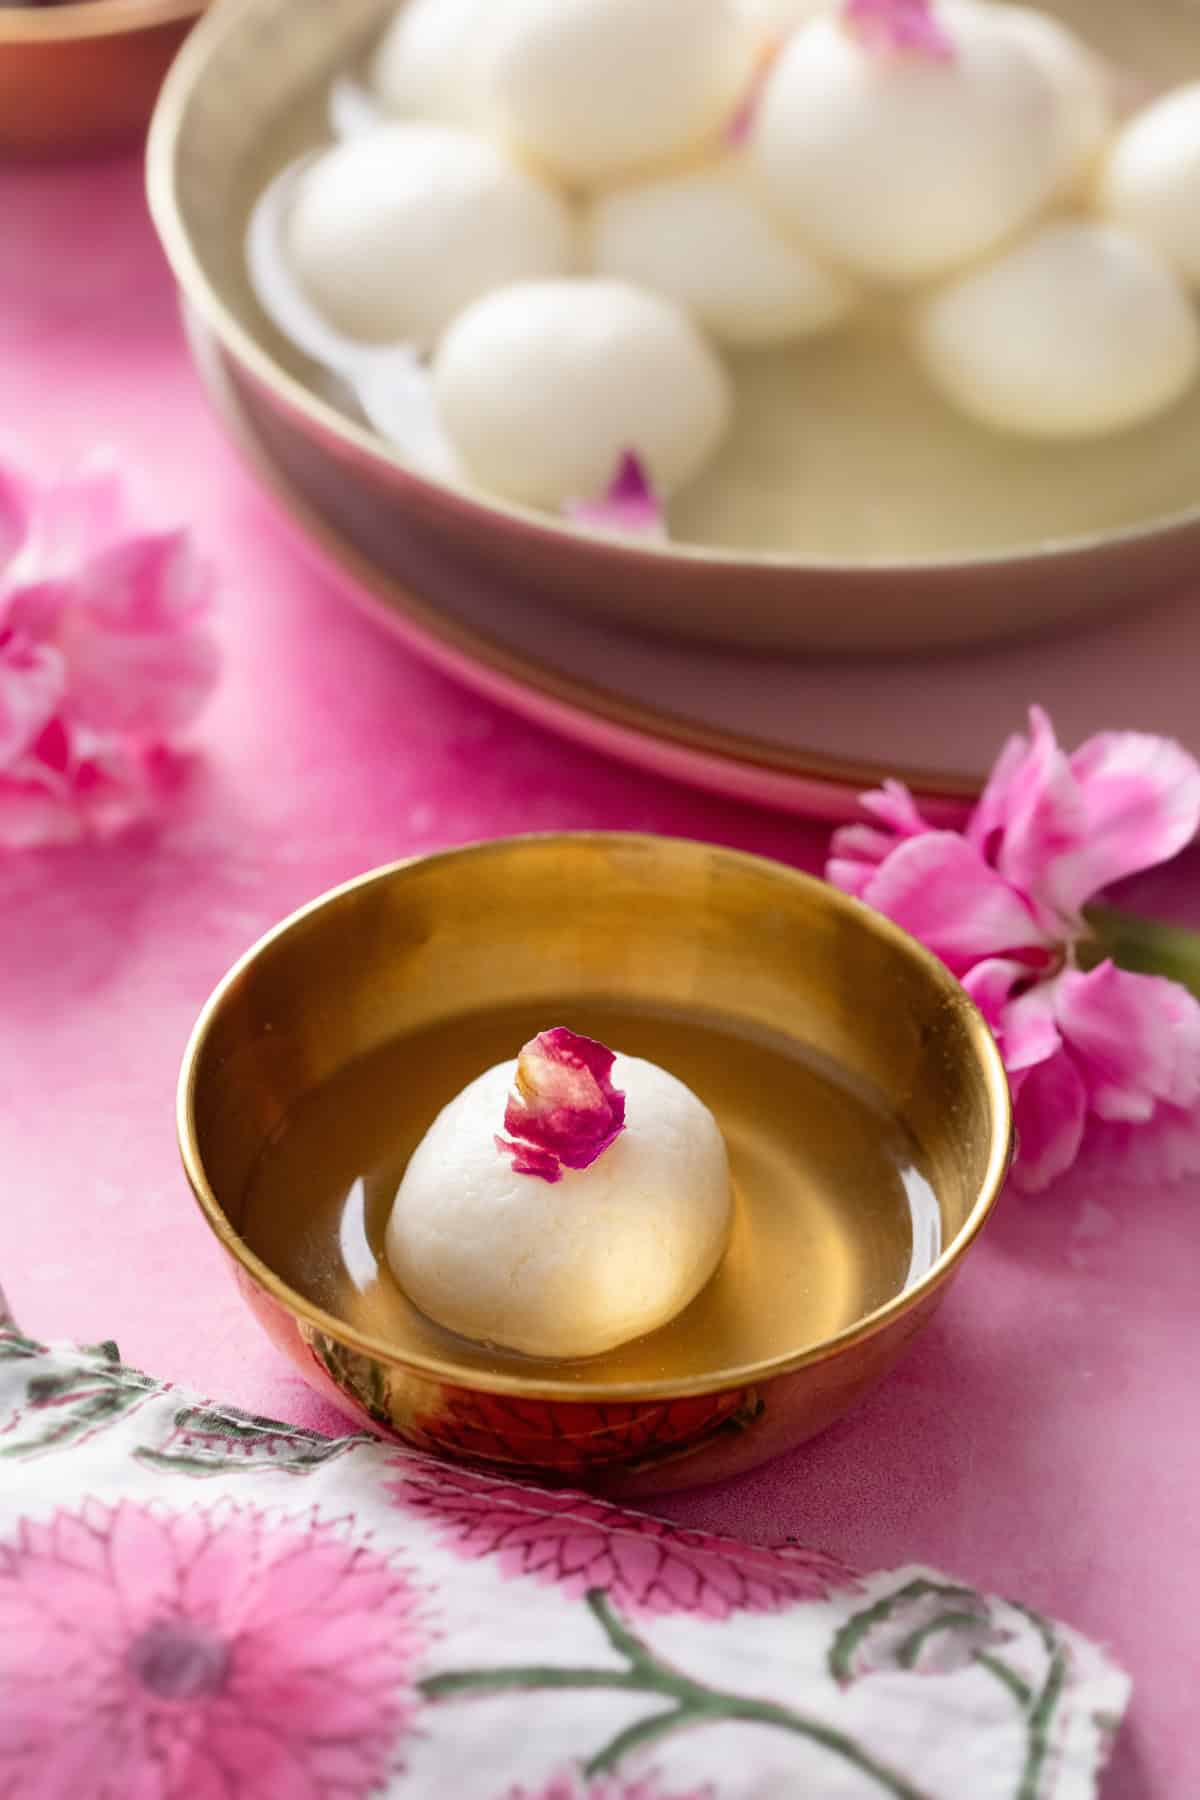
You can fix this in two ways. Either prepare a seperate, sweeter sugar syrup separately and soak the cooked rasgulla in it, or, as I prefer to do, add more sugar to the cooking syrup once the rasgullas are done.This way you don't need to make a second syrup. While we are discussing sugar, let me also highlight that use white unrefined fine sugar for making rasgulla. Raw sugar will not work.
Instructions
- In a large, heavy bottomed cooking pot(4 qt or larger), bring whole milk to a boil on medium heat. Keep stirring the milk gently as it is warming up to avoid cream formation on top. Keep heat gentle (else it may catch the bottom). For 1 litre of milk it will take 10-12 minutes.
- Once boiling,immediately switch off the flame.There's no need to cook the milk. After switching the flame, keep stirring and wait for 2-3 minutes for the milk to cool down a bit. The reason for constant stirring is that we do not want the cream formation on top of milk.
- Gradually start adding the diluted vinegar to the hot milk. I add in 3 parts and stir gently after each addition. After the third addition, you will see green whey seperating and milk solids (chenna particles).
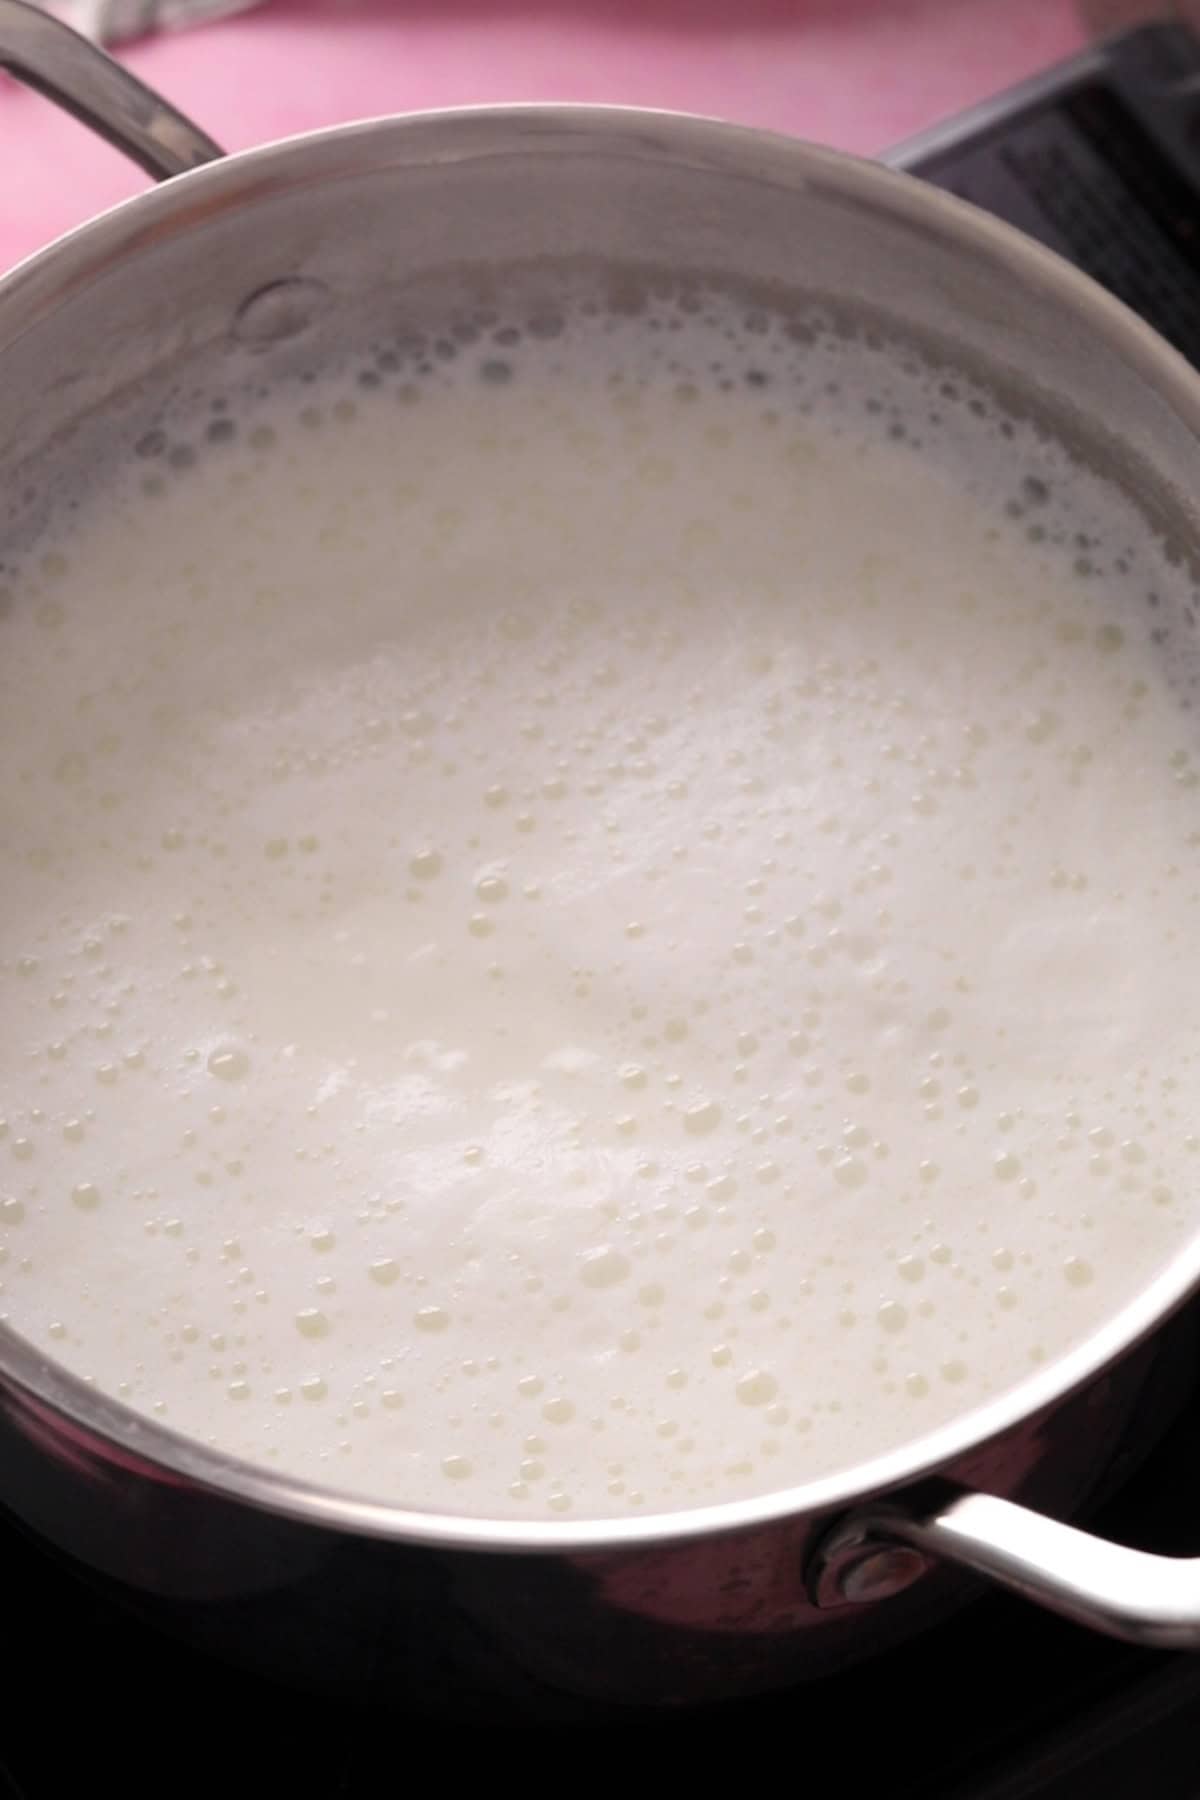
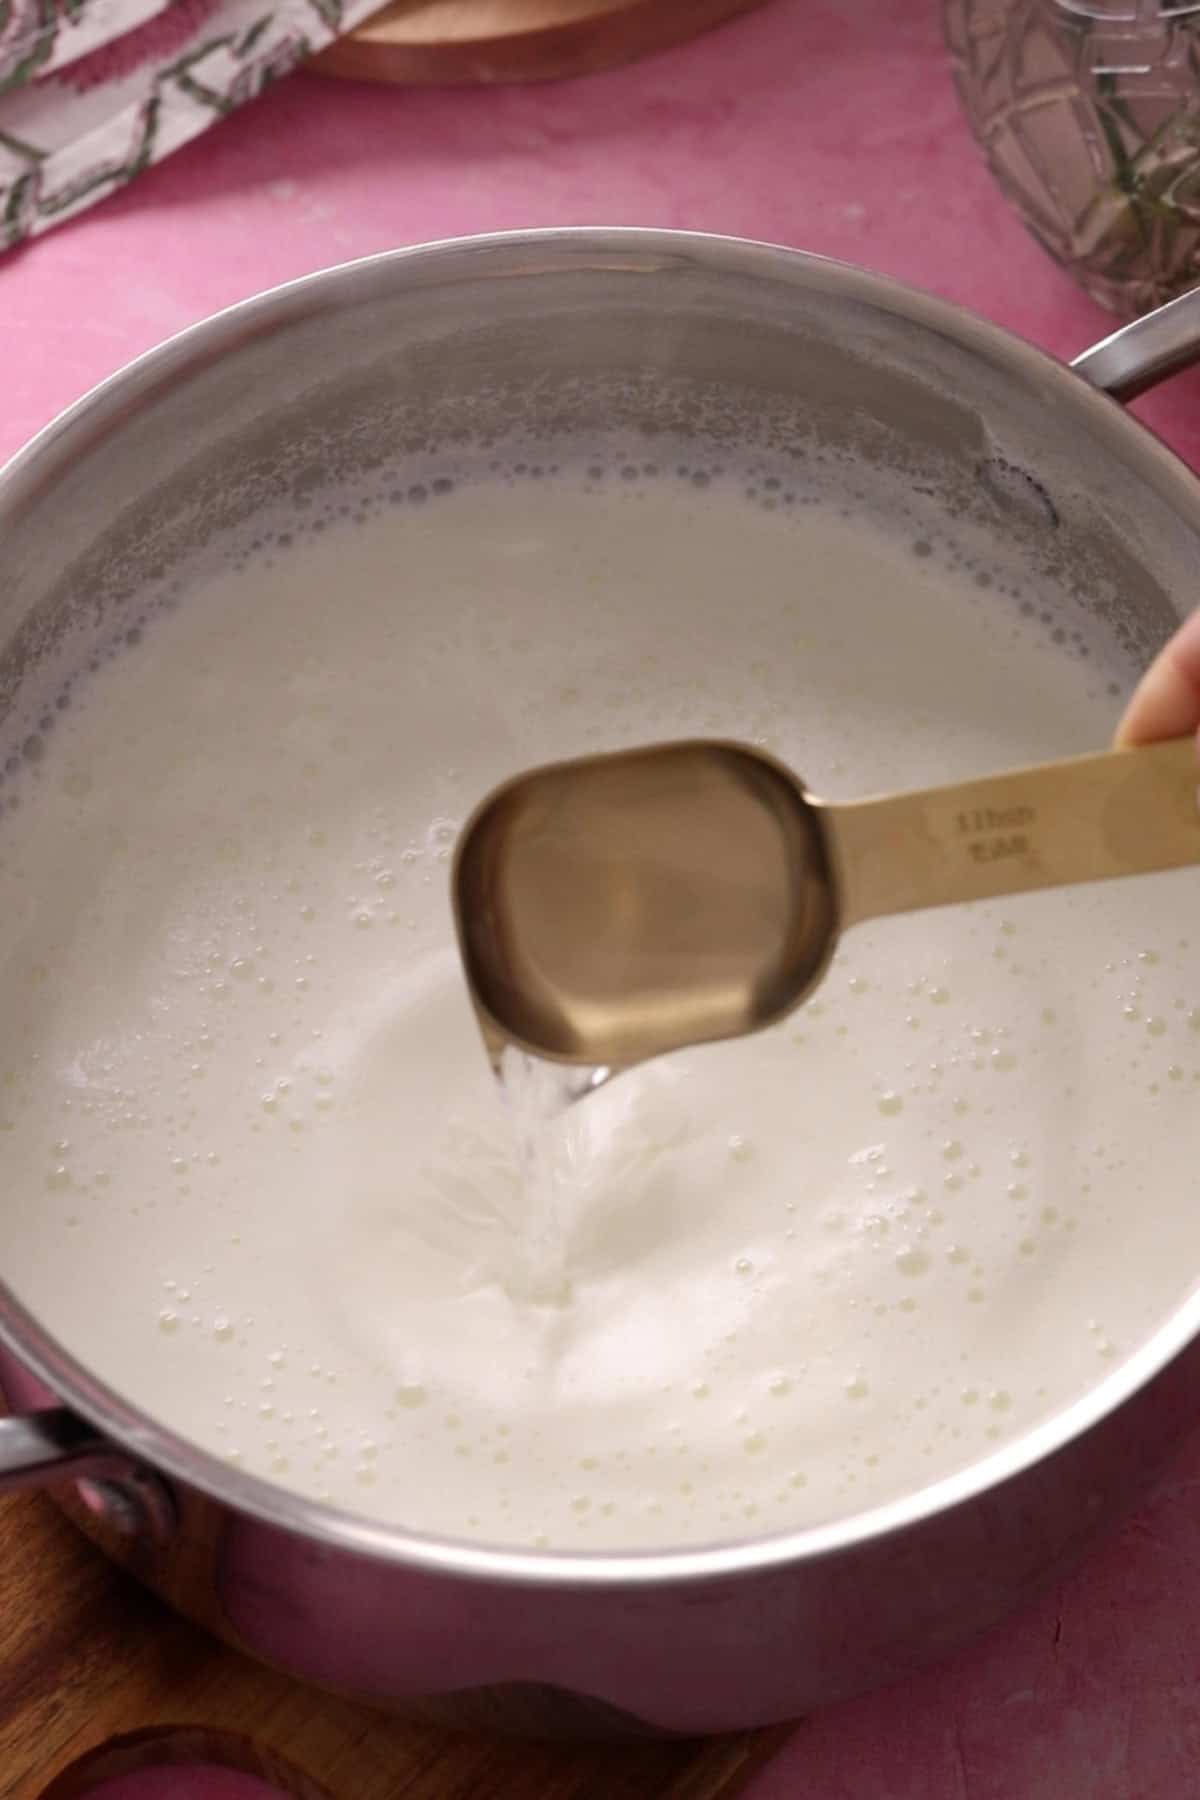
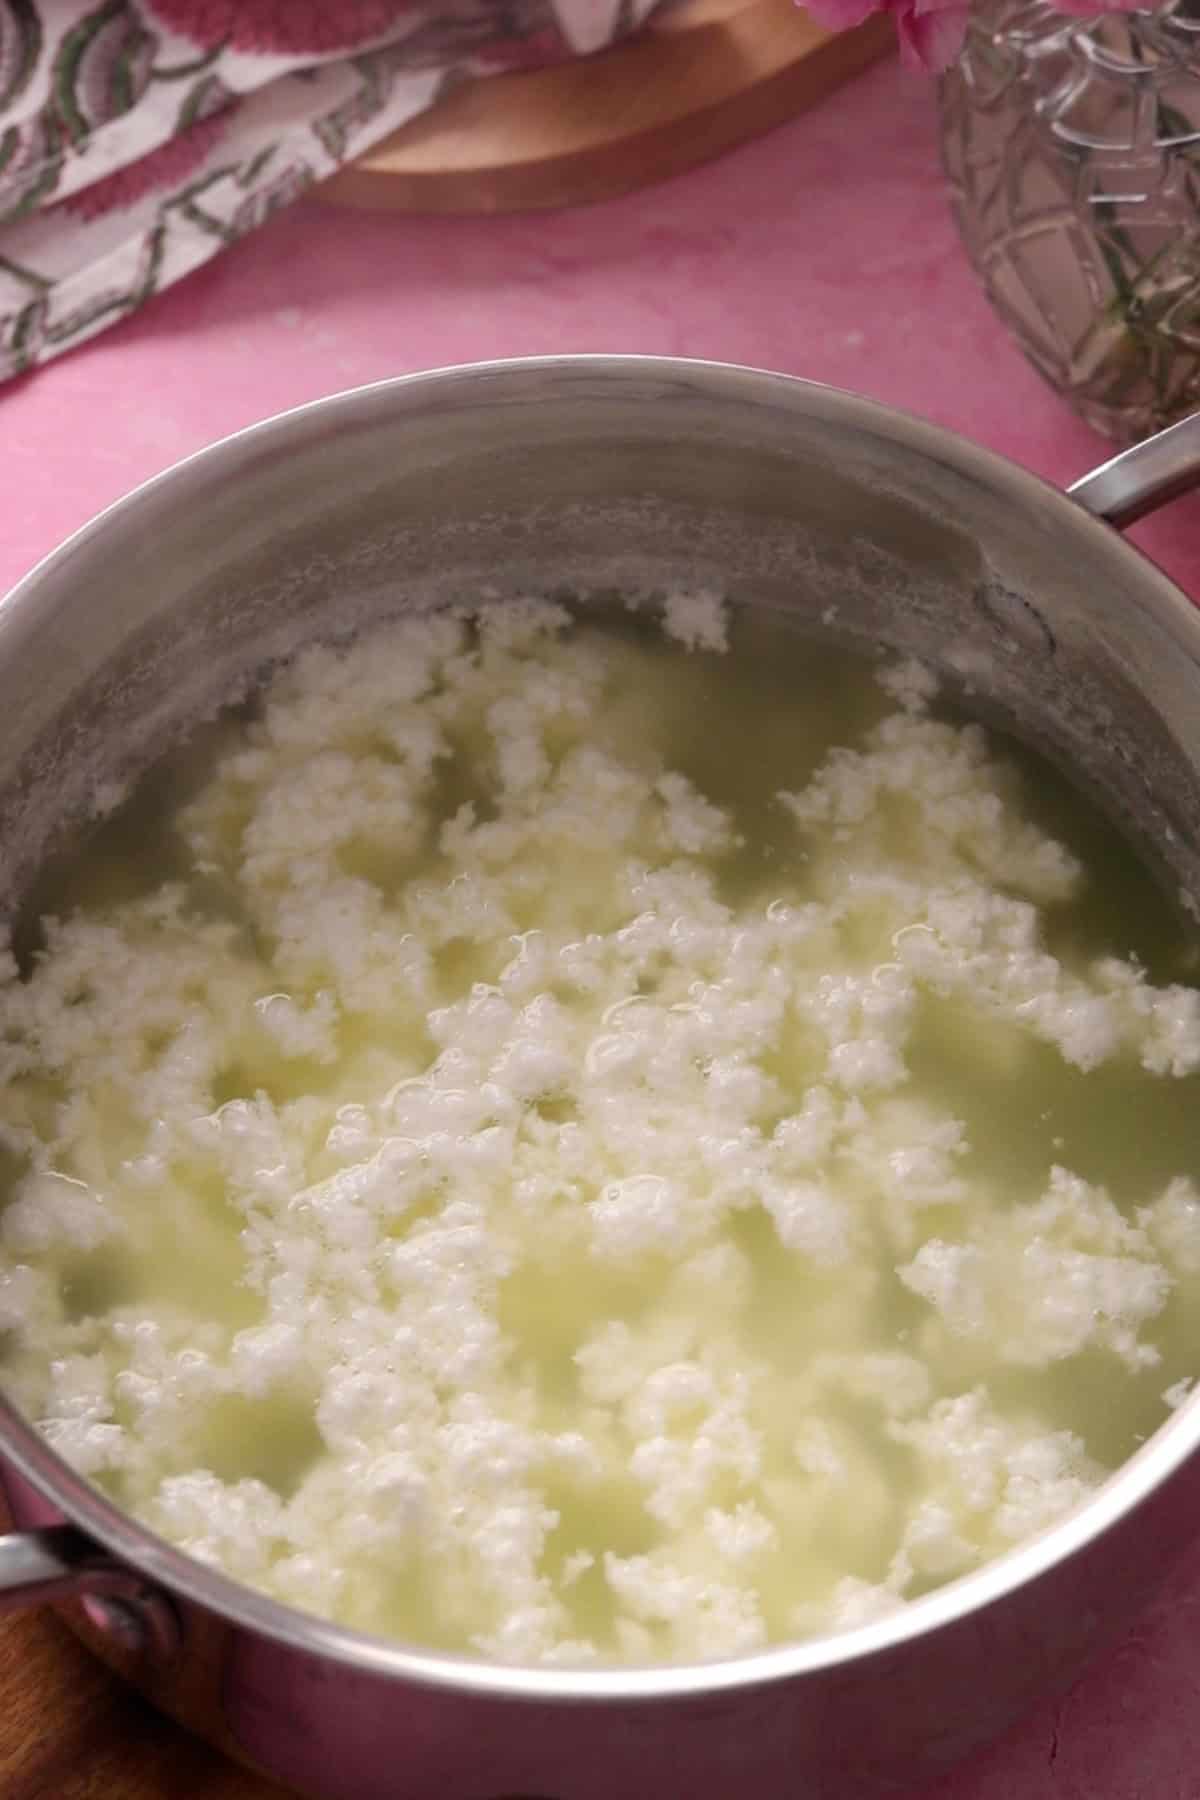
- Add 3-4 ice cubes. This stops chenna from cooking further in hot whey and getting tough.
- Don't let the chenna sit in the acidic environment for too long. Immediately strain the chenna through a muslin-lined colander. Rinse well with fresh water to remove any vinegar taste and to cool the chenna so it stops cooking.
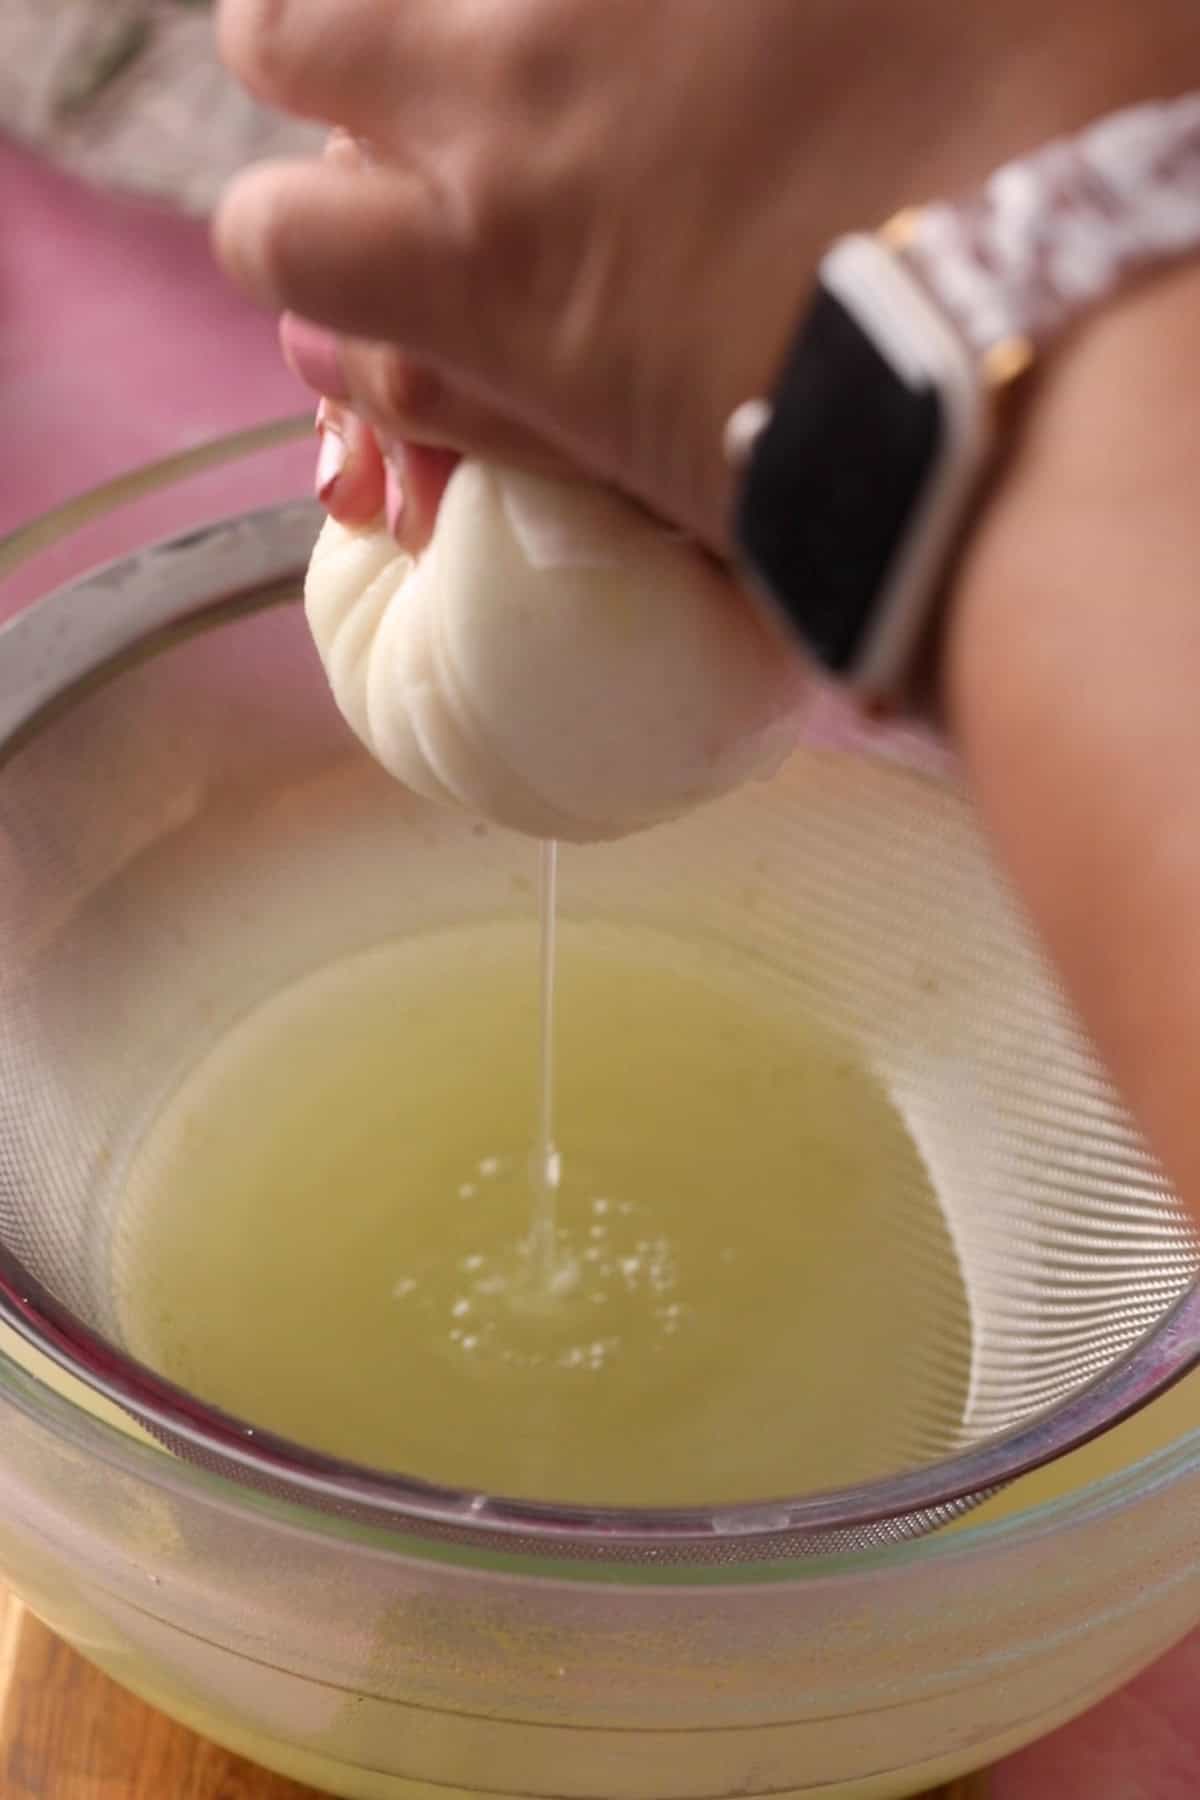
- Lift the muslin and let the excess whey drip naturally for 1-2 minutes. Gently squeeze it 2-3 times, but don't squeeze it completely dry. The chenna should still feel soft and moist.
- Place the wrapped chenna back in the sieve, set a light weight over it and let it drain for about 20-25 minutes.
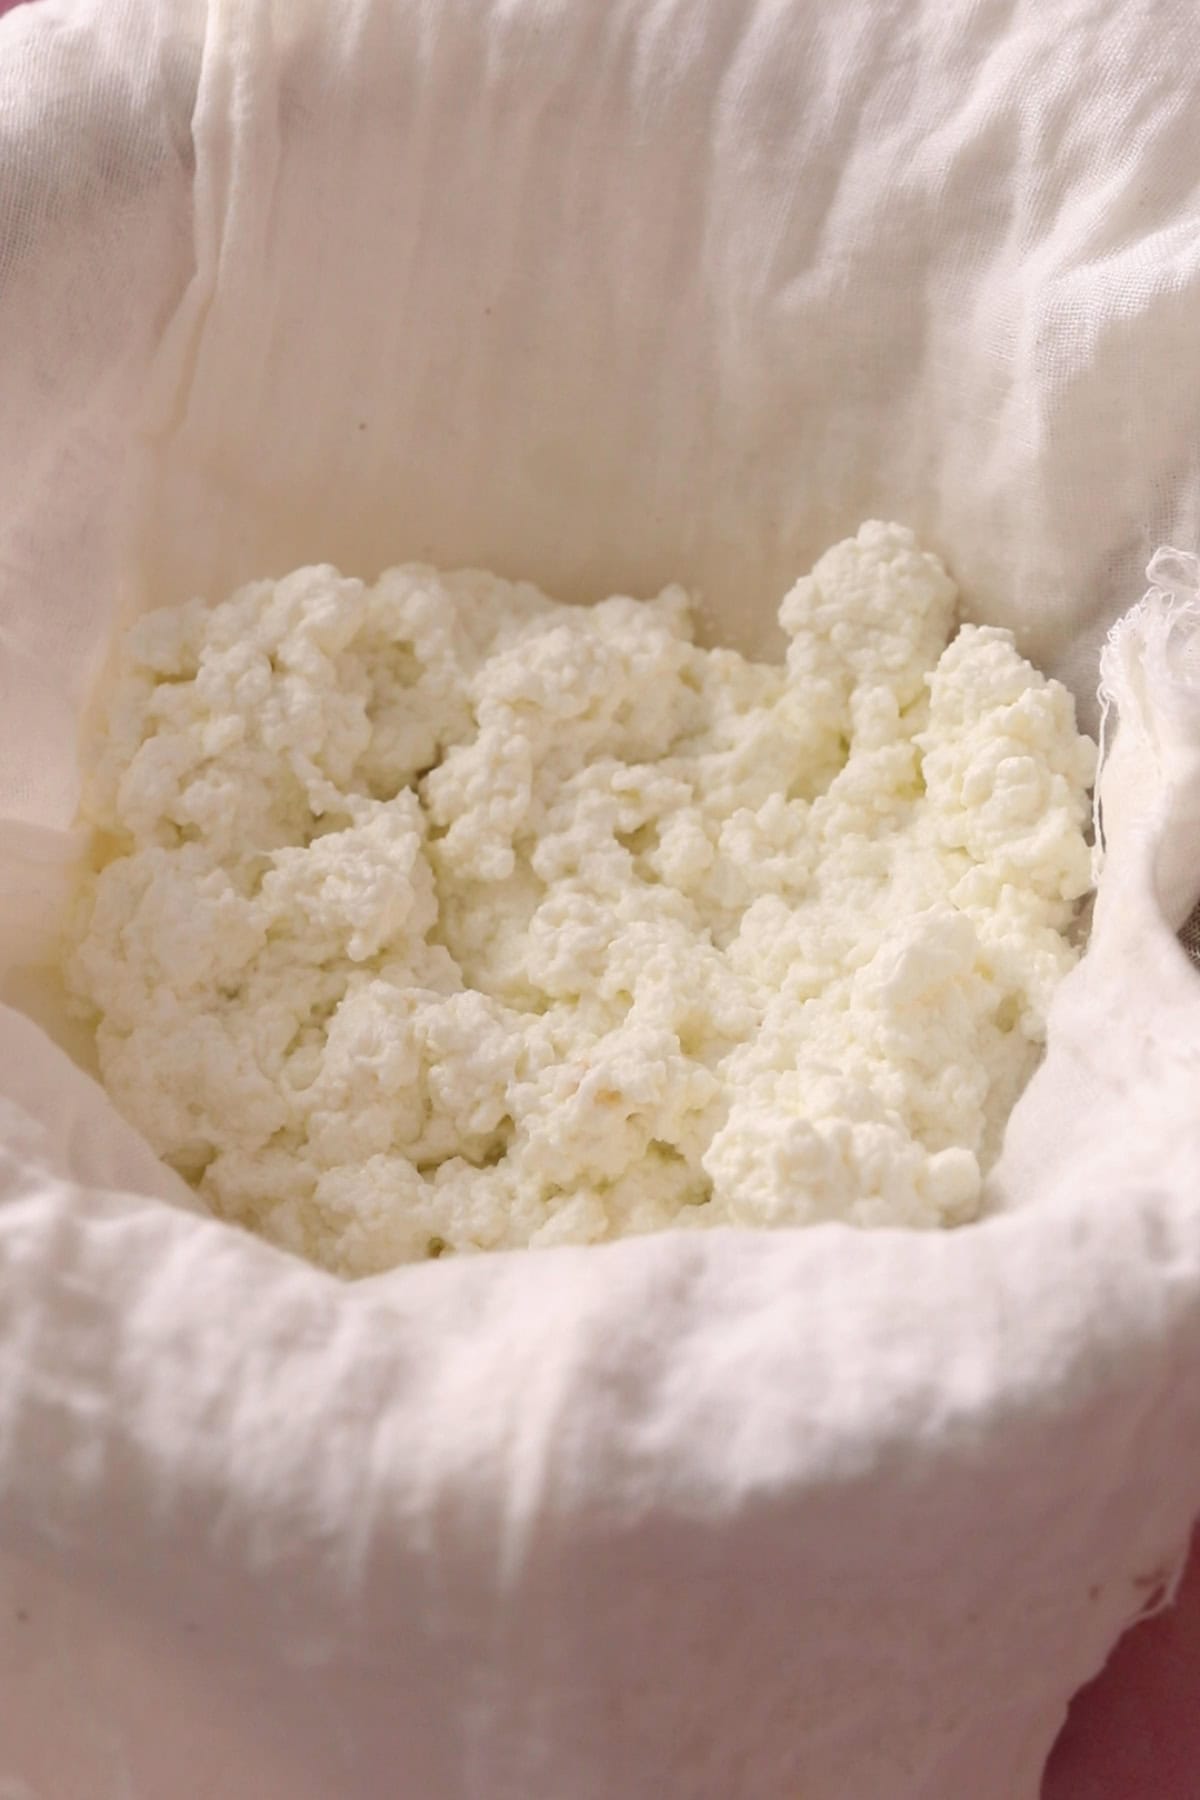
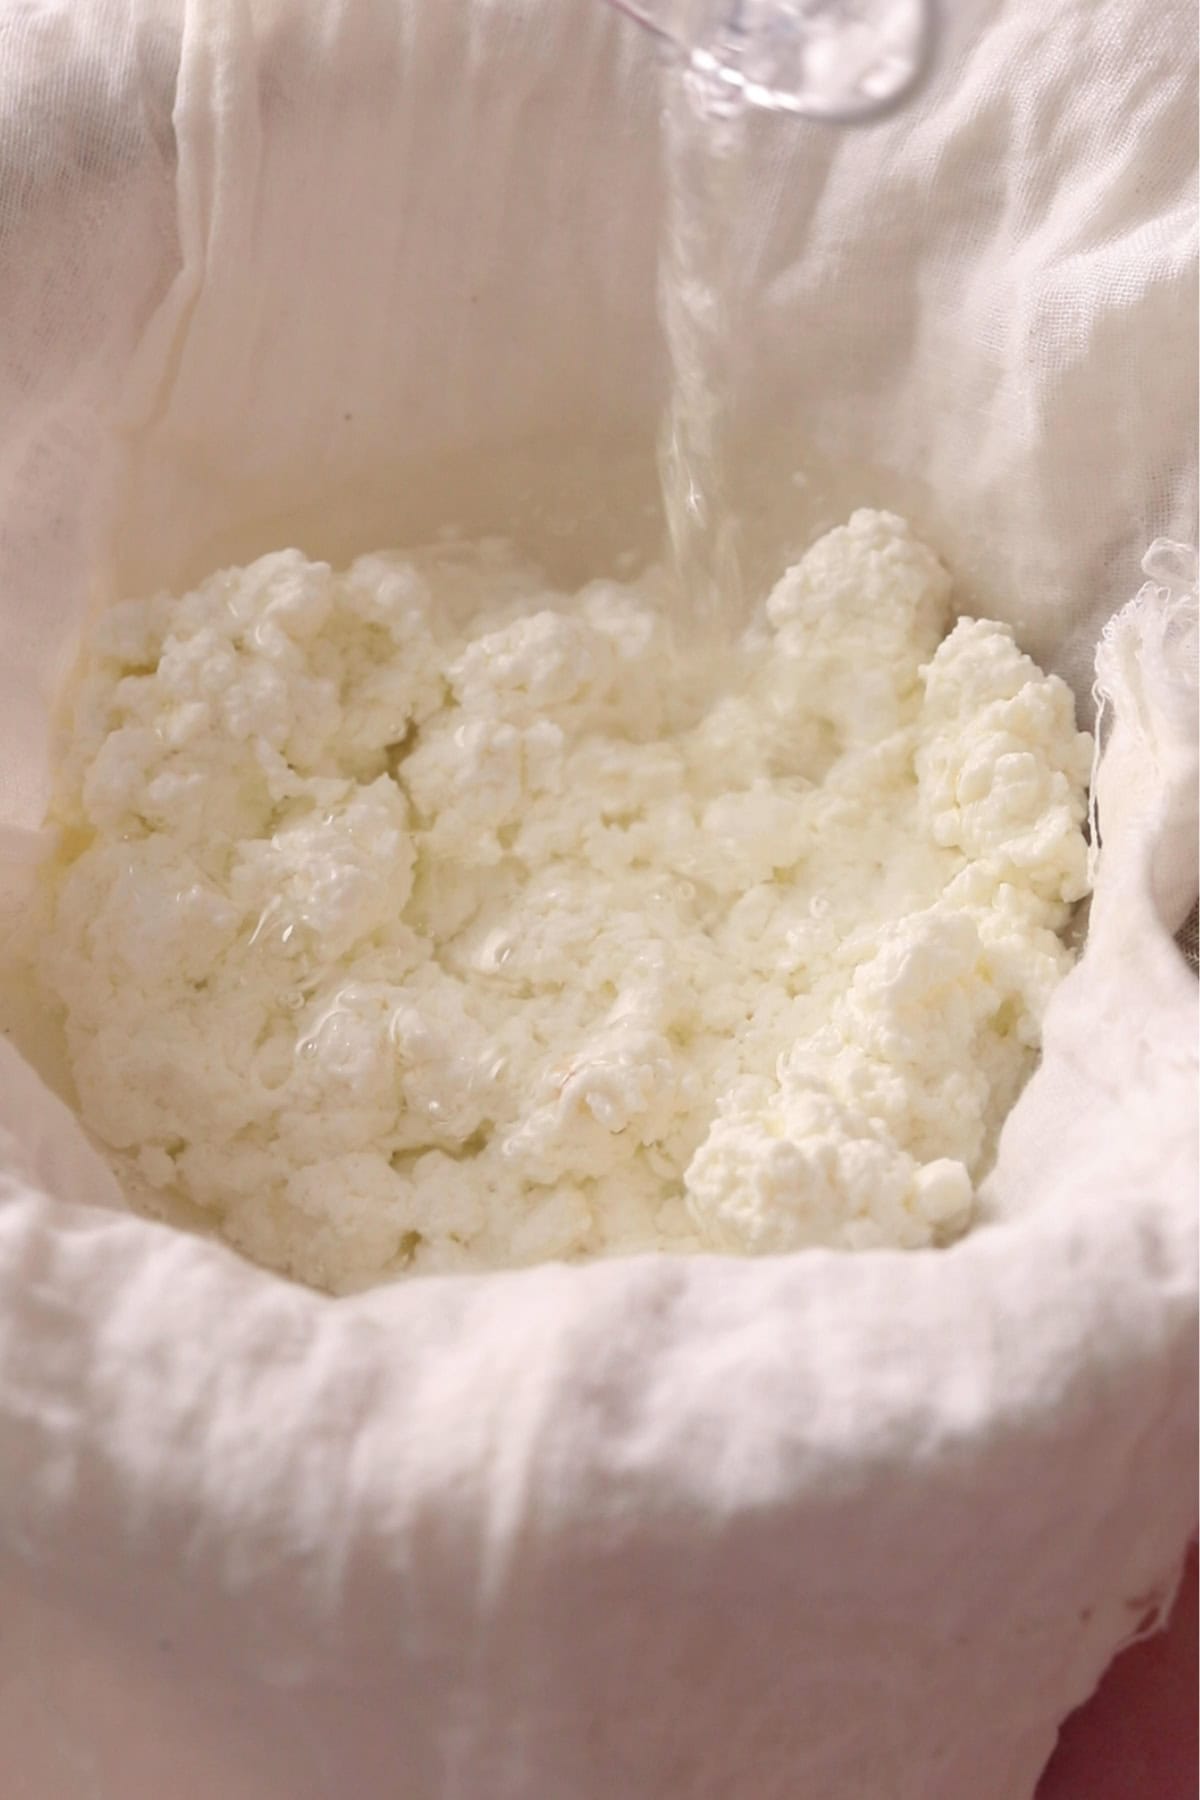
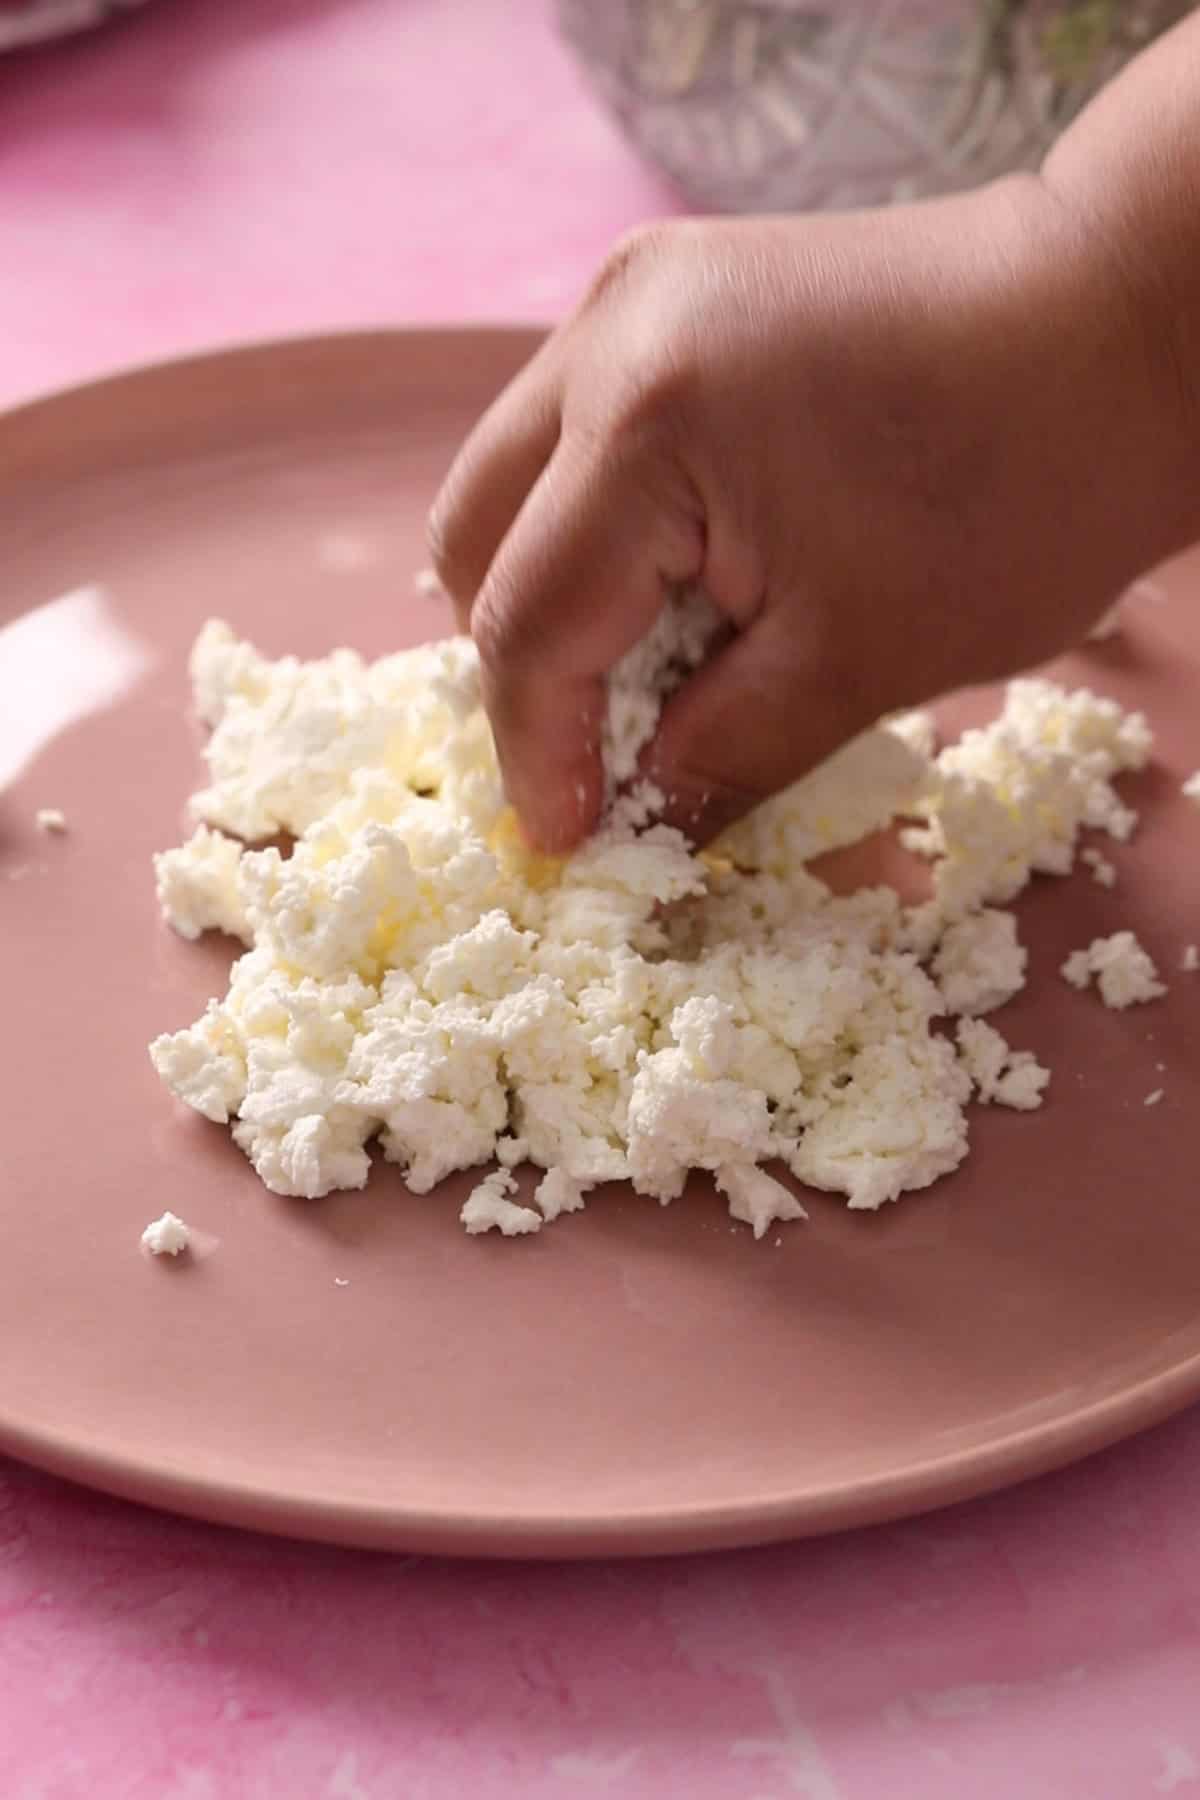
- Place the rested chenna to a large plate and crumble it. Add 1-2 drops of rose essence over the crumbled chenna. Now, set a timer for 8 minutes.
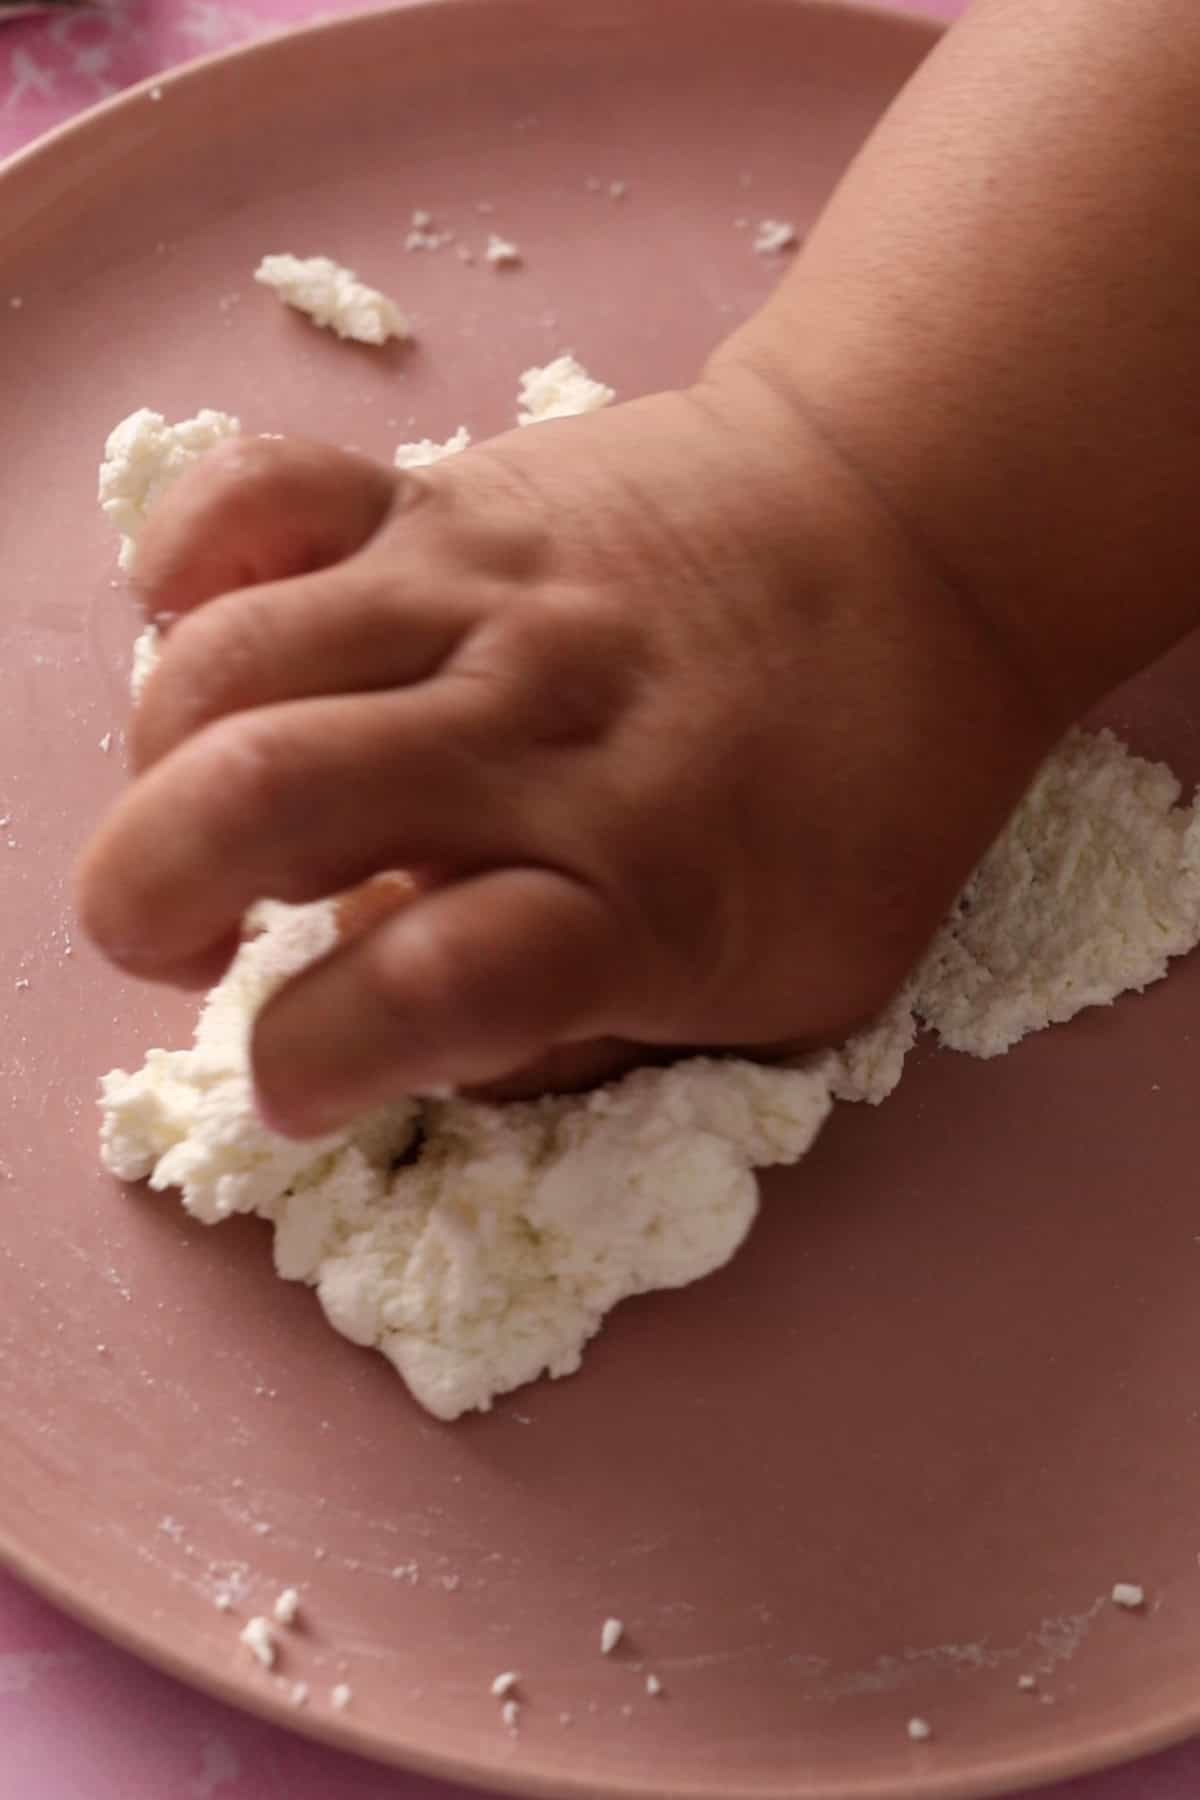
- Using the heel of your palm, gently press and rub the chenna against the plate. Keep kneading for about 7-8 minutes until it becomes smooth and comes together like a soft dough. Chenna should not feel sticky or grainy. Stop before it starts feeling greasy or oily. Add the flour and mix just until evenly incorporated. Flour acts as a binder.
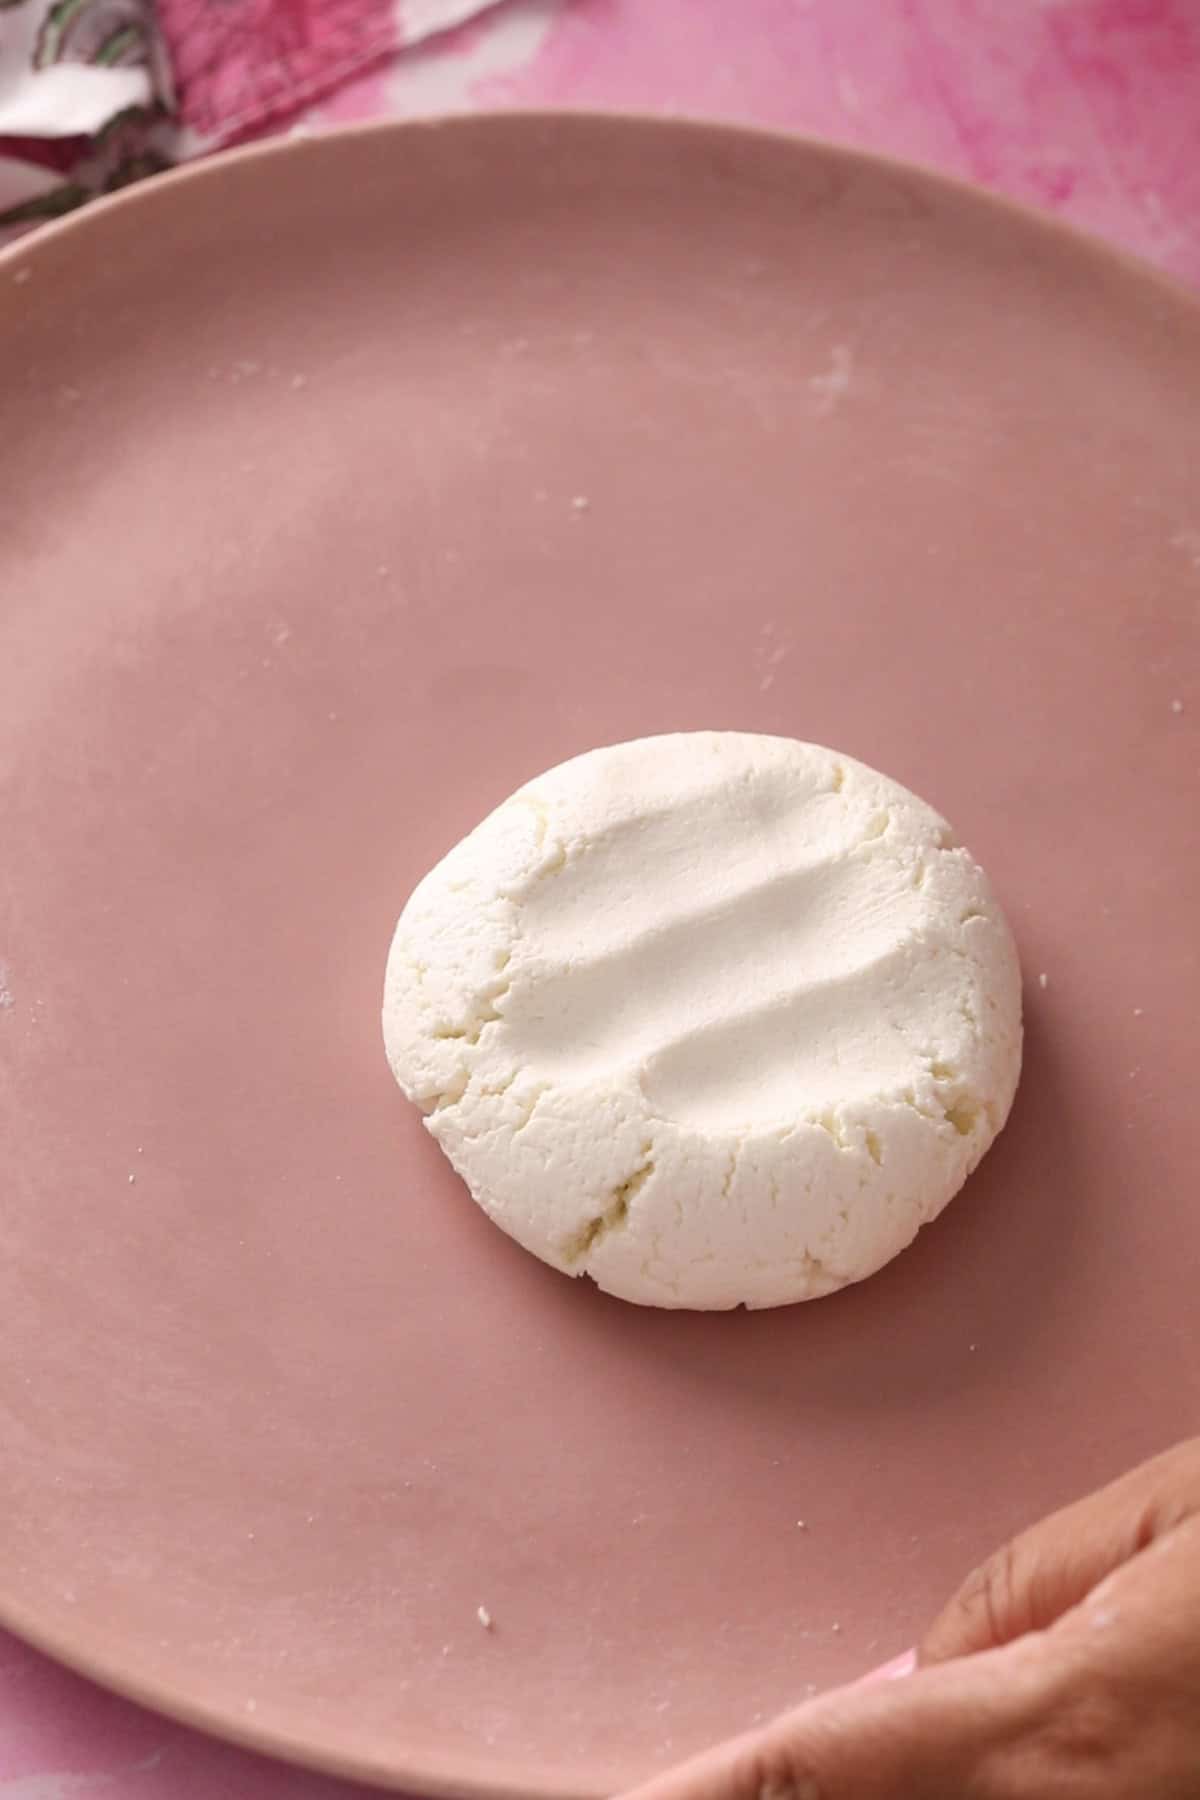
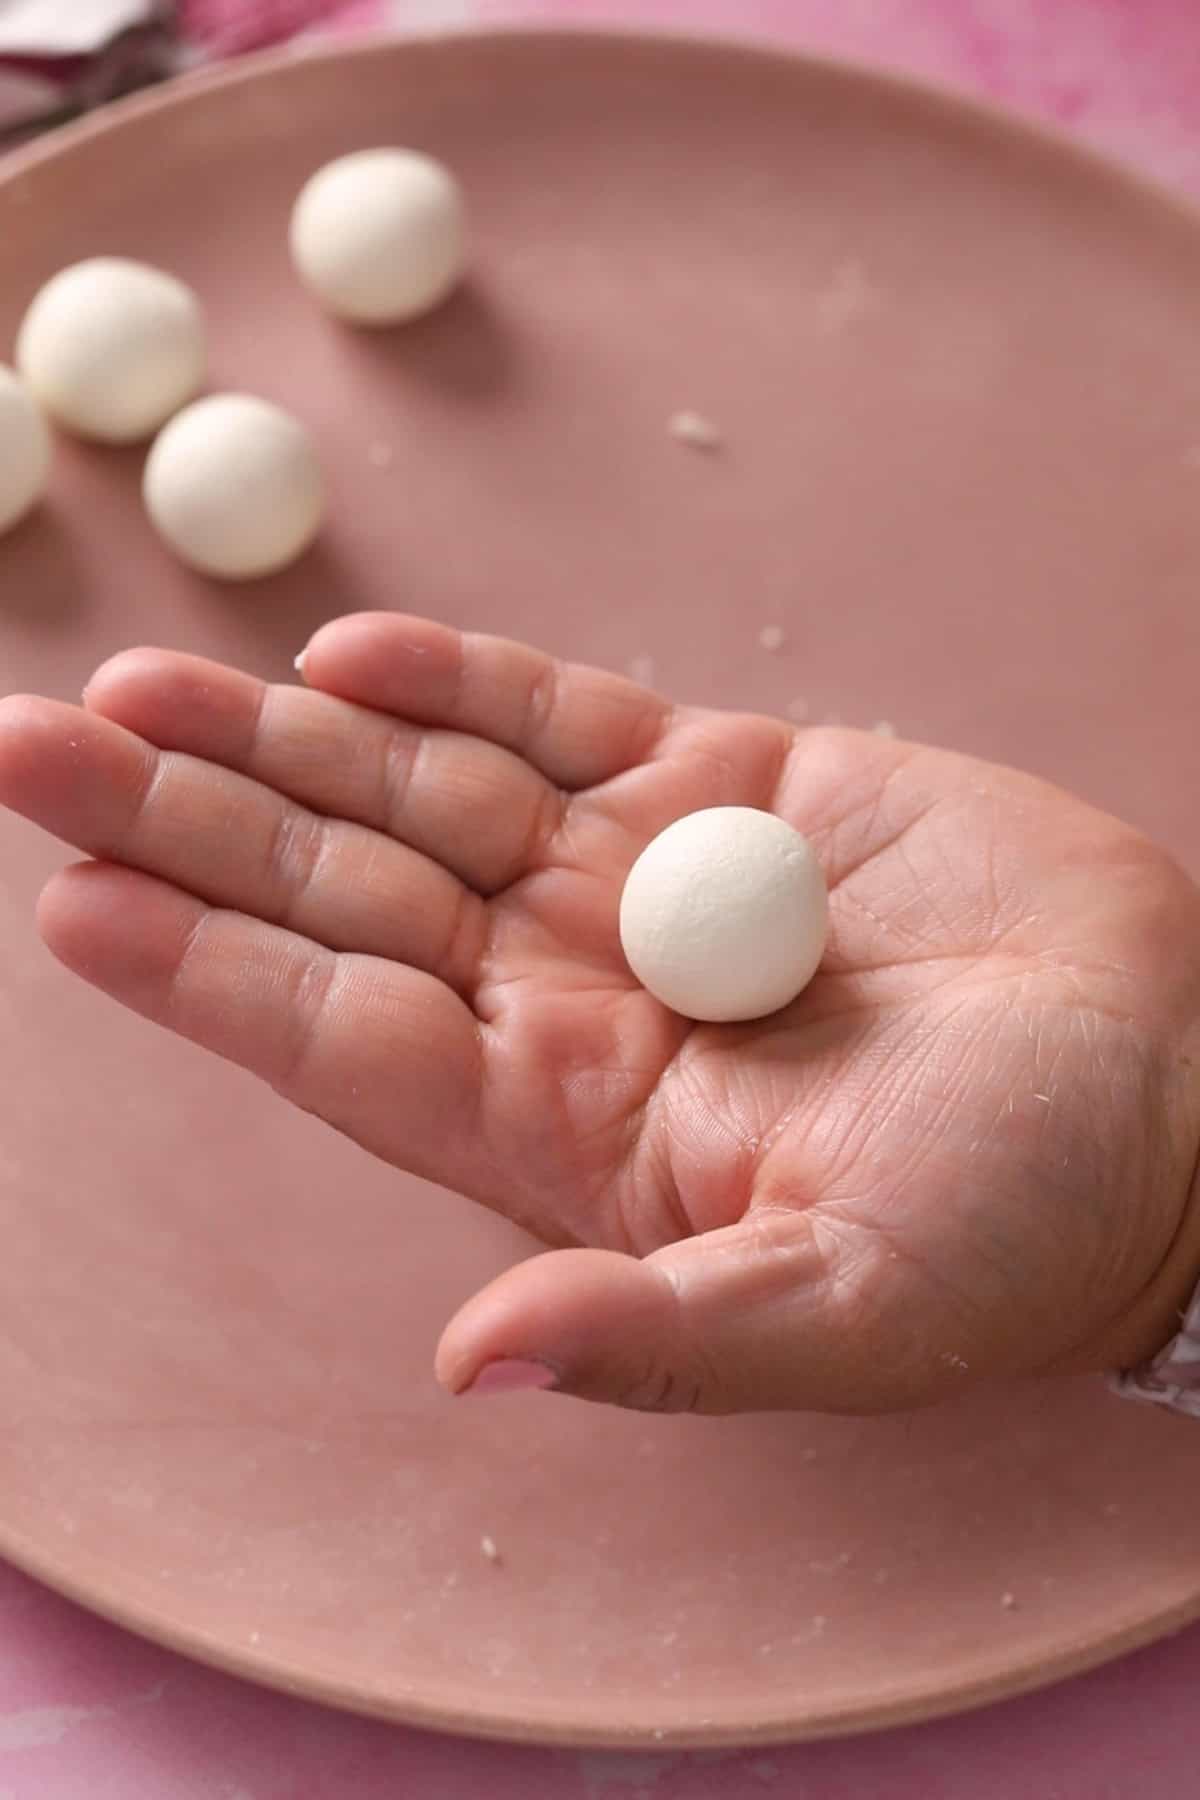
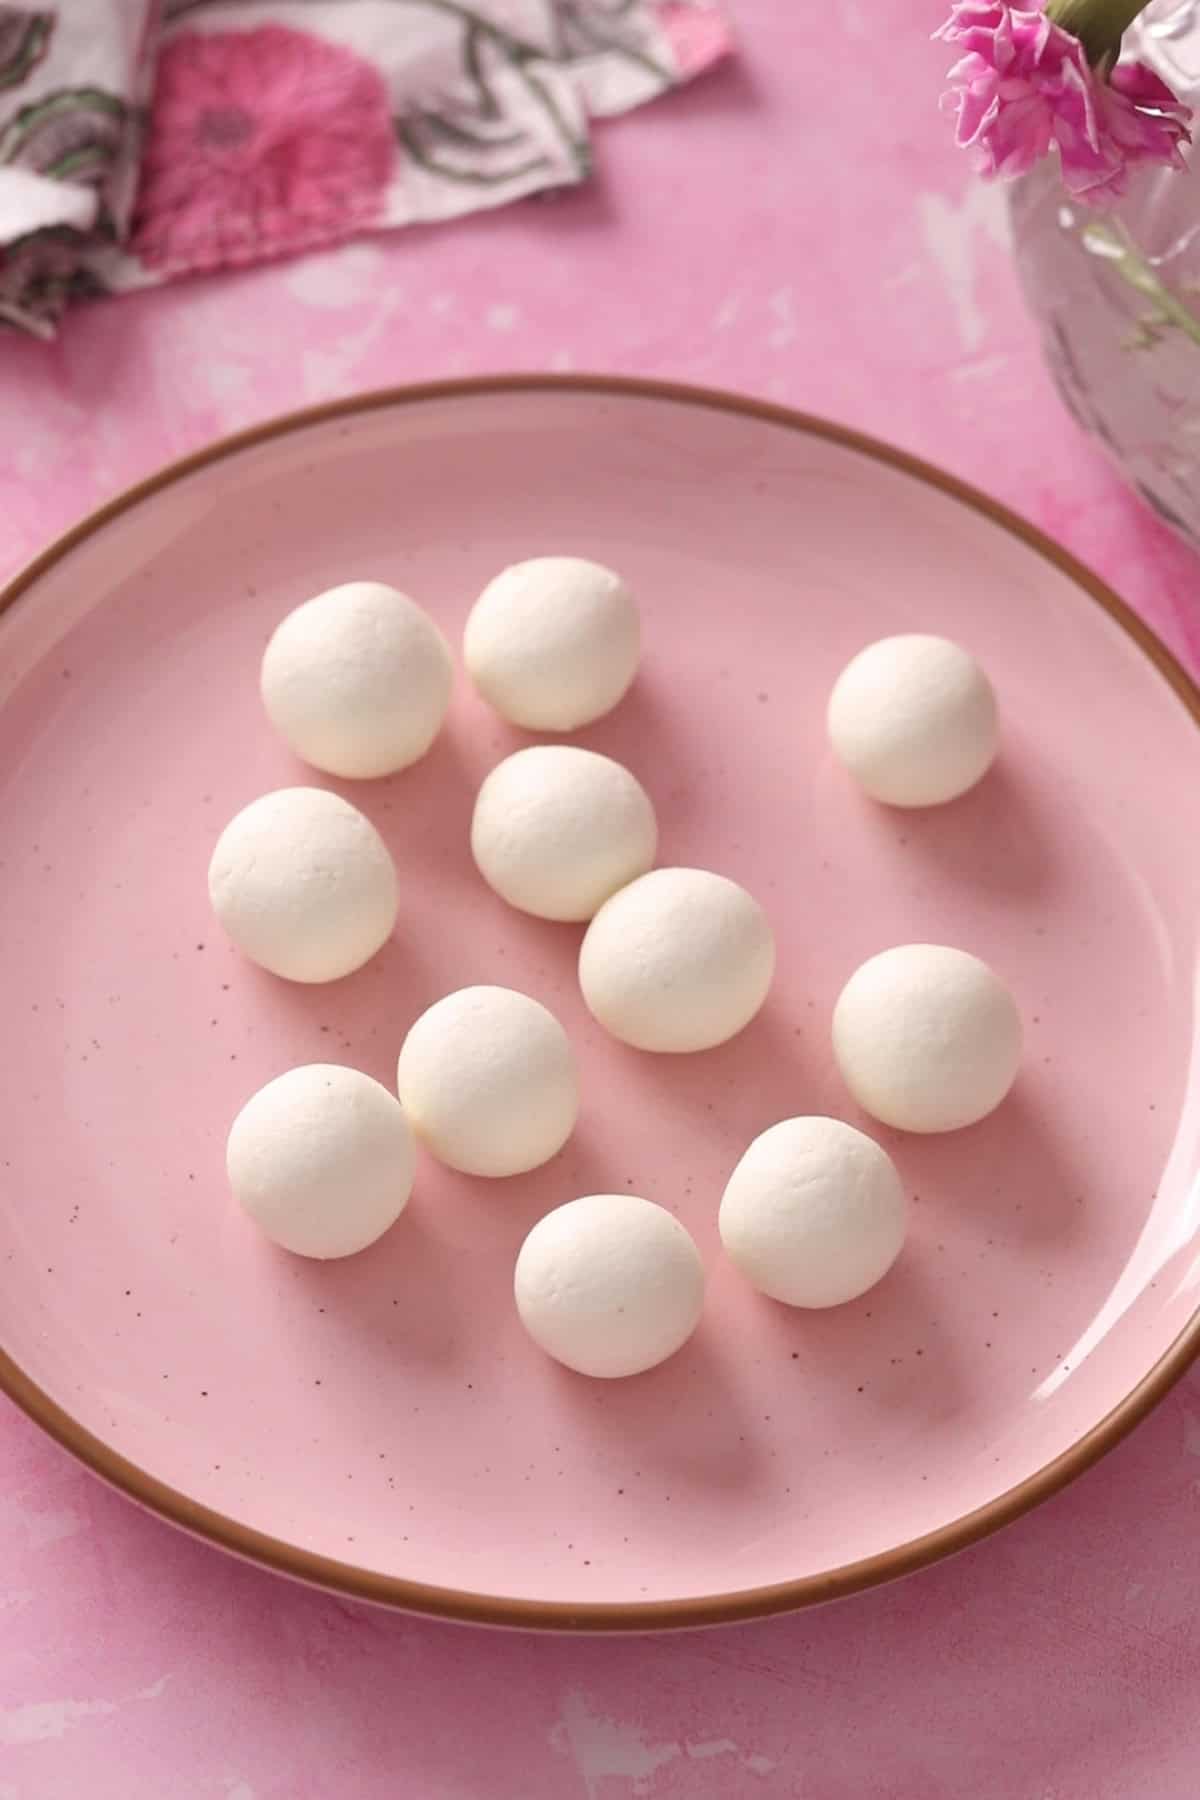
- Divide the chenna into small portions and roll each one between your palms into a smooth ball. Make sure the balls have no cracks, as cracked rasgulla can break apart while cooking. Also, keep in mind that they will expand considerably in the syrup.
- While the chenna rests, prepare the sugar syrup. Add sugar and water to a wide kadai(I use a 12 inch kadai). You have to make sure that the kadai or pan you use has ample space to accomodate for expansion of rasgulla. Set to boil on medium flame.
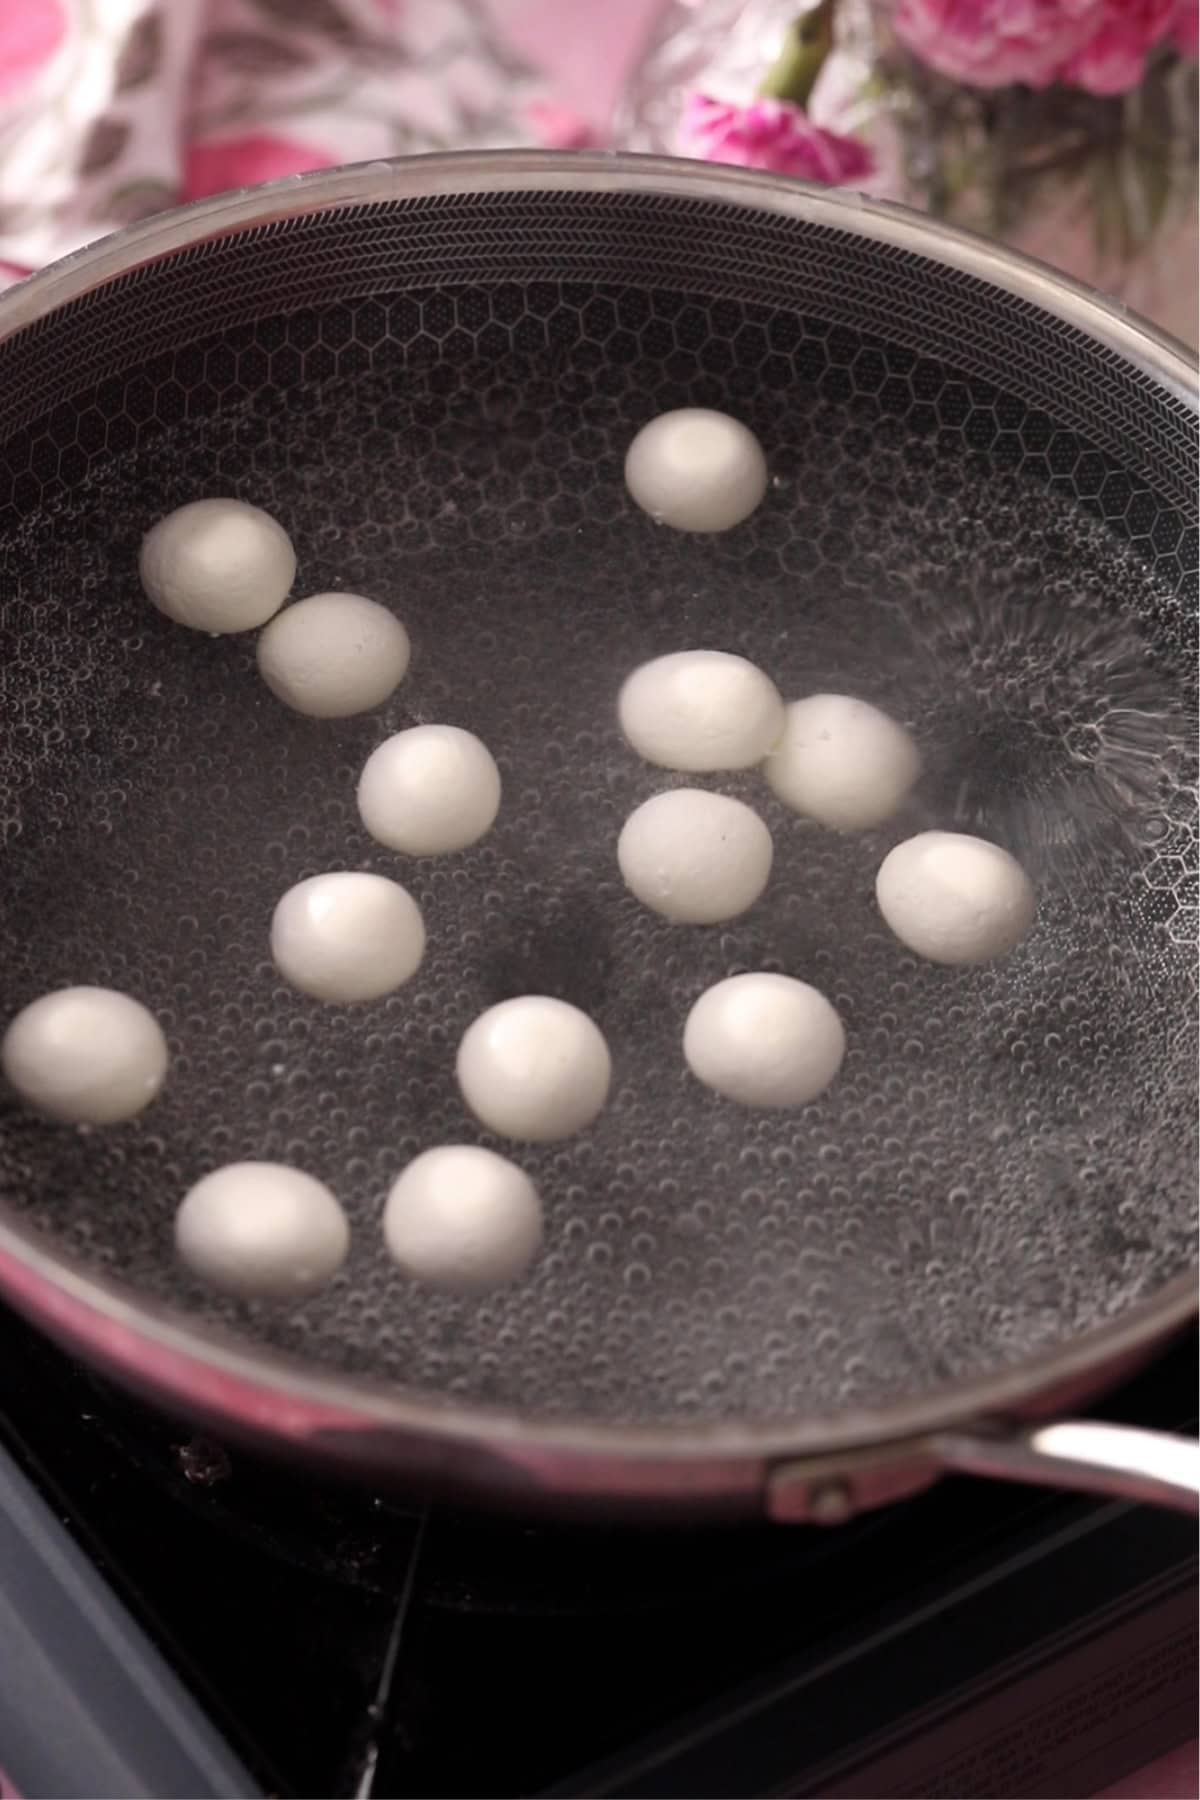
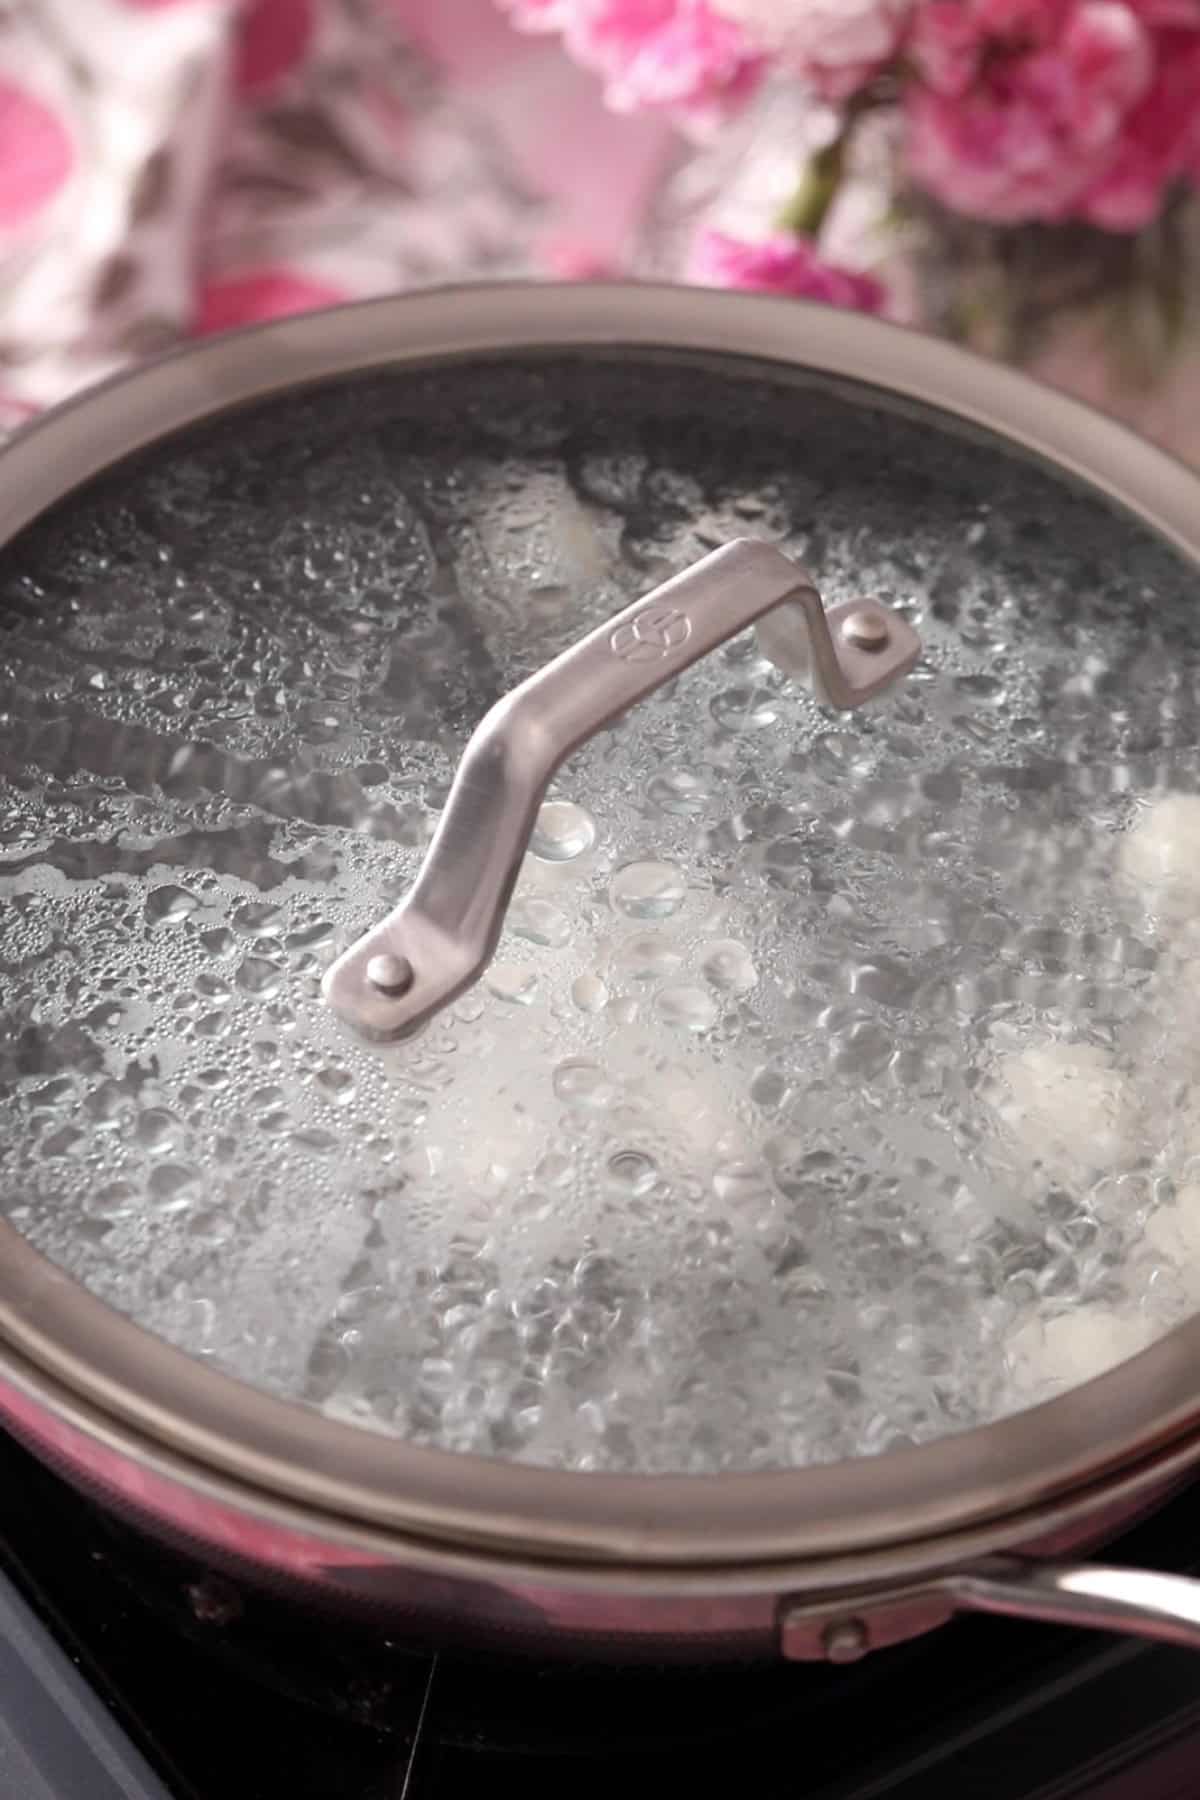
- By now the sugar syrup will be vigrously boiling. Do not lower the flame. Keep the flame on high and carefully add the rasgulla to the boiling syrup. Cook uncovered over high heat for 1-2 minutes. Then cover the kadai and continue to boil for 11-13 minutes. You will see that the rasgulla puff up to two or three times the original size after cooking.
- Turn off the heat and let the rasgulla rest in the cooking syrup for 5 minutes. Prepare an ice bath and carefully transfer the cooked rasgulla to it to fully stop cooking.
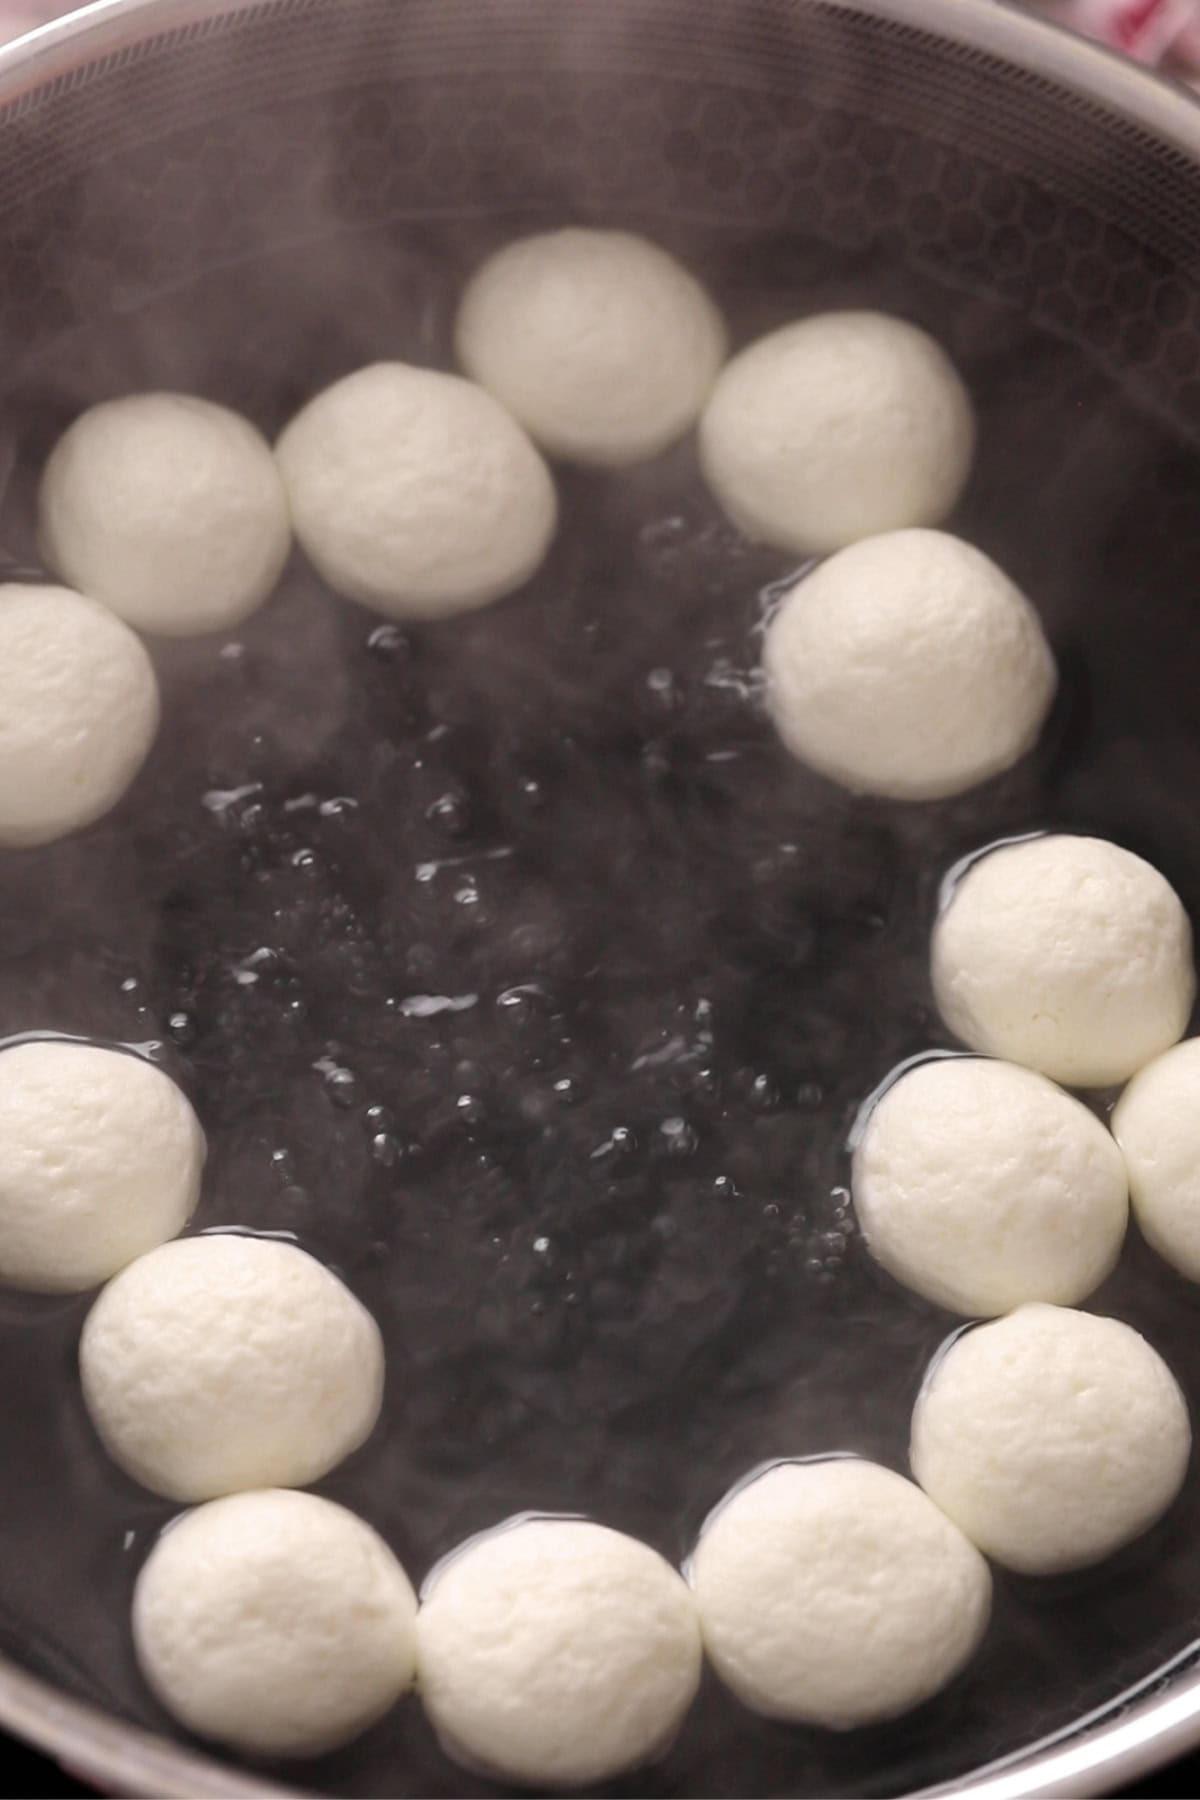
- Meanwhile, transfer 2 cups of the sugar syrup to another pan and add ? cup sugar. Cook for 2-4 minutes, while stirring occasionally, until the added sugar dissolves completely. Turn off the heat and add 1-2 drops of rose essence to the syrup. Let the syrup cool slightly for 5-10 minutes before adding the cooked rasgulla.
- Gently transfer the rasgulla to the dipping sugar syrup prepared. Let everything cool completely to room temperature before refrigerating for 1-2 hours.
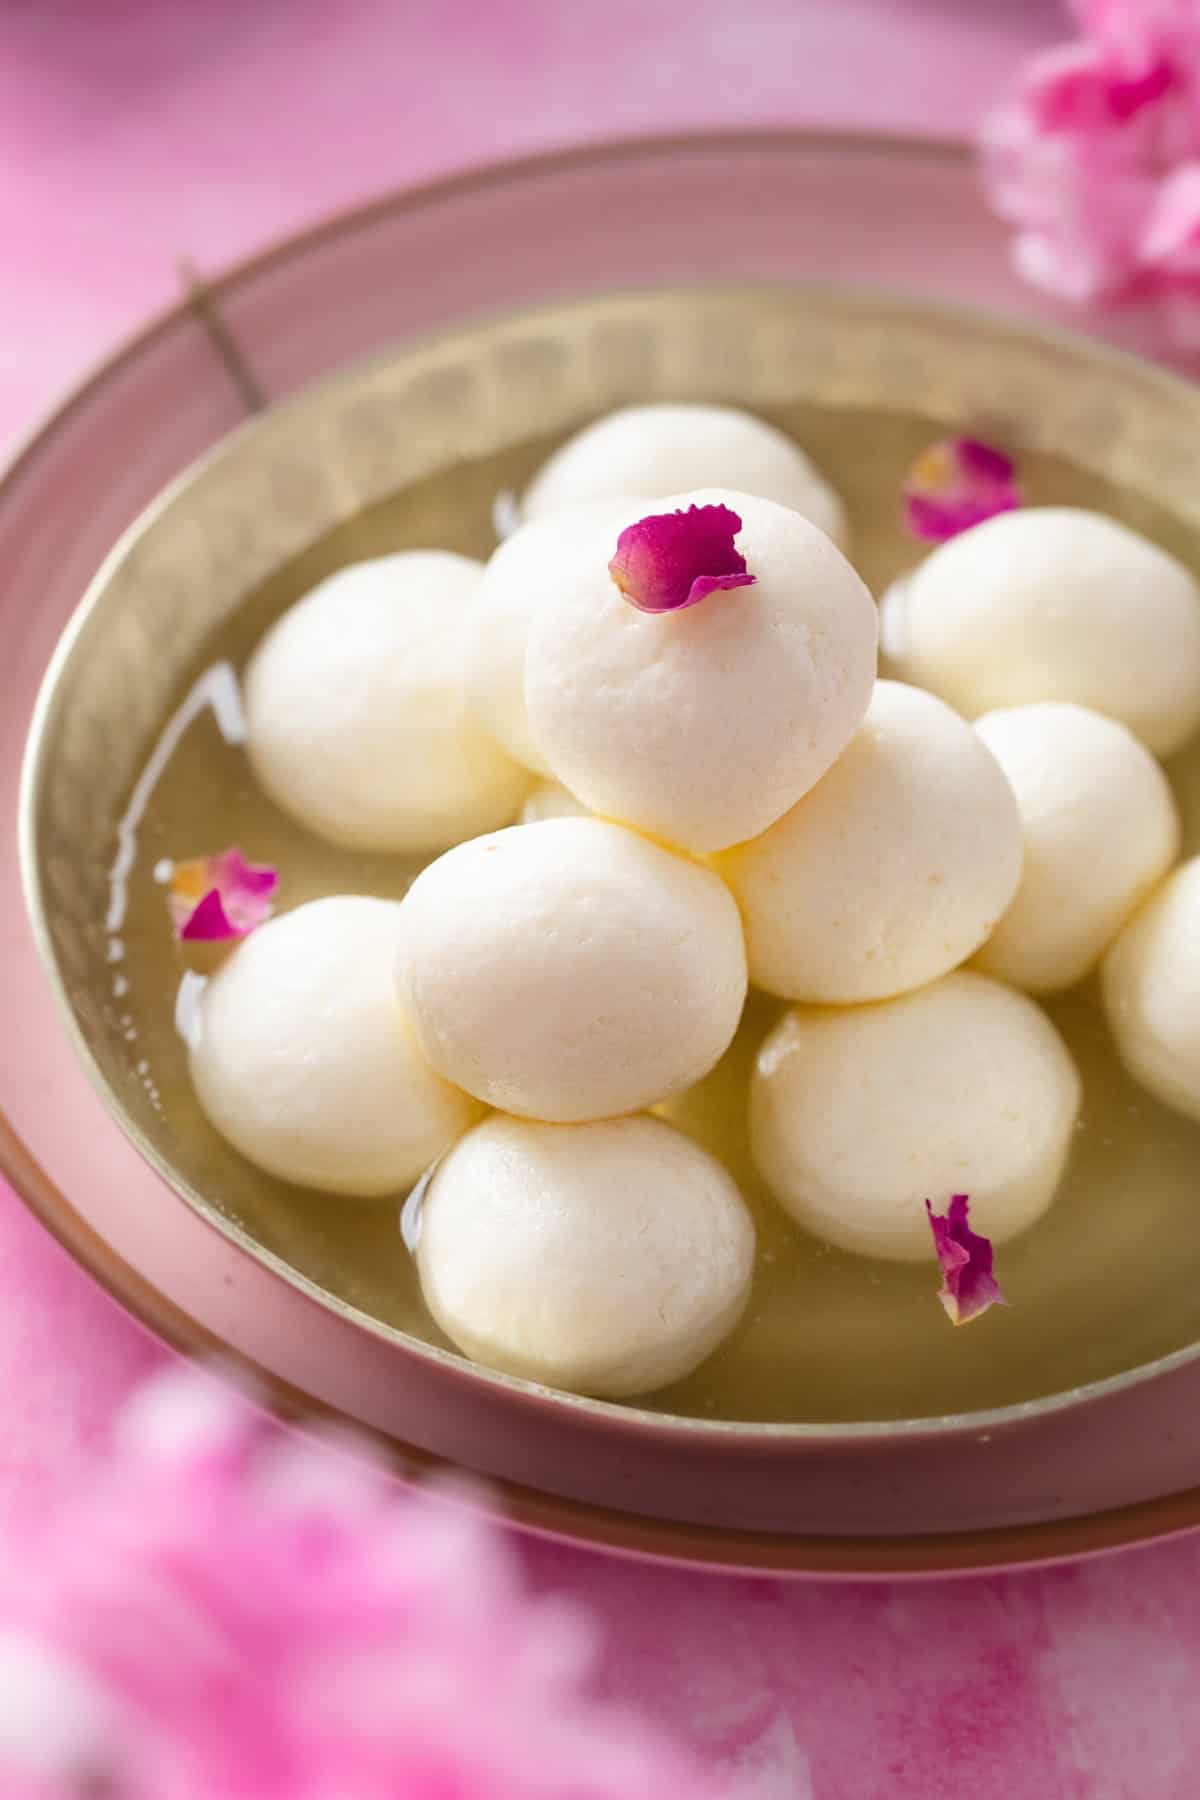
- Serve the rasgulla chilled, along with plenty of that sweet syrup.
Notes
- In India, we use buffalo milk which has 6-8% fat as compared to cow milk(2-3% fat). The more fat in the milk, the rasgulla are less spongy. You can use buffalo milk if thats available but the results may vary.
Rasgulla Recipe (Soft as Cotton, Juicy to the Core)
Save The Recipe!
Ingredients
- 1 liter whole milk I use cow milk
- 2 tablespoon white vinegar
- 2 tablespoon tap water
- 1 teaspoon semolina fine sooji (all purpose flour works too)
- 1 drop rose essence
For Sugar Syrup
- 4 cup water
- 1 cup sugar for making cooking syrup
- ⅓ cup sugar for adjusting the sweetness of syrup for soaking
- 1 drop rose essence
Instructions
Prepare the Chenna
- Choose a heavy-bottomed, deep cooking pot. Your regular pasta boiling pot or something similar will work great. Make sure there is enough room for the milk to rise as it comes to a boil.
- Pour 1 liter of full-fat milk into the pot. Heat up over low-medium heat while stirring regularly with a rubber or soft spatula to prevent the milk from sticking to the bottom or scorching. Bring the milk to a gentle boil. For 1 liter of milk, this should take about 10-12 minutes.
- Switch off the heat and let the milk rest for 1½ -2 minutes. Meanwhile, mix the white vinegar and water in a small bowl or measuring cup. I prefer using a measuring cup with a spout because it makes pouring easier. You can use lemon juice instead of vinegar if you prefer but make sure that no lemon pulp goes in.
- Also, place a colander lined with muslin cloth or cheesecloth over a large bowl. Make sure the bottom of the colander does not touch the bottom of the bowl so there is enough room to collect the whey.
- Add the vinegar mixture to the hot milk in three additions. After each addition, gently stir the milk to distribute the vinegar. Avoid stirring vigorously, as we want the milk solids to separate without breaking them into very fine particles.
- After the third addition, you should see the milk separating into soft white chenna and greenish whey. Once the milk has curdled completely, immediately strain it through the prepared colander. Don't let the chenna sit in the acidic whey for too long, as this can make it sour and affect its texture.
- Pour 1 cup cold water over the chenna to rinse away any remaining vinegar. Gather the ends of the cheesecloth to make a pouch and gently press it for 5-8 seconds to squeeze out the excess water.
- Place the pouch back in the colander and set a heavy weight over it. I use my heavy mortar for this. Let the chenna drain for no more than 8-10 minutes. We want to remove the excess water without drying it out completely. If you press the chenna for too long, it will lose too much moisture, which makes it dry and difficult to knead into a smooth dough
Knead and Shape the Rasgullas
- Unwrap the chenna and transfer it to a large, flat plate. I use a 12-inch plate, which gives me enough room to knead comfortably.
- Crumble the chenna using your fingers. Add the rose essence.Set a timer for 8 minutes. Using the heel of your palm, gently push and stretch the chenna forward against the plate. Gather it back together and repeat. Continue kneading for about 6-8 minutes, until the chenna comes together into a smooth, soft dough.
- The exact kneading time may vary slightly depending on how much moisture is left in your chenna. If it still looks grainy and feels dry, continue kneading for another minute or two. However, if it starts to feel greasy or releases fat, it means you have over-kneaded it. Stop kneading at this point.
- Add the fine sooji (semolina) and knead for another minute, just until it is evenly incorporated into the chenna. Avoid kneading excessively after adding the sooji, as this can make the rasgullas dense and chewy. Cover the chenna dough and let it rest for 5-10 minutes.
- To check whether the chenna dough is ready, take a small portion and roll it between your palms. It should form a smooth ball without any visible cracks and hold its shape well.
- Divide the rested chenna into 12-14 equal portions, approximately 1-1½ tablespoons each. Roll each portion between your palms to form a smooth, round ball. Make sure there are no cracks on the surface, as these can cause the rasgullas to break while cooking. Keep the balls small because they will almost double in size once cooked in the sugar syrup.
Cook the Rasgullas in Sugar Syrup
- In a large, wide cooking pot or kadai, combine 1 cup of sugar with 5 cups of water. I use my 12-inch kadai, which gives the rasgullas enough room to expand without crowding each other. Stir until the sugar dissolves completely.
- Place the kadai over high heat and bring the sugar syrup to a full, rolling boil. The syrup should be bubbling vigorously before you add the chenna balls.
- Without reducing the heat, carefully slide the prepared chenna balls into the boiling syrup, one at a time. Be gentle while adding them, and avoid dropping them from a height.
- Cover the kadai with a lid and let the rasgullas cook in the boiling syrup for 10-12 minutes. Keep the heat high throughout this time to maintain a steady, vigorous boil. Resist the temptation to lift the lid and check on them. The rasgullas need consistent heat to cook and expand properly.
- Meanwhile, prepare an ice bath by filling a large bowl with cold water and ice cubes. Keep it ready so you can transfer the rasgullas as soon as they finish cooking.
- After 10-12 minutes, the rasgullas should have almost doubled in size and become light and spongy. Switch off the heat. Using a slotted spoon, immediately transfer them from the hot syrup into the prepared ice bath. Let them sit in the cold water for at least 30 minutes. This stops the cooking process and allows the rasgullas to cool down.
Soak the Rasgullas in Sugar Syrup
- While the rasgullas are cooling, prepare the sugar syrup for soaking. Transfer 2.5 cups of the cooking syrup to another pan and add ? cup of sugar. Heat the syrup for 2-4 minutes, stirring occasionally, until the added sugar dissolves completely. Switch off the heat and let the syrup cool down.
- Once the rasgullas have cooled in the ice bath, remove them one at a time. Gently press each rasgulla between your palms to squeeze out the excess water. Be careful not to press too hard or break them. Removing the water allows the rasgullas to absorb the sweet syrup.
- Transfer the squeezed rasgullas to the prepared sugar syrup, making sure they are fully submerged. Let them soak for at least 2-3 hours, preferably longer, so they have enough time to absorb the syrup and become sweet and juicy throughout.
- Once the rasgullas have soaked well, refrigerate them for 3-5 hours until chilled. Serve them cold with plenty of sugar syrup and enjoy your homemade, soft and spongy rasgullas!

I'd Love to Hear from You!