

This wheat naan recipe is for those of you who want to eat naan for every meal. It is fully made with atta (whole wheat flour) and has no maida (refined flour). The texture is soft,and hearty and pleasantly dense while the taste is nuttier & earthy as compared to regular naan. Made the traditional way with yeast and fermentation, this naan recipe will became a favorite in your kitchen!

You might be wondering why I felt the need to create an atta naan recipe. Here's my why. My kids absolutely love my homemade instant naan and would happily eat it every day. I wanted a more wholesome version we could enjoy regularly without relying on frozen whole wheat naan, which always seems to be out of stock at our Indian grocery store. So, after plenty of testing, this recipe was born.
Now, how does it compare to regular naan? They're simply different. Regular naan is fluffy, buttery, and almost melts into the meal. Atta naan has a pleasant chew that reminds me of a rustic artisan loaf with a deeper wheat flavor. And since I do have a recipe for tandoori roti made with atta on my website, what sets this naan apart is its softer texture thanks to yeast and fermentation.
If I'm serving butter chicken, I'll almost always reach for regular naan because its light, buttery flavor complements the rich gravy beautifully. But with dal makhani, rajma, chole, or sarson ka saag, I would actually prefer atta naan. Its nutty flavor and hearty bite stand up perfectly to those comforting north Indian dishes.

My Recipe Testing
- Before I started, I had to remind myself that I wasn't trying to recreate a restaurant-style naan. My goal was to develop an atta naan that was genuinely delicious on its own. Soft enough that my kids would happily ask for seconds, yet hearty enough to feel like an everyday bread.
- This wasn't a recipe I got right on the first try. I made batch after batch, tweaking the dough until I found the sweet spot. You know why? Because whole wheat or atta flour behaves differently than maida (all purpose flour). Atta is trickier to work with. It absorbs more water and because the bran slows gluten development and hence the dough often needs a slightly longer rise. It took me several attempts to get the hydration and proofing time just right so the naan baked up fluffy, and tender every time.
- My biggest challenge wasn't the flavor. It was the texture. I wanted to taste it like naan, not an oversized homemade roti. Each batch taught me something before I finally landed on a whole wheat dough that developed beautiful bubbles on the griddle, and had just the right amount of chew.
- Lastly, the most important thing I learned was that atta also needs more fat as compared to regular naan. I use yogurt, oil and whole milk for kneading and the richness of dairy helps the dough.
Ingredients
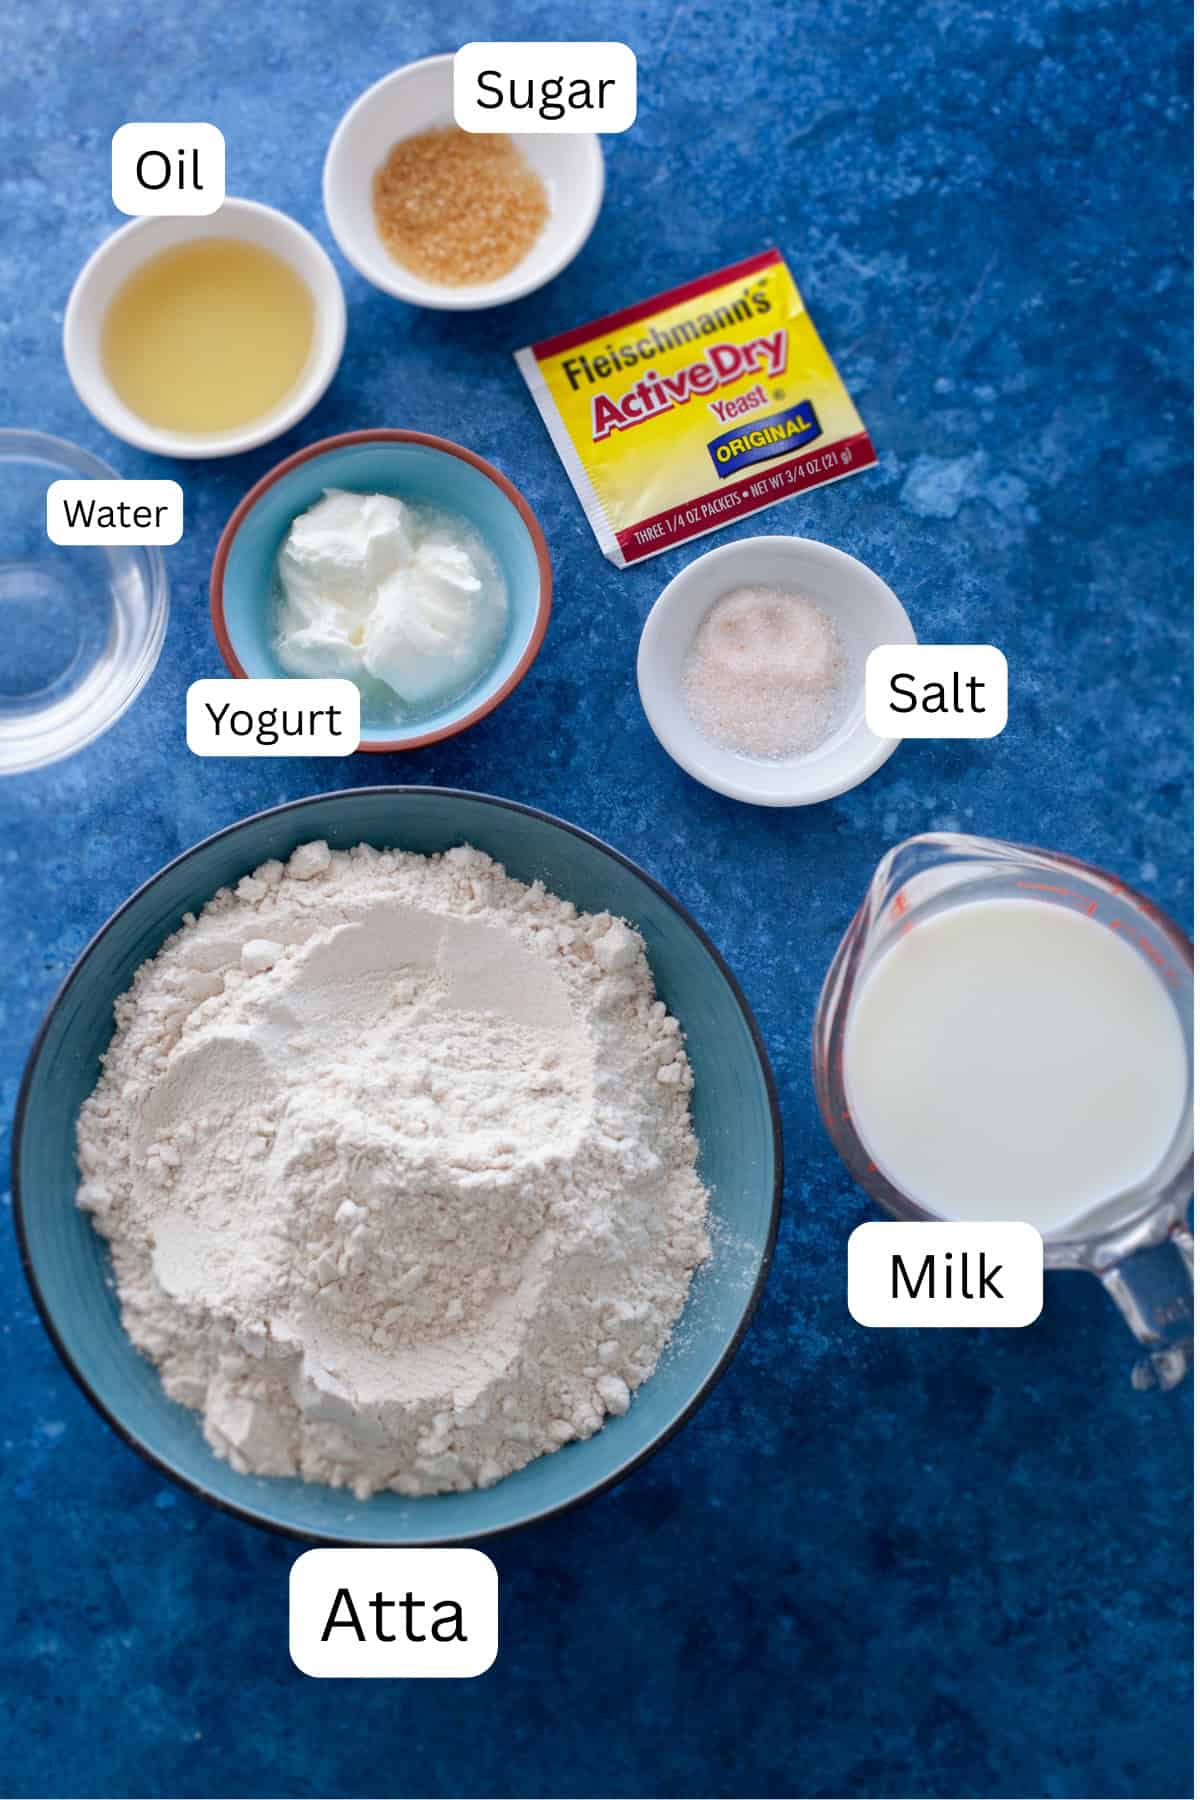
- Atta - I recommend using Indian whole wheat flour (atta), the same flour that's traditionally used for Indian flatbreads like roti and paratha. Atta is much more finely milled than regular whole wheat flour sold for baking, so it absorbs water differently and produces a softer, more pliable dough. I haven't tested the recipe with regular whole wheat flour and can't promise the same results.
Please see my notes as well as substitutions(if applicable) about rest of the ingredients in the recipe card.

Instructions
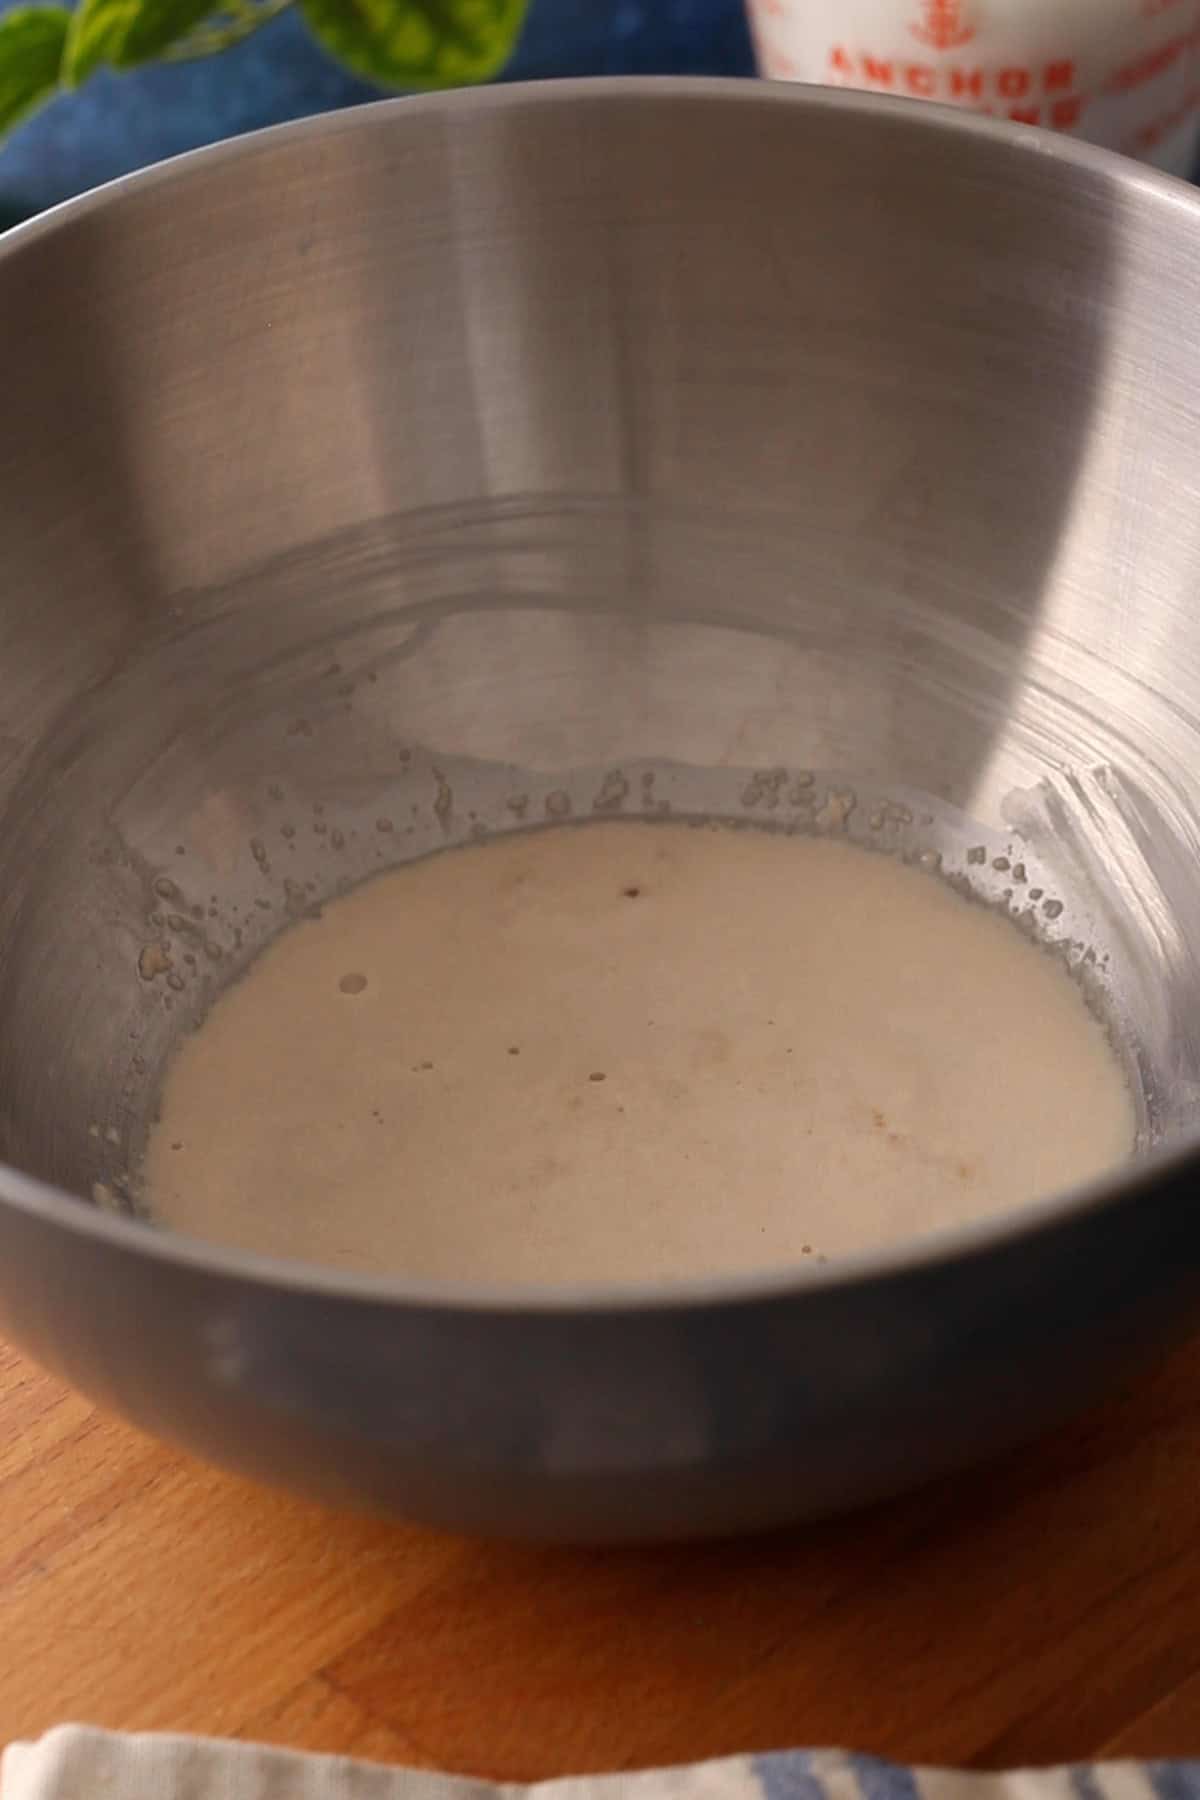
- Add sugar and luke warm water to a large bowl and mix with a spoon until sugar dissolves. Sprinkle yeast and let bloom for 2-3 minutes. If yeast doesnt look foamy, discard and restart.
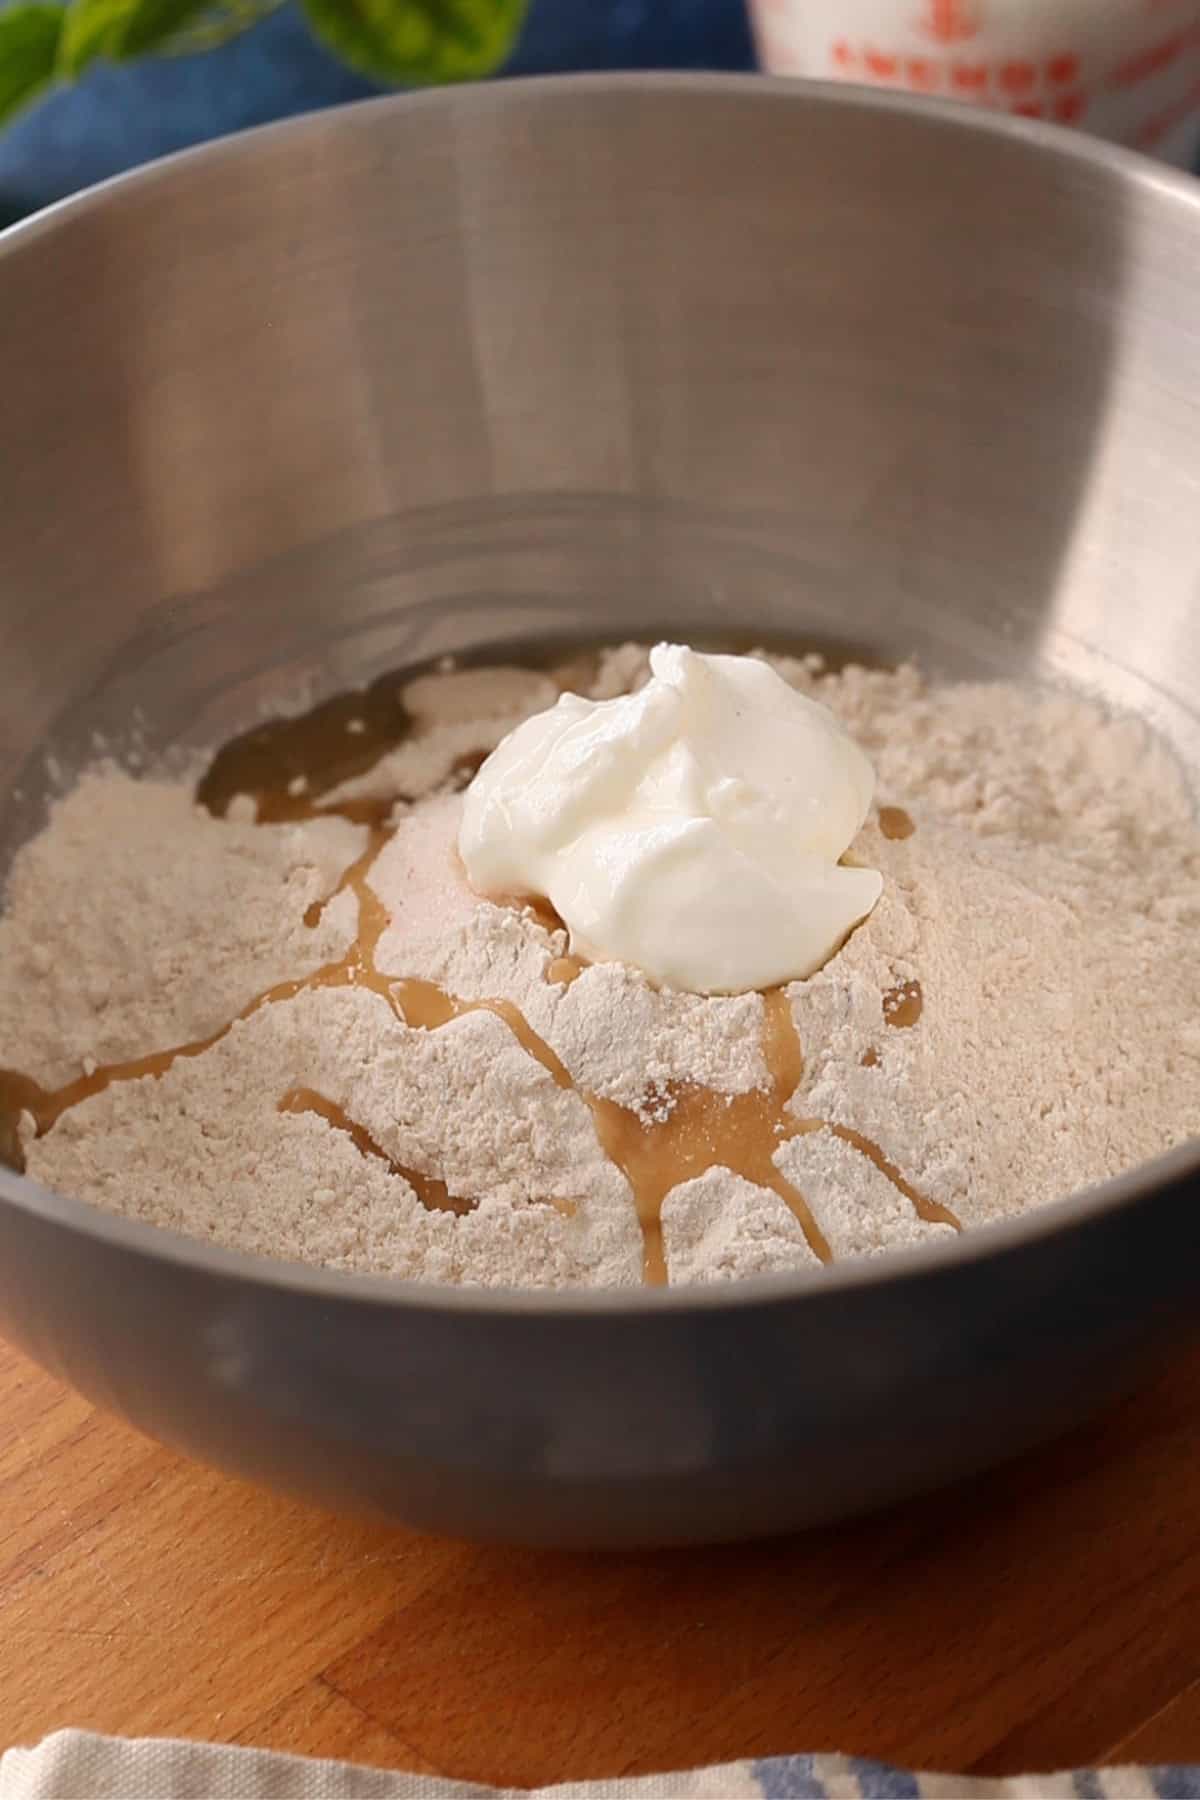
- To the bloomed yeast solution, add the atta, oil, yogurt, salt. Using your hands work the atta until the ingredients are incorporated. The flour will look like wet sand.
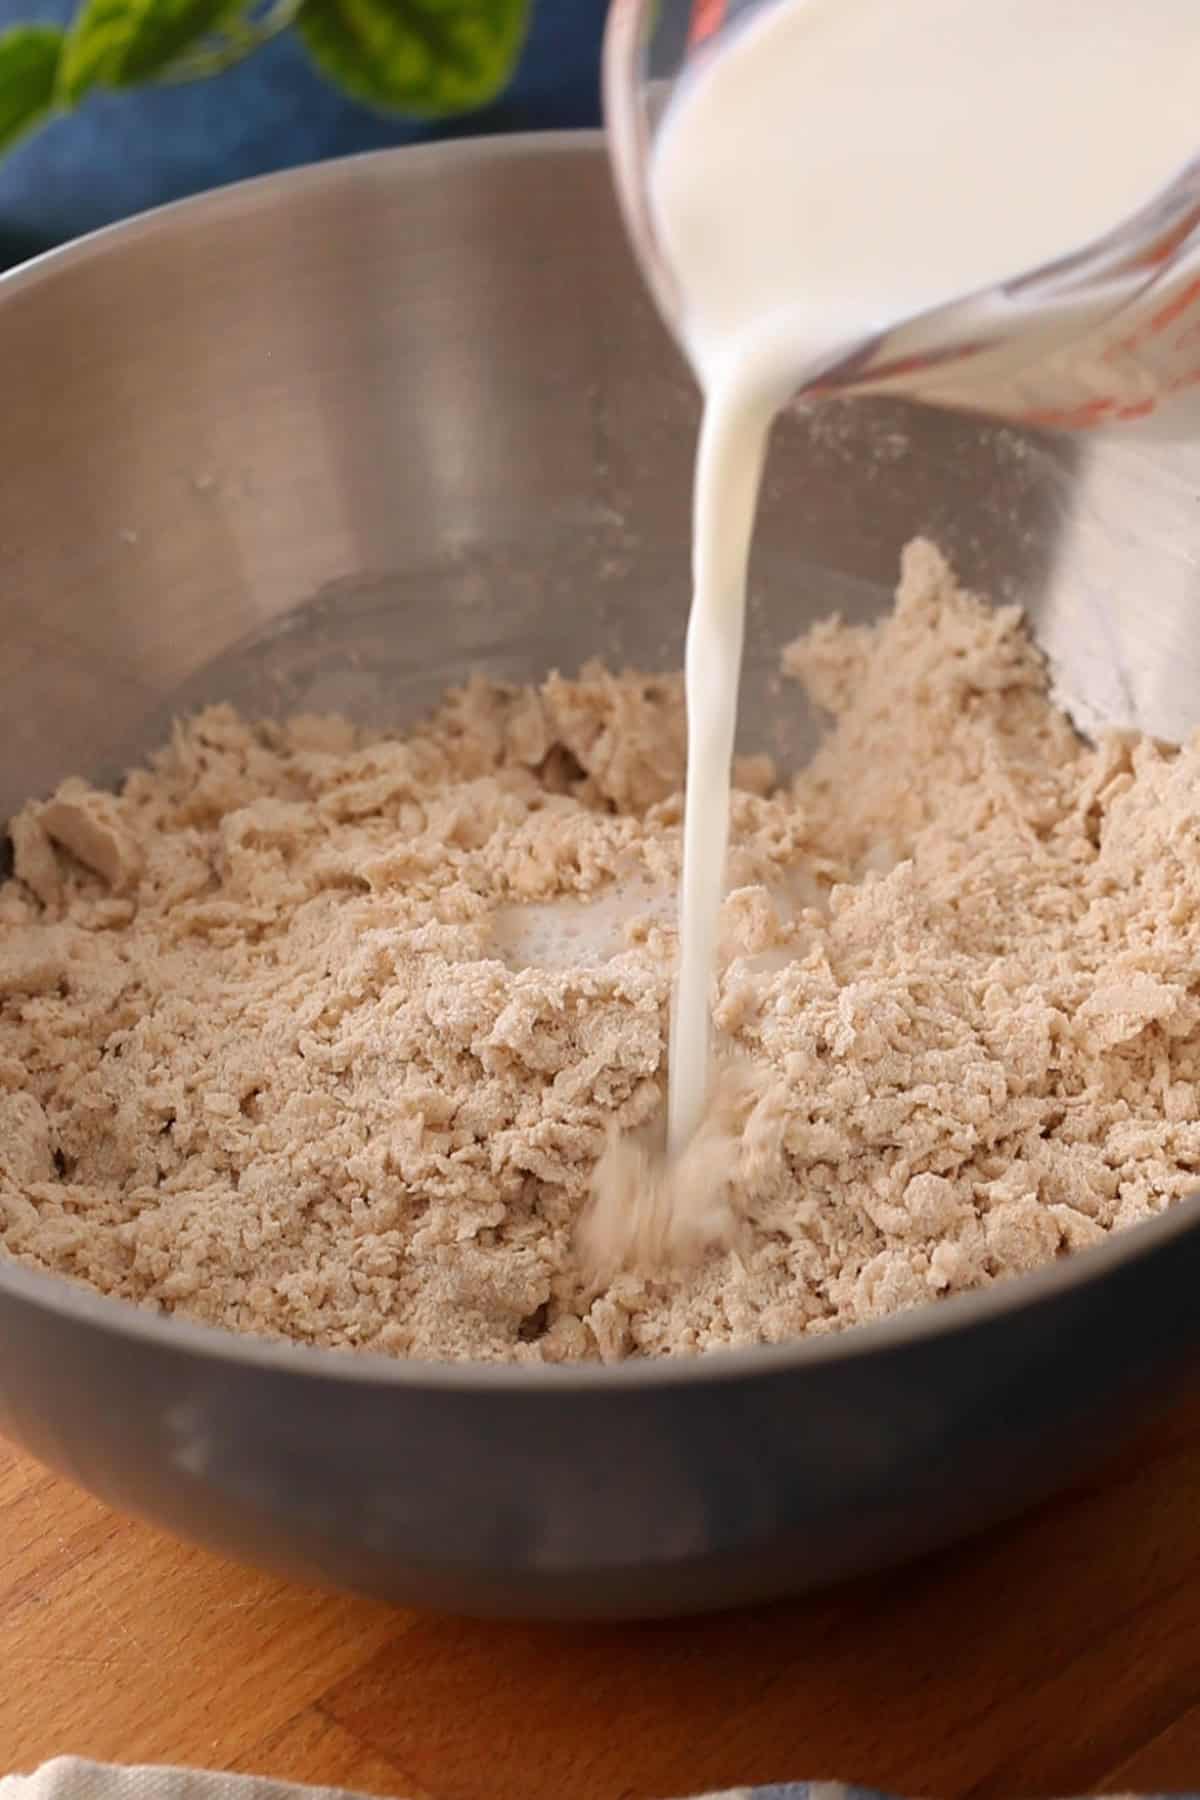
- Gradually, start adding the warm milk while mixing the dough with your hand or a spatula. Gently mix until the flour is fully hydrated. You may not need all of the milk.
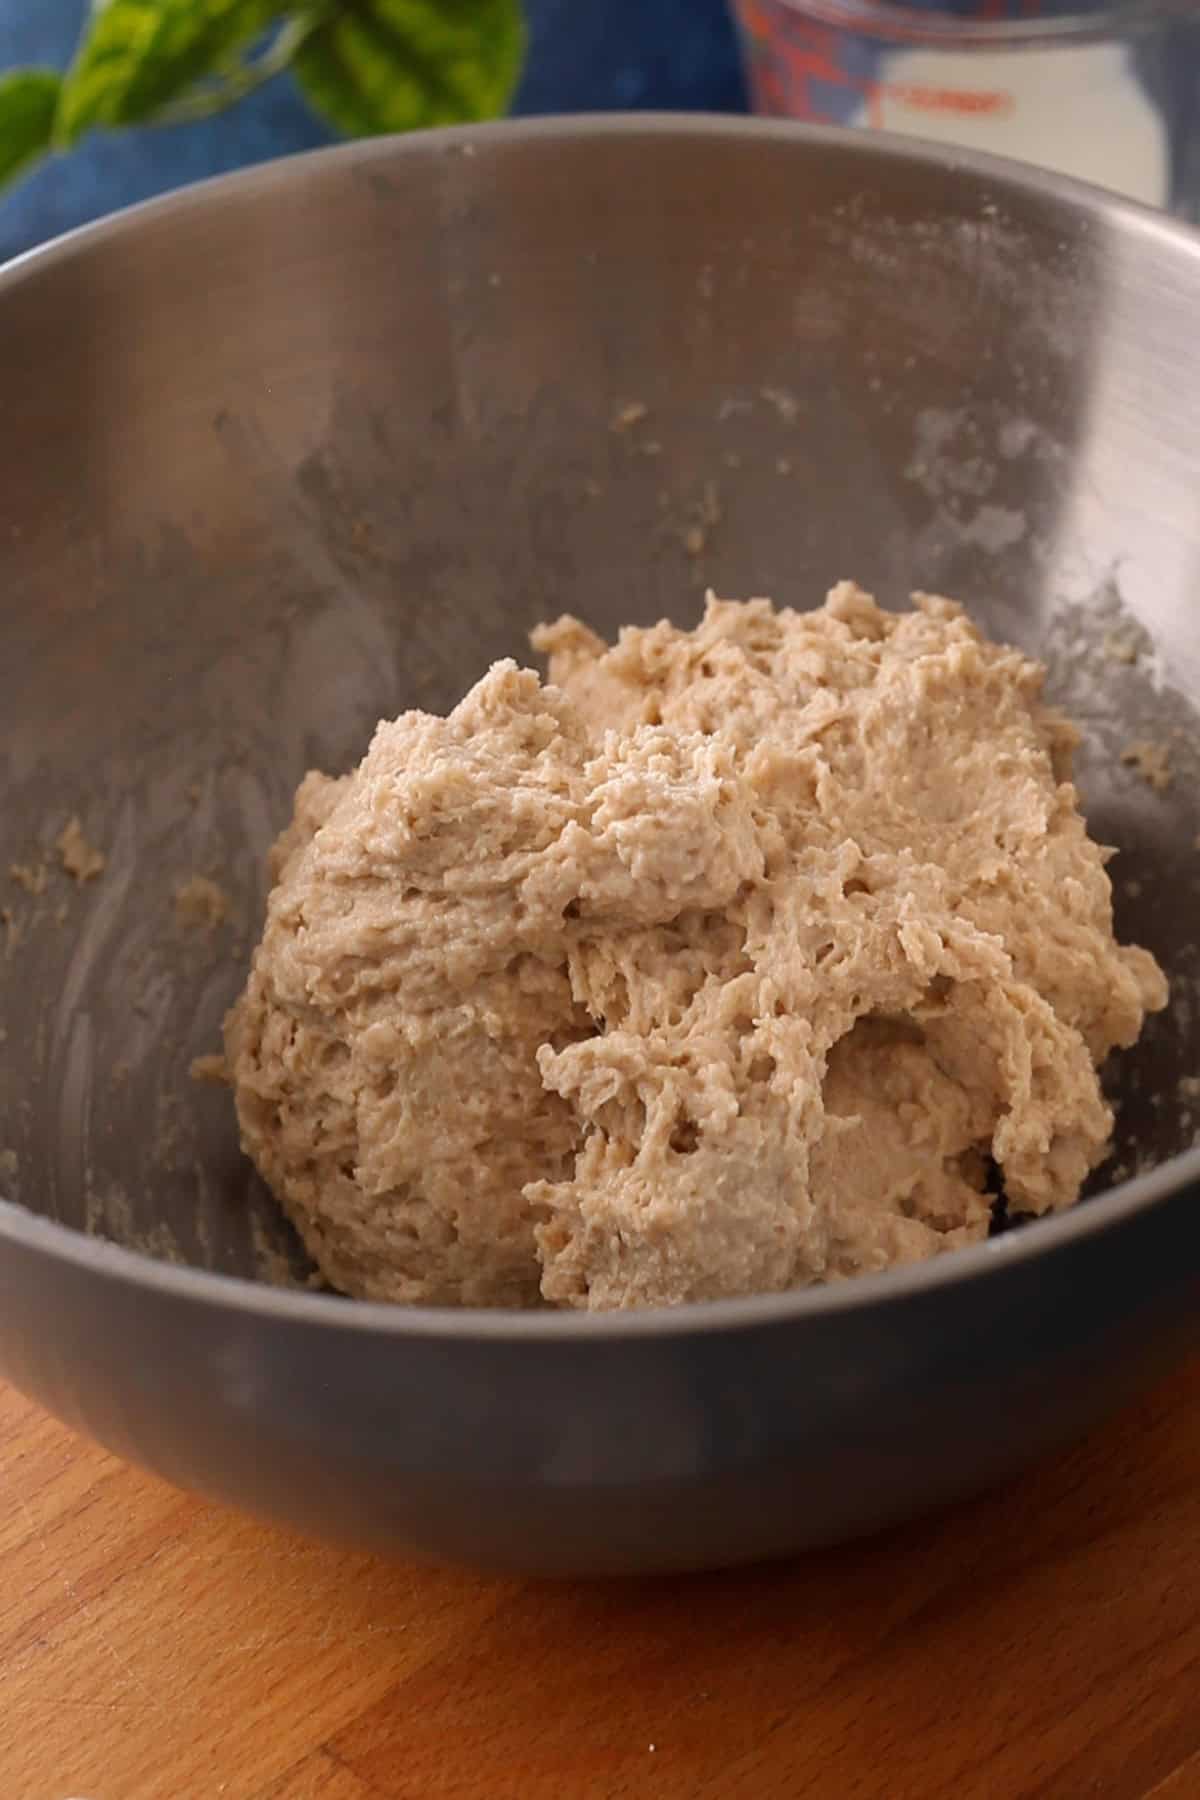
- Bring the dough together into a soft, slightly sticky ball. It may feel a bit wetter than regular roti dough, but that's exactly what you want for it to side. As the dough rises, the atta will gradually absorb the moisture, and gets easier to handle. Starting with a softer dough is the key to making naan that stays soft instead of turning dry.
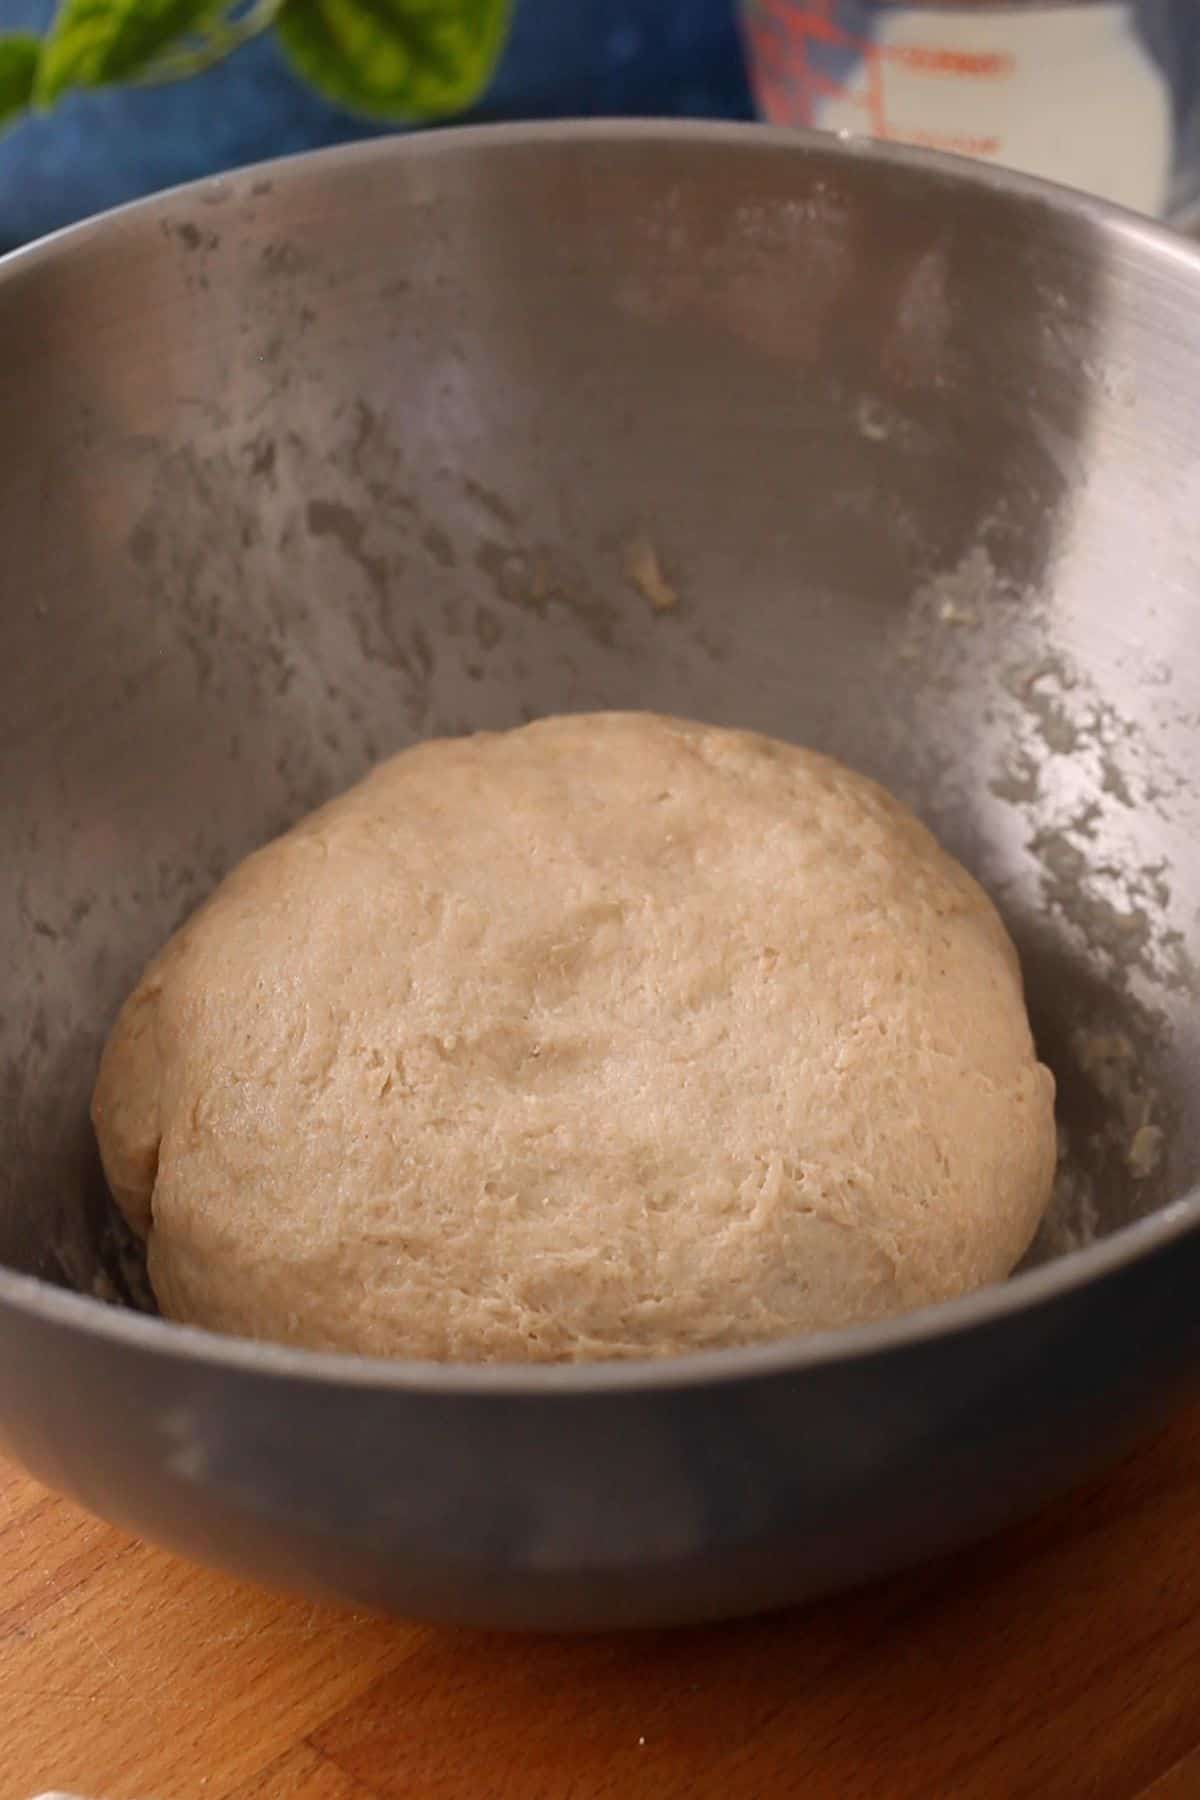
5. Lightly oil your hands and smooth the surface of the dough. Transfer it to a large bowl, cover, and let it rise for 2 to 4 hours, or until it has doubled in volume.
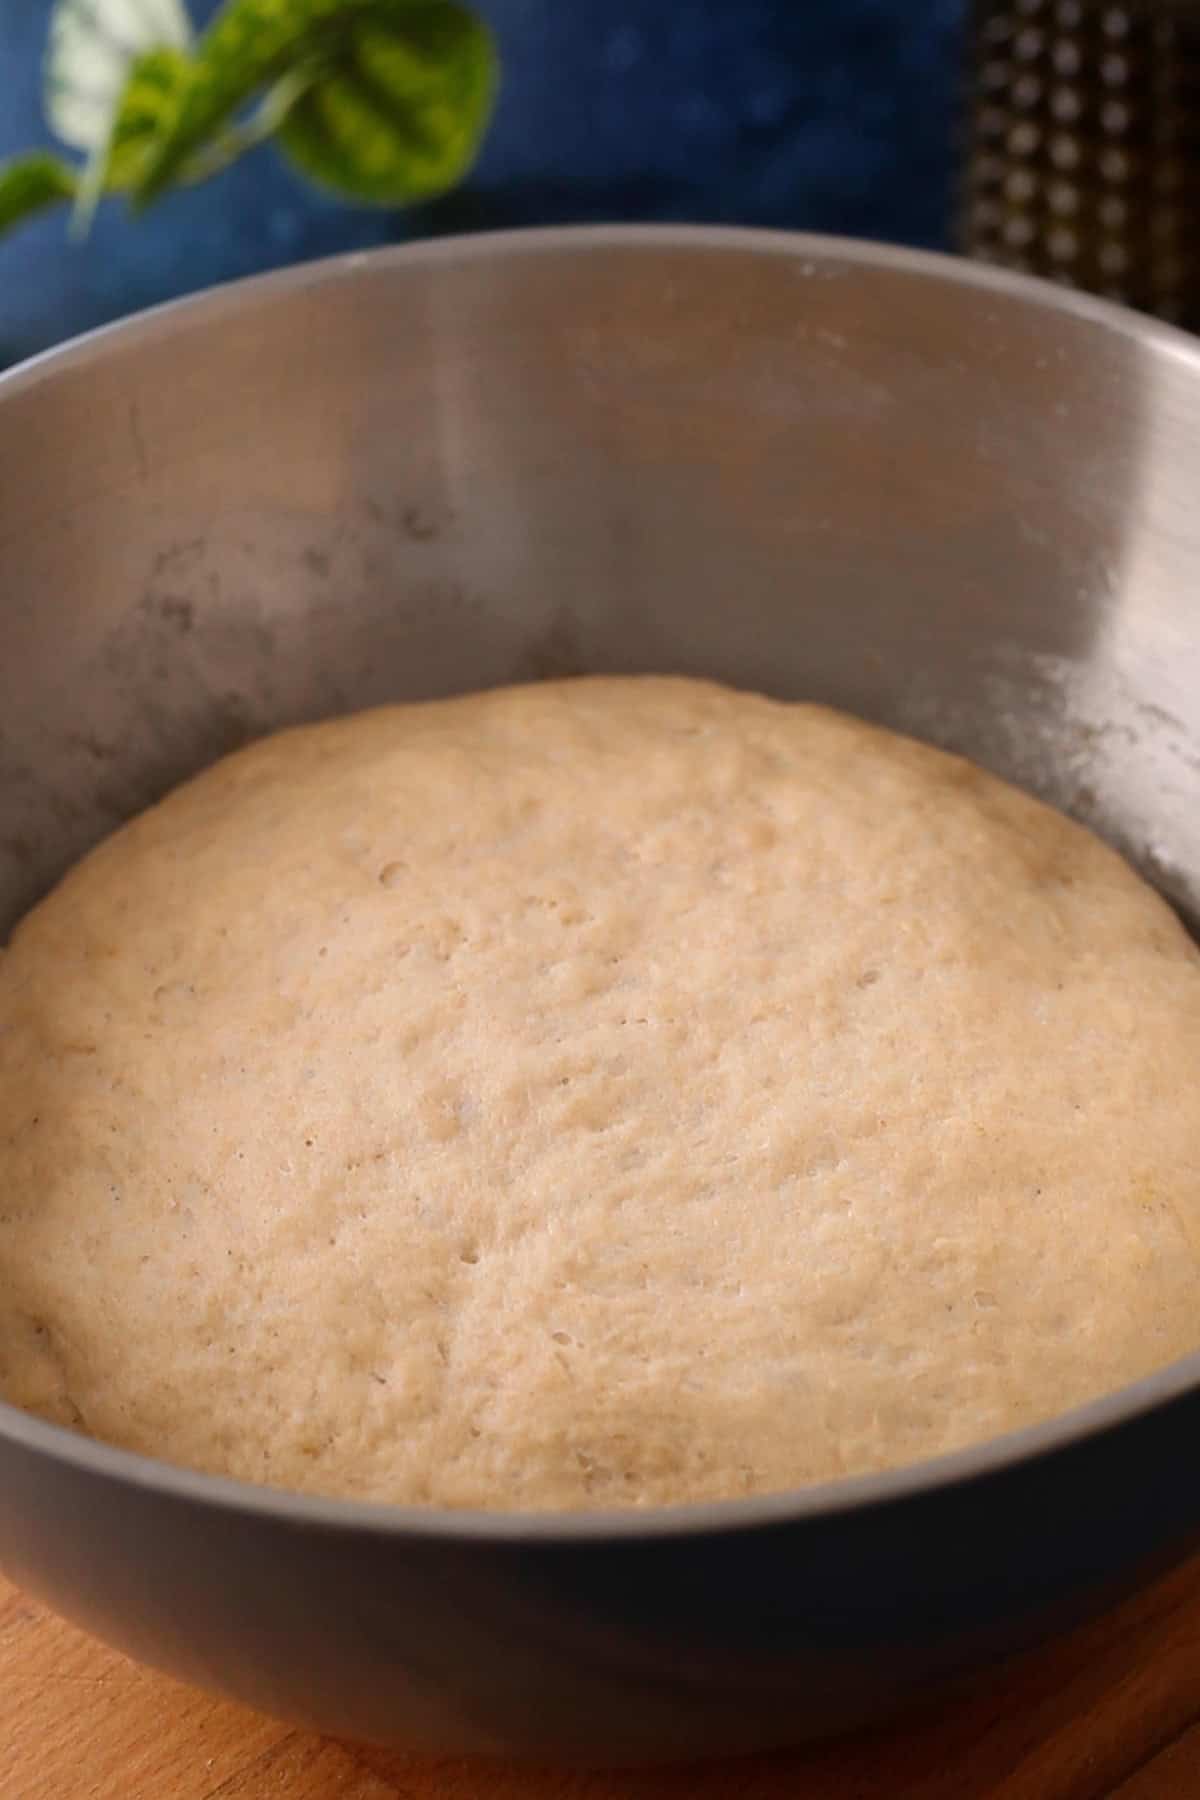
6. Once the dough has doubled, gently punch it down to release the trapped air. Turn it out onto a lightly floured surface and divide it into equal portions.
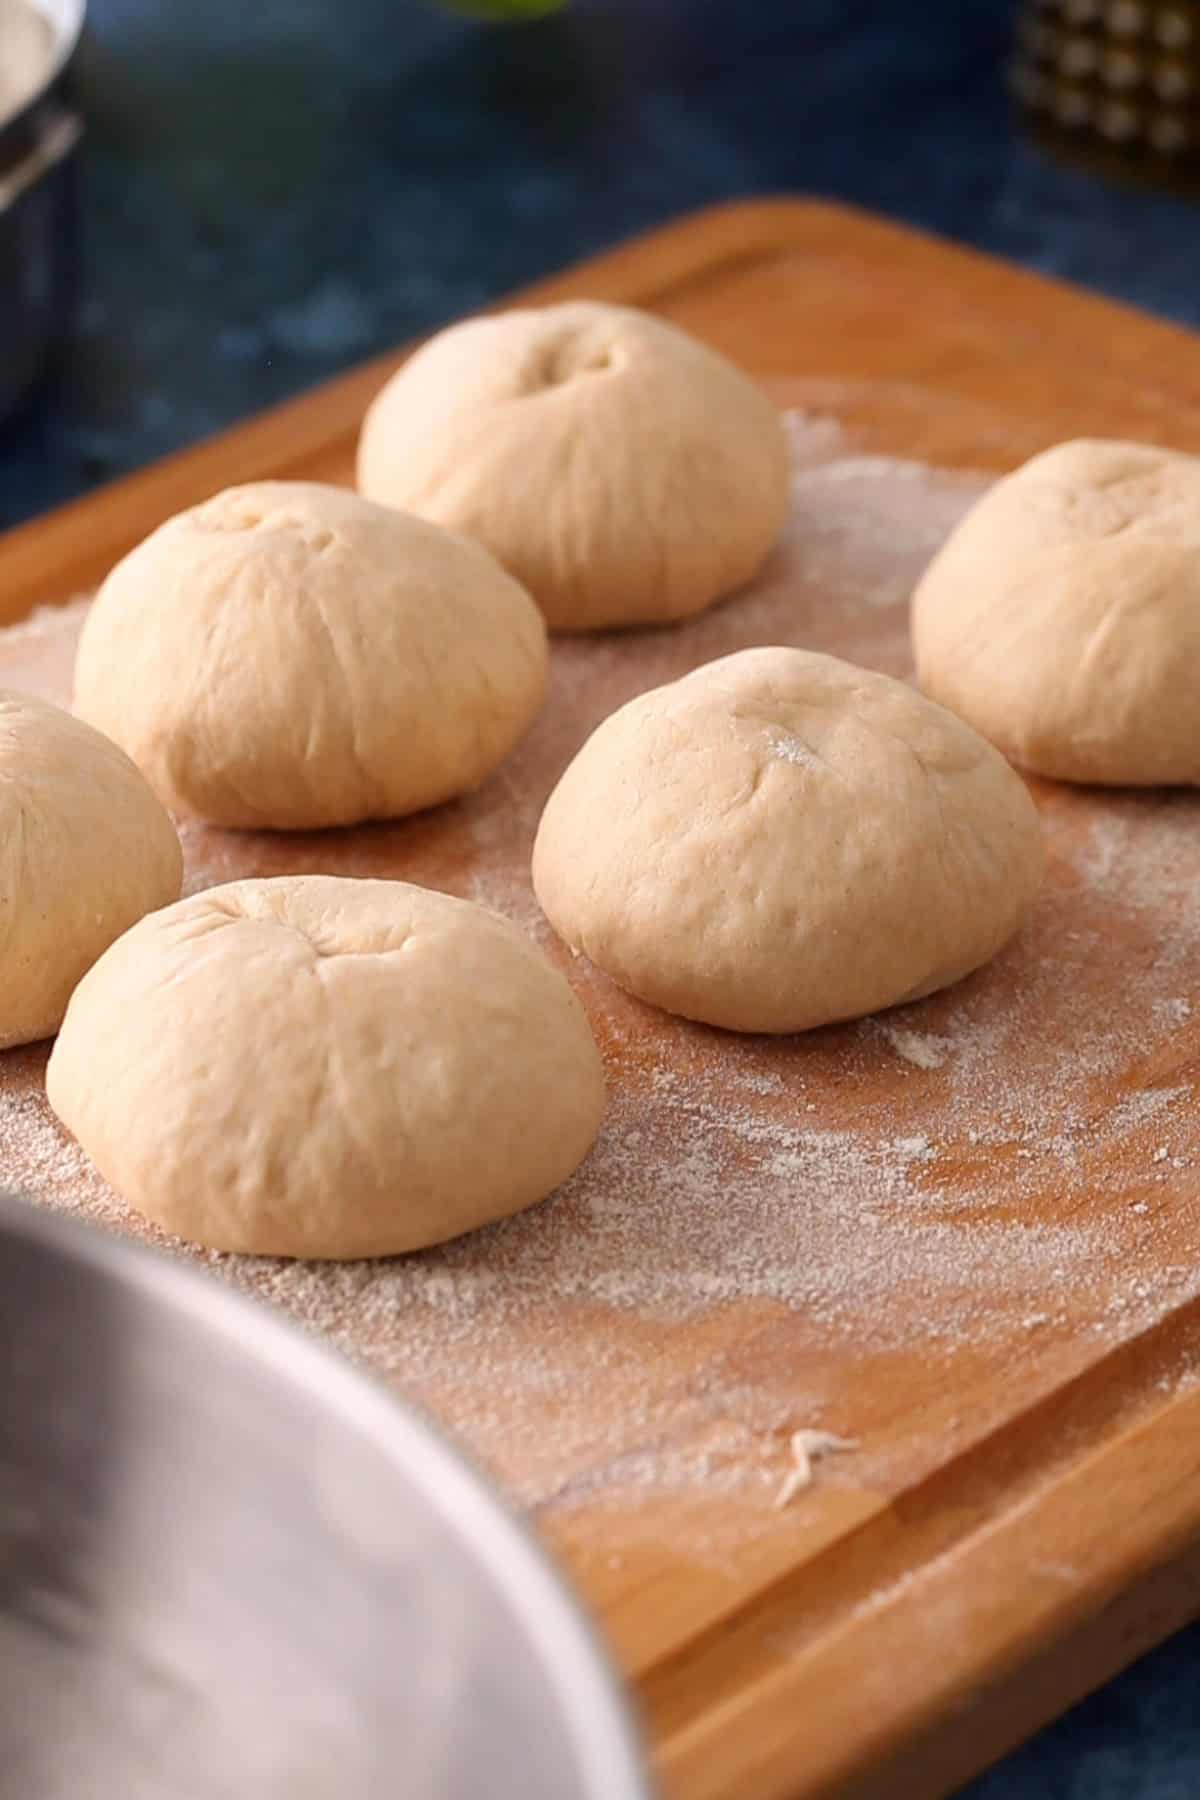
7. Shape each portion into a smooth ball by tucking the edges underneath. Cover the dough balls with a clean kitchen towel and let them rest for 15 to 20 minutes. This short resting time relaxes the gluten, making the naan much easier to roll without shrinking back.
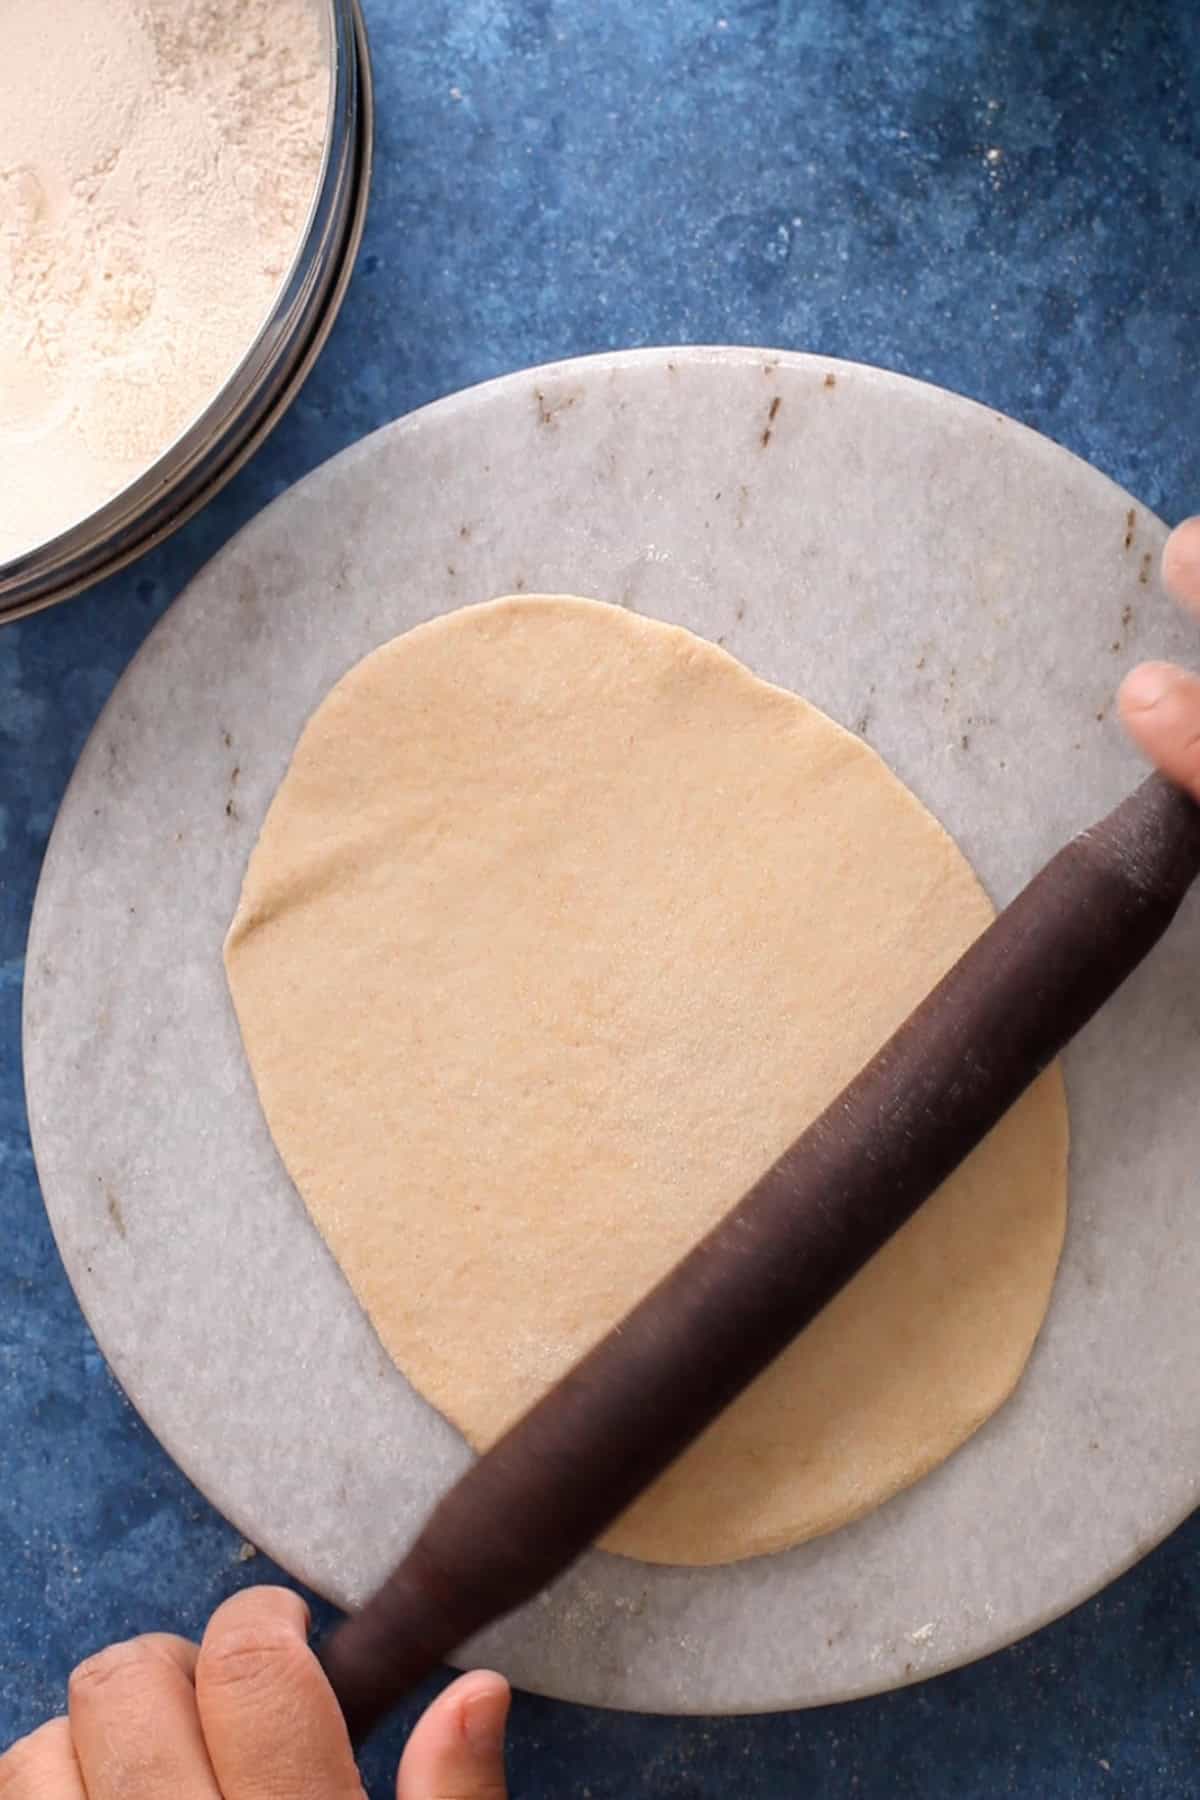
8. Lightly dust your work surface with atta and place one dough ball on it. Using a rolling pin, gently roll it into an oval or teardrop shape about ¼ inch thick. Don't worry about making it perfectly round. A slightly uneven shape gives homemade naan its rustic look. If the dough starts springing back while rolling, let it rest for a few minutes before trying again
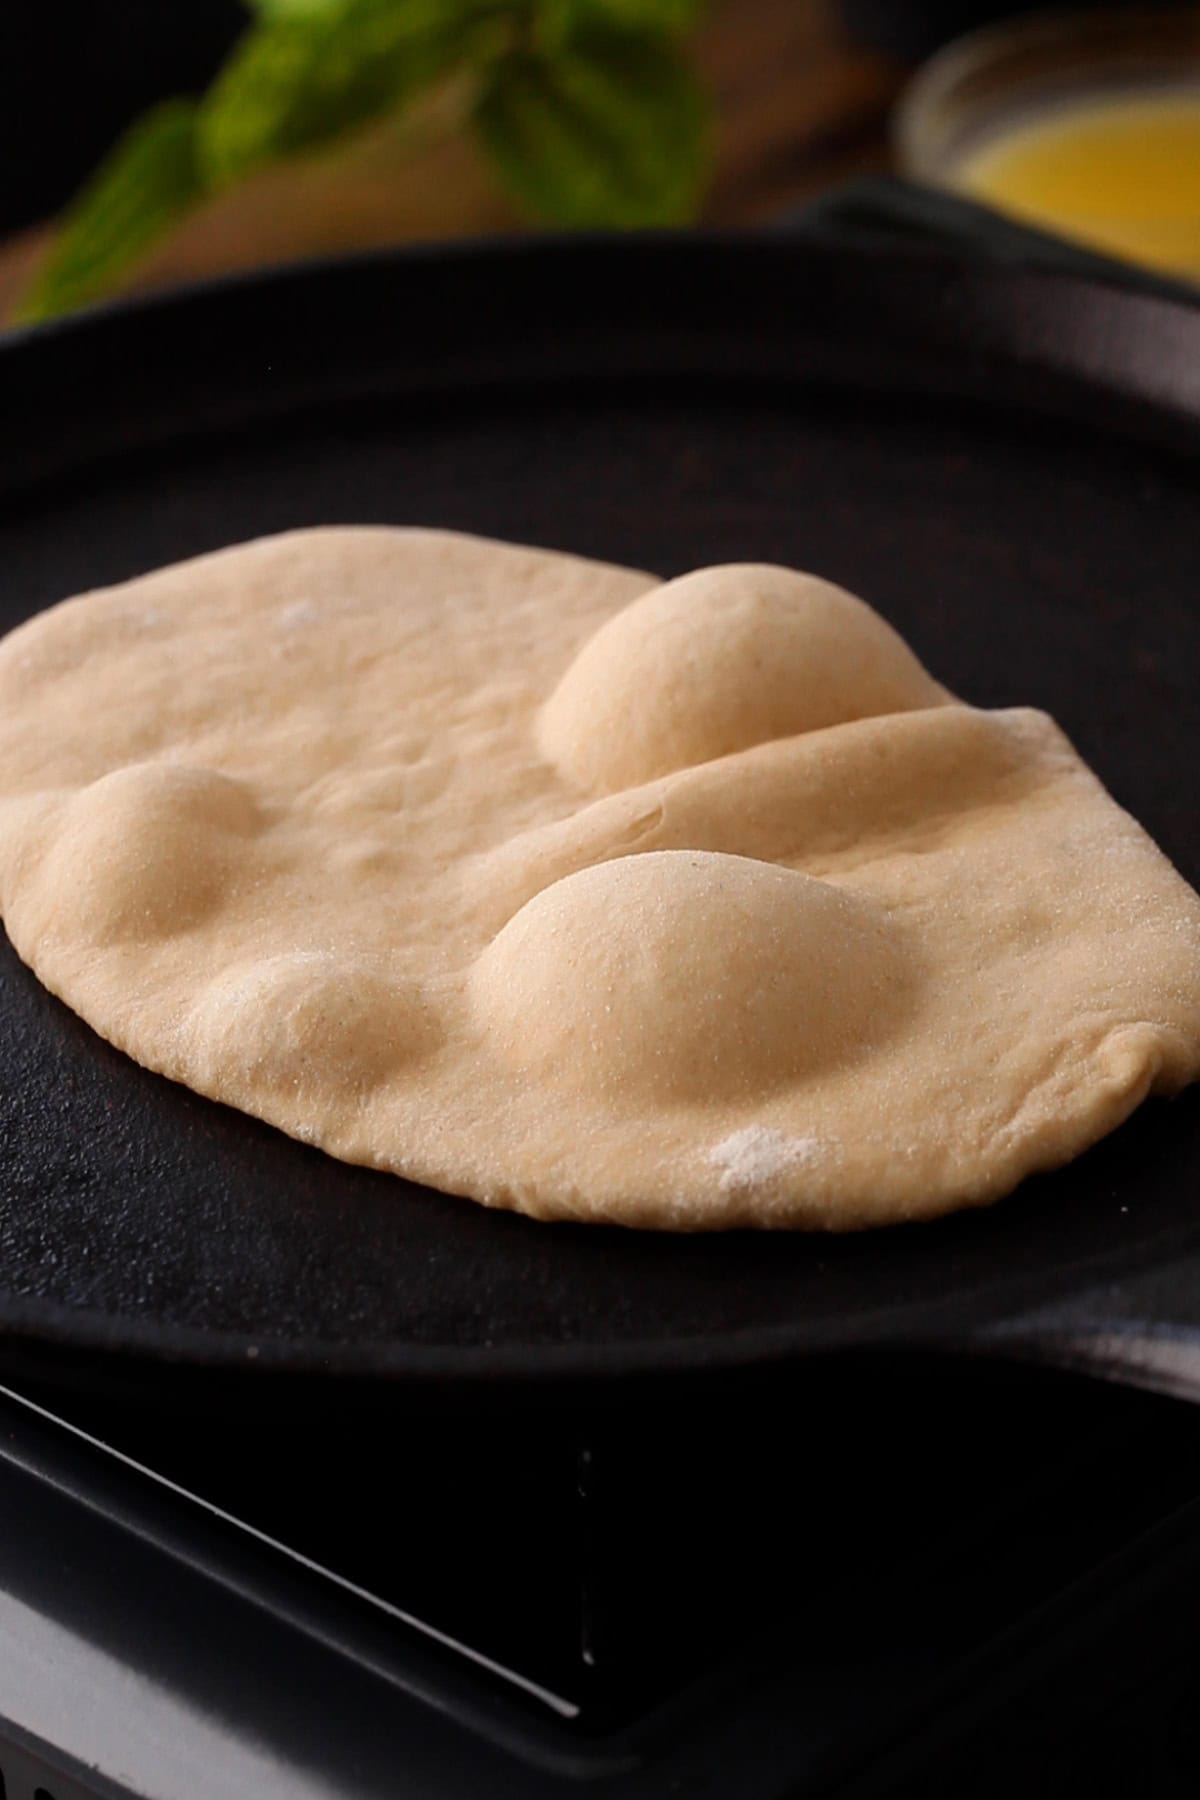
9. Heat a cast iron tawa or skillet over medium high heat until it is very hot. Place the rolled naan on the hot tawa and cook until the surface is covered with bubbles and the bottom develops golden brown spots, about 1 to 2 minutes.
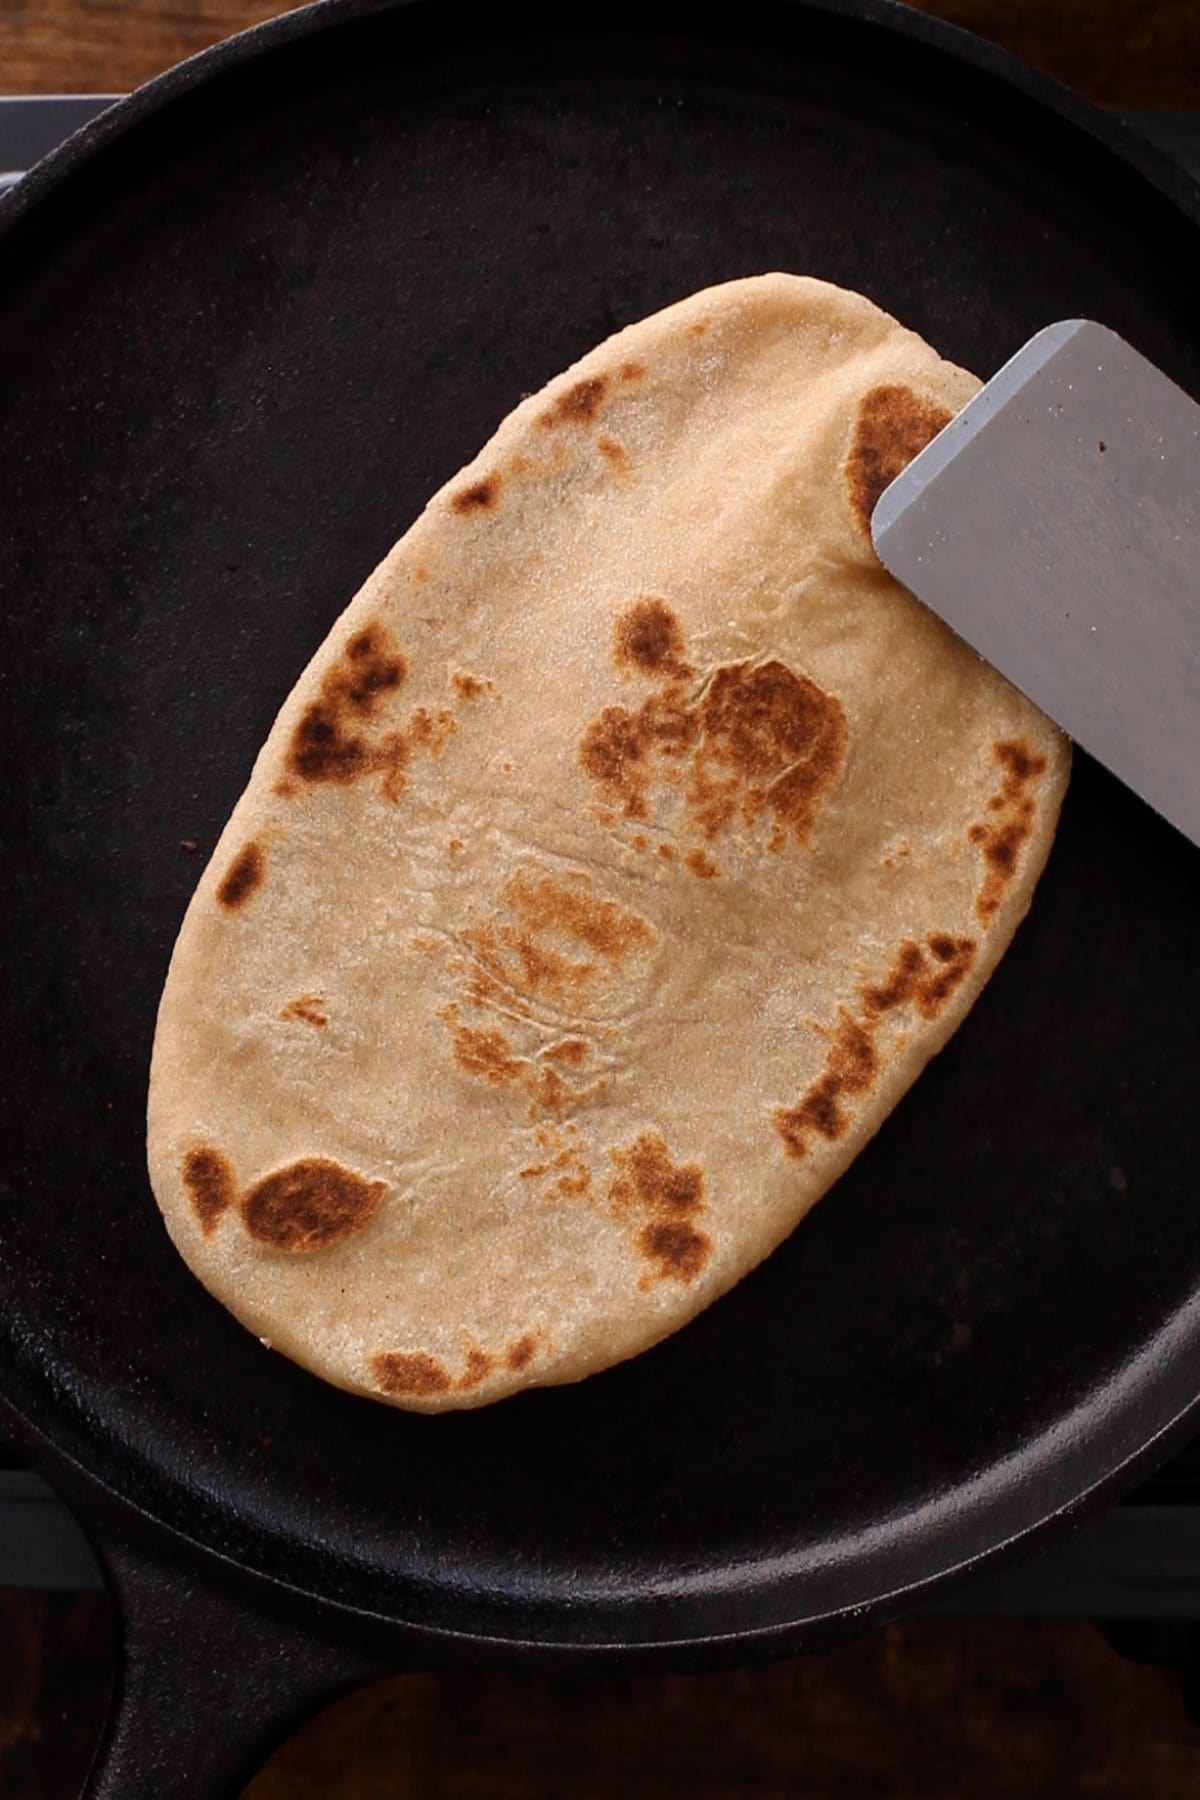
10.Flip and cook the other side until lightly charred in places and cooked through. Adjust the heat as needed to prevent the naan from burning before the inside is fully cooked.

Atta Naan
Save The Recipe!
Ingredients
- ½ teaspoon sugar
- ¼ cup luke warm water
- 1 teaspoon active dry yeast
- 300 g atta
- 90 g yogurt plain, I use whole milk yogurt
- 2 tablespoon oil
- ½ teaspoon salt
- ½ cup +2 tablespoon warm milk or more if needed
Instructions
- In a large bowl, combine the sugar and lukewarm water. Stir until the sugar dissolves completely. Sprinkle the yeast over the water and let it bloom for 2 to 3 minutes. If the yeast doesn't become foamy, discard it and start again with fresh yeast.
- Add the atta, yogurt, oil, and salt to the bloomed yeast mixture. Using your hands, gently work the flour into the wet ingredients until everything is evenly combined. At this stage, the mixture will resemble wet sand.
- Gradually pour in the warm milk while mixing with your hands or a spatula. Start with ⅓ cup milk. Continue until the flour is fully hydrated, adding only as much milk as needed. Depending on quality of your atta, you may not need to use all that the quantity I mentioned above.
- Bring the dough together into a soft, slightly sticky ball. It will feel softer than regular roti dough, and that's exactly what you want. As the dough rises, the atta will absorb the extra moisture and become much easier to handle. Starting with a softer dough is the secret to making naan that stays soft instead of turning dry.
- Lightly oil your hands and smooth the surface of the dough. Transfer it to a lightly greased bowl(large enough to contain the risen dough), cover with a kitchen cloth or tight fitting lid, and let it rise for 2 to 4 hours, or until doubled in volume.
- Once the dough has doubled, gently punch it down to release the trapped air. Transfer it to a lightly floured work surface and divide it into equal portions.
- Shape each portion into a smooth ball by tucking the edges underneath. Cover the dough balls with a clean kitchen towel and let them rest for 15 to 20 minutes. This short rest relaxes the gluten, making the dough much easier to roll without springing back.
- Lightly dust your work surface with atta and place one dough ball on it. Roll it into an oval or teardrop shape about ¼ inch thick. Don't worry about making it perfectly even. A slightly rustic shape is part of homemade naan's charm. If the dough resists or shrinks back while rolling, let it rest for a few minutes before continuing.
- Heat a cast iron tawa or skillet over medium high heat until very hot. Place the rolled naan onto the hot surface and cook for 1 to 2 minutes, or until bubbles appear all over the top and the underside develops golden brown spots.
- Flip the naan and cook the other side until lightly charred in places and cooked through. Adjust the heat as needed so the naan cooks evenly without burning before the center is done.
- Optional Step - For crispier naan, transfer it directly to an open gas flame for 10 to 20 seconds, flipping once or twice, until lightly charred around the edges and crisp to your liking. Watch it closely to prevent burning.
- Brush the hot naan generously with melted butter or ghee and serve immediately.




I'd Love to Hear from You!