

Kaju katli is one of those mithai I can never stop at just one! It is nutty, soft and delicate with that lovely cashew flavor coming through in every bite. The ingredient list is surprisingly short, but it is really the technique that matters here. In this recipe, I am sharing all the little details and cooking cues that will help you get that smooth, melt-in-the-mouth texture that reminds you of beautiful mithai shop kaju katli.
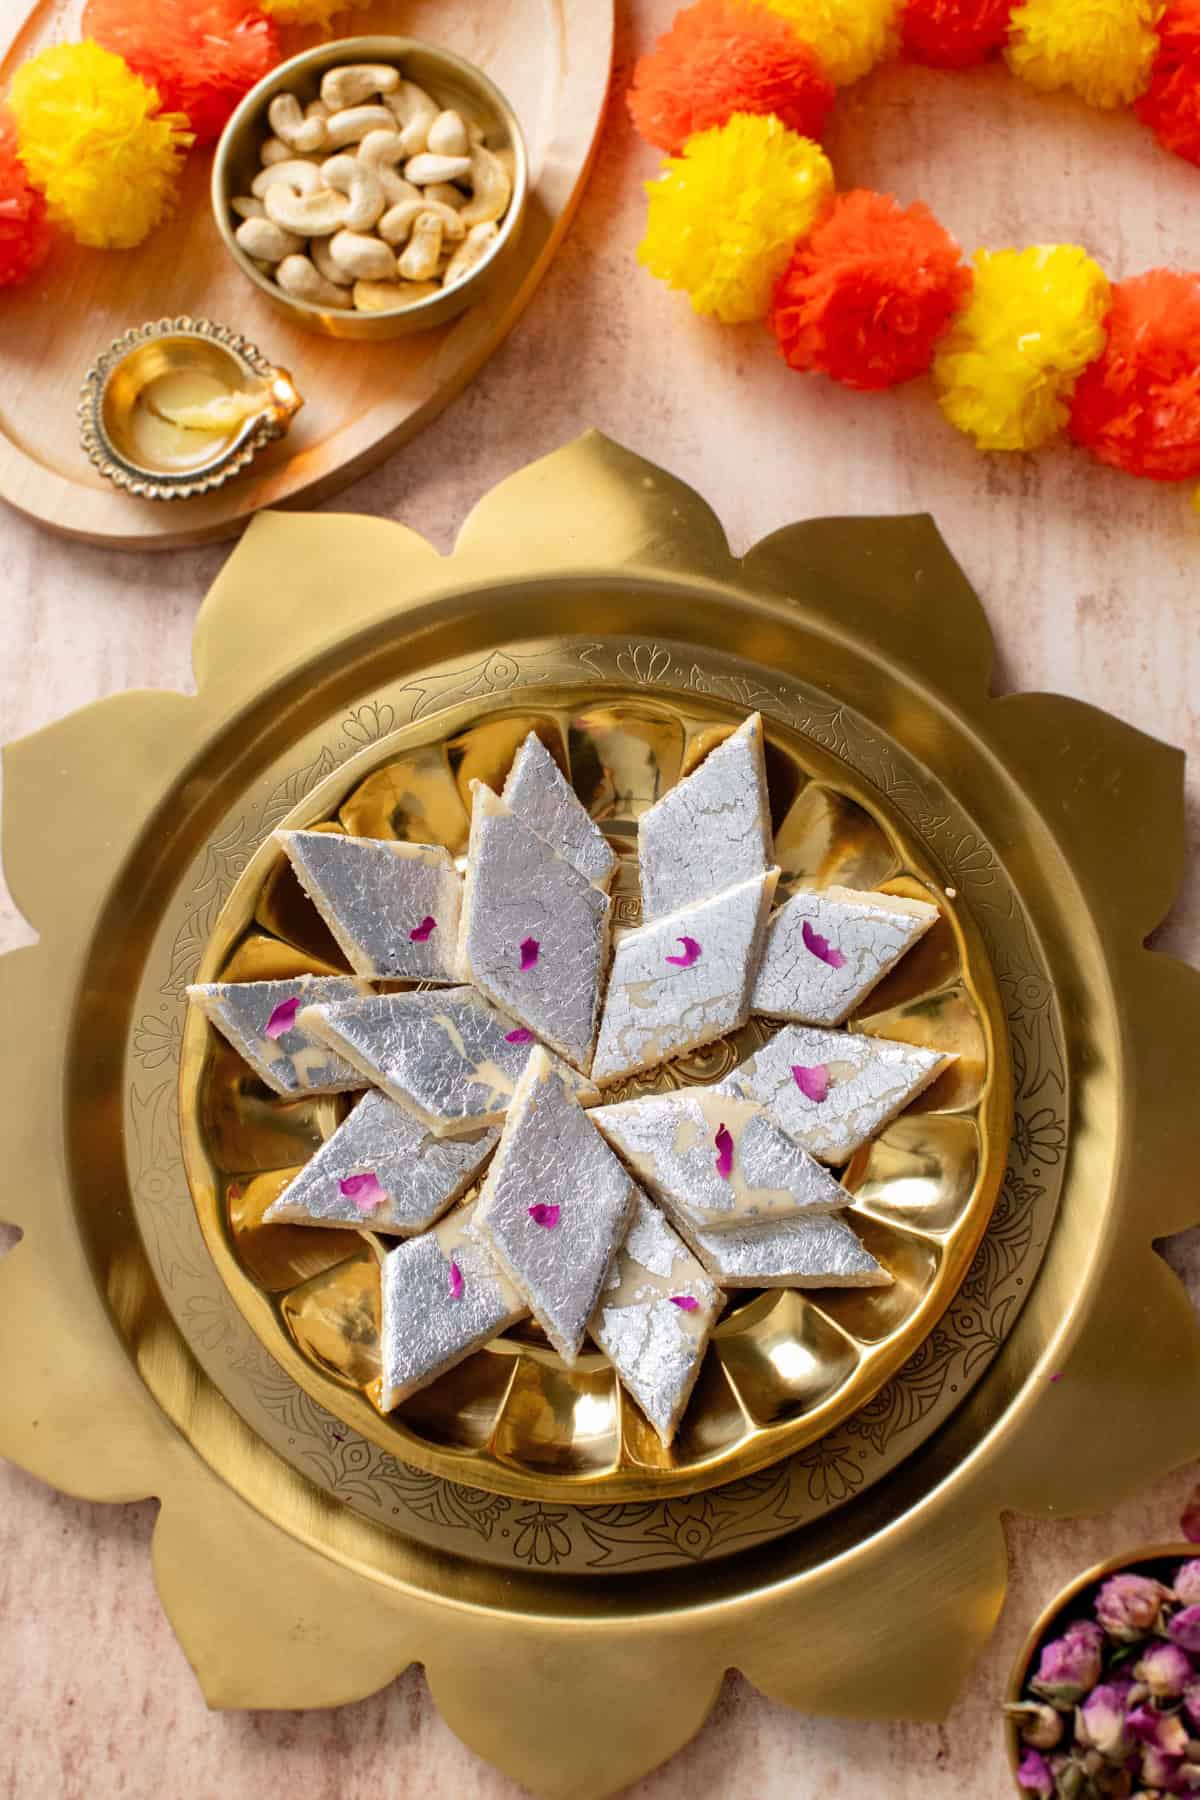
A Note - I first published this recipe post in October 2014, however in 2023 and now again in 2026 with loads of tips, tricks and mistakes that I have learnt each time I make it. That is why you will see a mix of old and new images.
I would be lying if I told you my mom made kaju katli at home. Never. She didn't need to because the streets of Delhi are dotted with amazing halwai shops selling this lovely cashew mithai. Every festival meant boxes of kaju katli coming home from our favorite sweet shop, only to disappear within a matter of hours.
However, finding really good Indian mithai a bit difficult here. And when you have grown up eating fresh mithai from neighborhood sweet shops, you know exactly how it is supposed to taste.
So, over the years, I slowly started learning and perfecting the indian sweets I grew up eating. What started mostly out of craving has turned into something I genuinely enjoy. There is something very satisfying about recreating those familiar flavors in my own kitchen, especially around the festival time.
The One Change I Made to My Kaju Katli
Ideally kaju katli should shouldn't be grainy, dry or chewy. For years, I made mine the traditional way with just 3 basic ingredients: raw cashews, sugar and water, with an occasional touch of rose essence.
But for the past 2-3 years, I have been also adding milk powder, and I really love what it does to the texture. It gives the katli a softer, slightly creamier bite similar to mithai shop version without taking away from the cashew flavor that should always be the star here.
It is a small addition, but one that has now become a permanent part of my improved recipe. You need high fat milk powder to use in mithai. Nido is my favorite brand to buy. Recently I also tried this red cow dutch milk powder and it is wonderful.
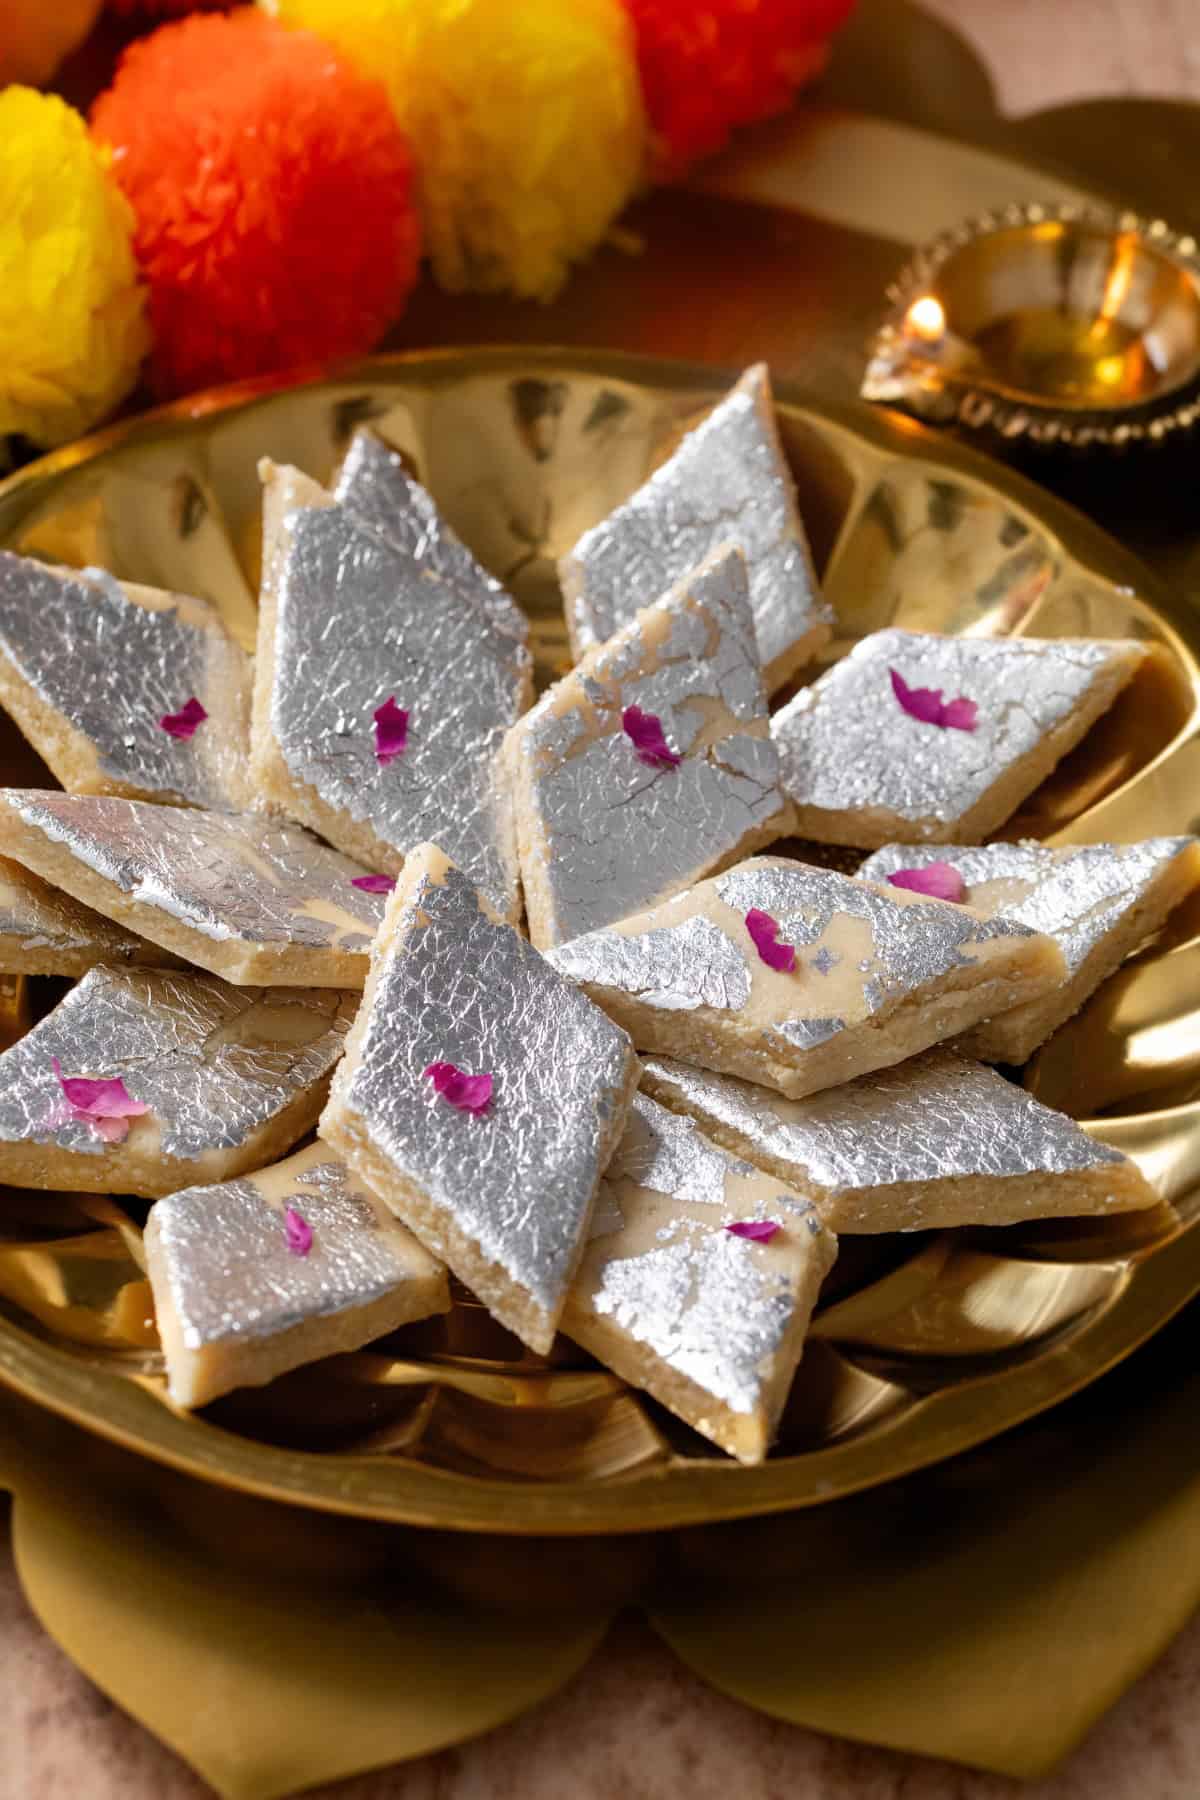
What I've Learned From Making Kaju Katli
1. Grinding the cashews: This is probably one of the trickiest parts of making kaju katli because cashews can go from a fine powder to a pasty, oily mixture very quickly. You can use raw broken cashews(bit cheaper!) or whole cashews, its up to you. You would want to grind them as finely as possible without giving them enough time to release their natural oils.
If you store your nuts in the fridge, before grinding, take them out a night before or few hours ahead and spread on the kitchen towel to air dry. The cashews should be at room temperature and completely dry before you start powdering them.
Cashews have a high fat content and if they have moisture to begin with(from refrigeration), they they will start clumping up and become pasty when we grind them. Once ground, the mixture should feel fine and powdery, not moist or sticky when you press it between your fingers.

Your blender really matters here. I use my Vitamix, which gives me a fine, even cashew powder very quickly. Whatever blender you use, work in short pulses of 15-20 seconds rather than running it continuously. We don't want the kaju powder to heat up. Stop and check the texture in between, and resist the temptation to keep blending just because you see a few slightly larger pieces. Over-blending is much harder to fix than sieveing out the few coarse bits.
Pass the ground cashews through a fine-mesh sieve to separate any larger pieces. Don't grind these again since the small quantity will take longer to grind and can quickly turn pasty. I save these leftover bits to make a wet cashew paste for curries later (add to korma or makhani sauce bases)
2. Go easy on the ghee: Use ghee very sparingly, both while preparing the mixture and while kneading. I learned this while testing several batches. In a few of them, I was a little too generous with the ghee and while the kaju katli tasted perfectly fine, they turned noticeably harder after refrigeration as the extra ghee solidified. You really need just enough to prevent sticking and help you handle the mixture.
How To Make Kaju Katli
Prepare The Sugar Syrup
Choose a wide, heavy-bottomed pan. A stainless steel pan works perfectly fine, but I personally prefer nonstick for kaju katli. The mixture releases more easily from the pan, and I feel there is much less sticking and wastage.
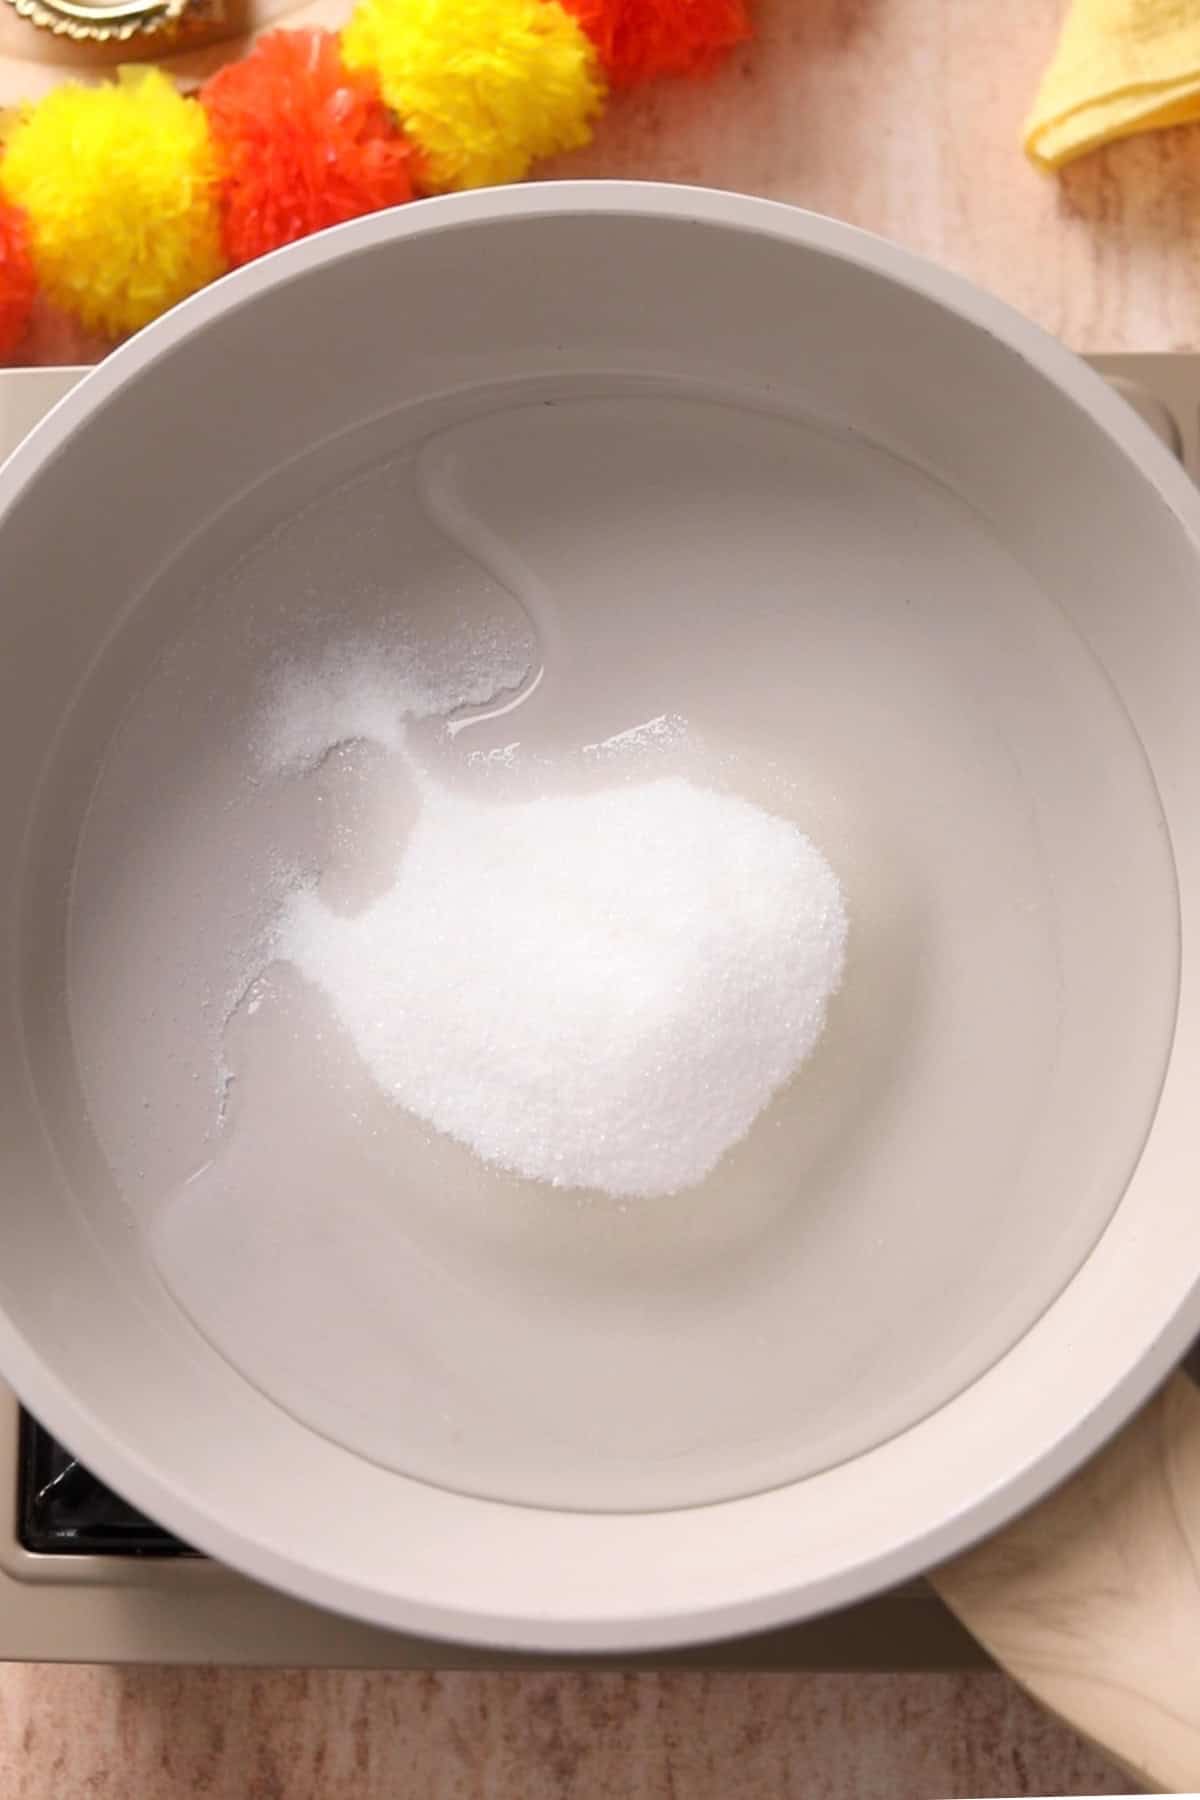
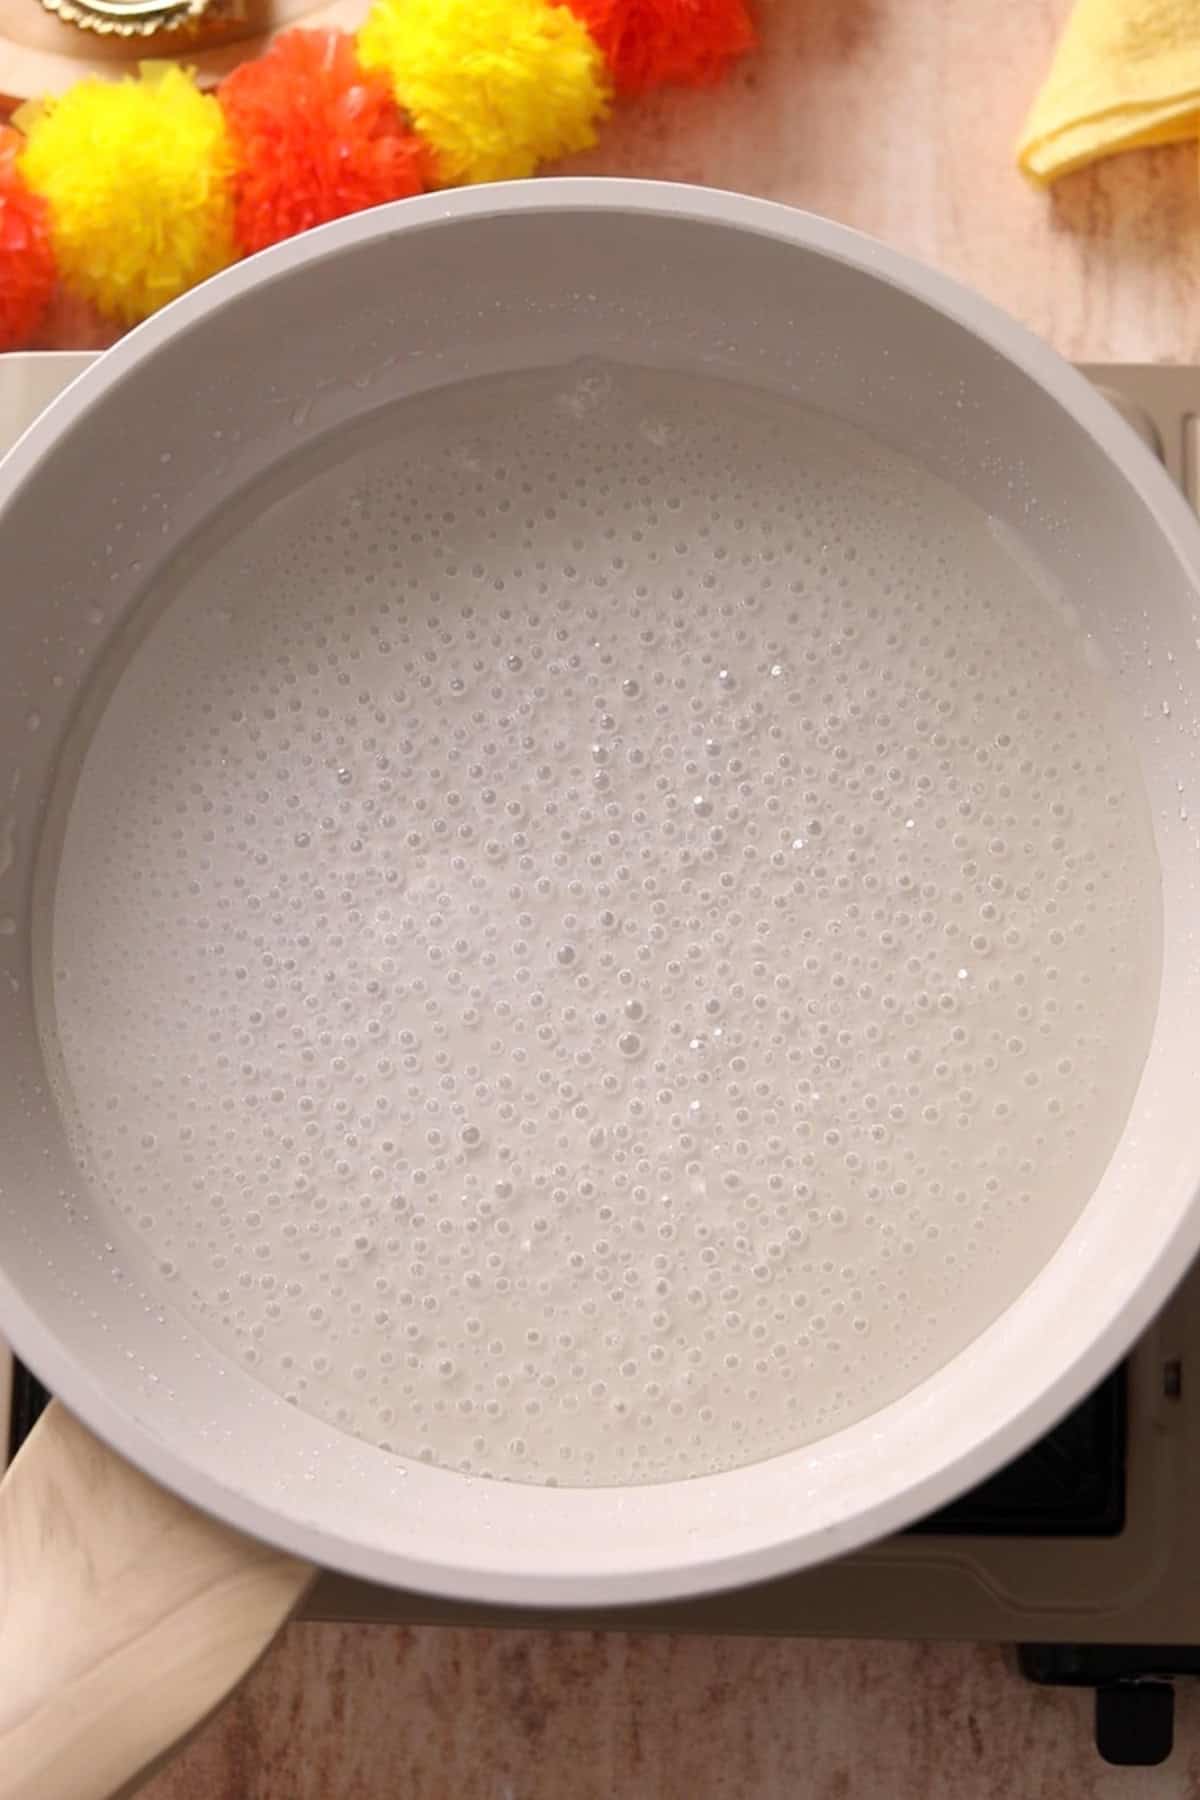
Combine the sugar and water in the pan and set it over low medium heat. Give it a gentle stir once with a rubber spatula, then let the sugar dissolve completely. The syrup may look quite thick at this point, but resist adding more water.
More water means a longer cooking time later to bring the mixture to a dough, which can affect the final texture. Longer cooking can make the katli stretchy rather than giving it that delicate bite and snap. We are not looking for any string consistency here. Once the sugar has dissolved completely and is bubbling, you are ready for the next step.
Prepare The Kaju Mixture
Lower the heat and add the powdered cashews and milk powder to the sugar syrup. The mixture will look quite lumpy at first, but don't worry. Keep mixing and use your spatula to press the lumps against the sides and bottom of the pan to break them up. Scrape down the sides as you go and mix everything back in. We will continue the rest of the cooking on low heat. Set a timer for 10 minutes and brace yourself for some arm work now!
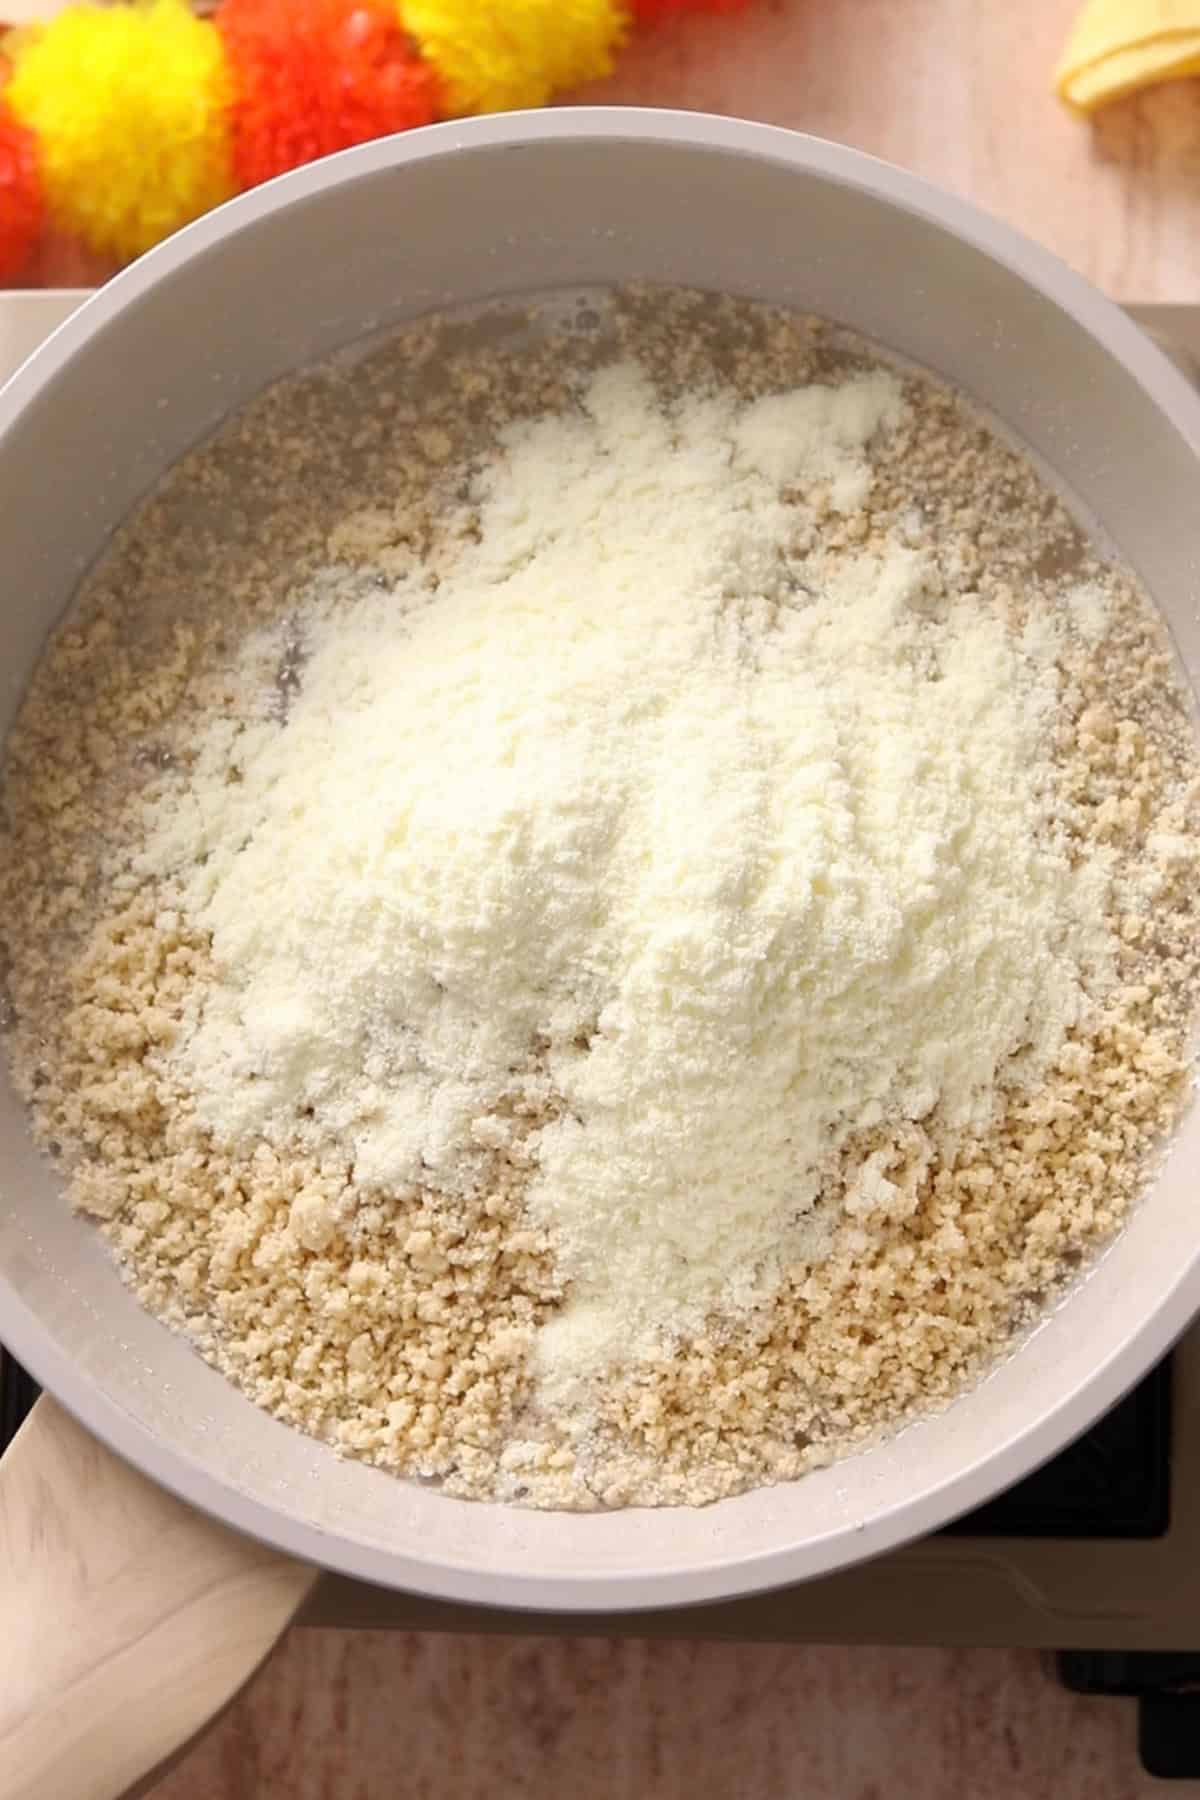
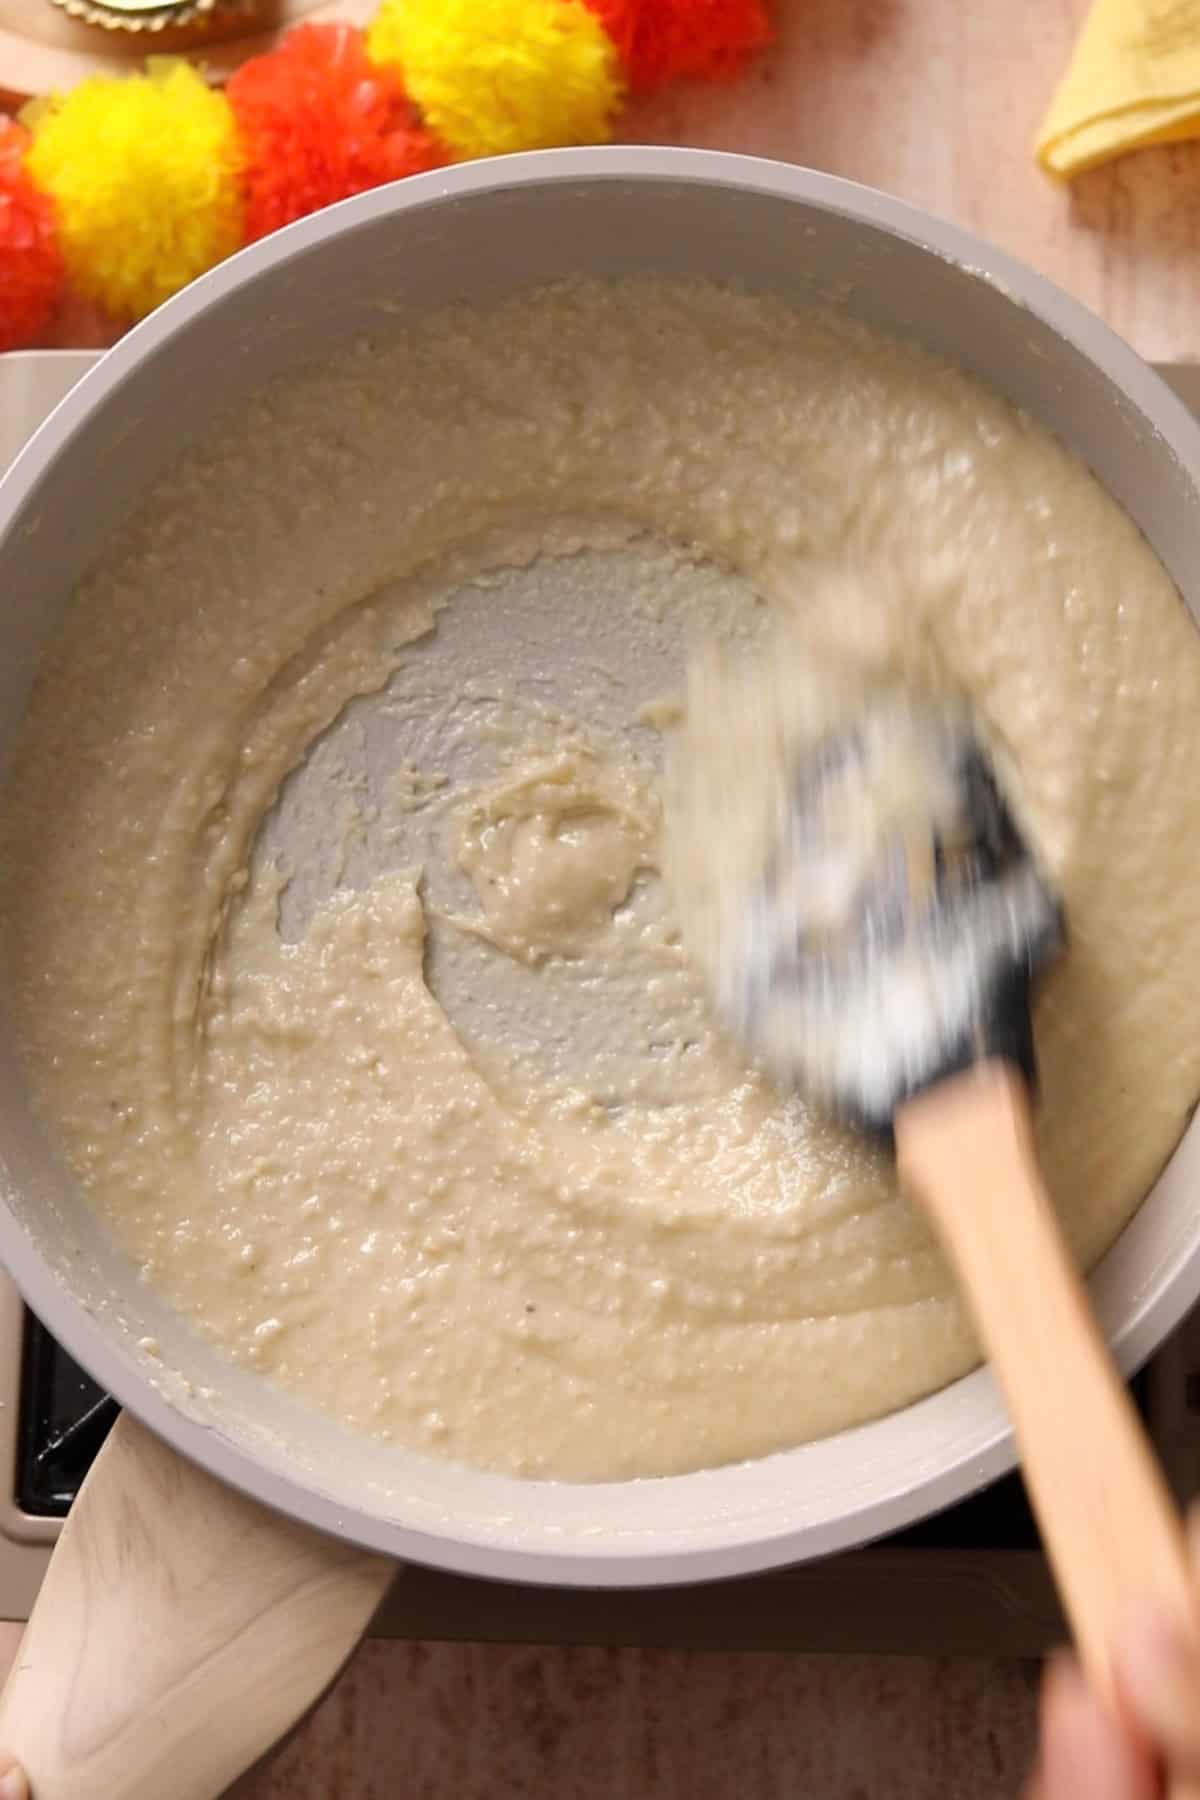
Keep stirring and scraping continuously so the mixture cooks evenly and doesn't catch at the bottom. It is the natural tendency of cashews to stick. Keep scraping and mixing back the sides. At about 5 minute mark, you will see that the mixture is beginning to thicken and few bubbles start appearring. At this stage, the mixture has fully warmed up and is raw cashews are beginning to cook. It also higher tendency to stick so continously mix.
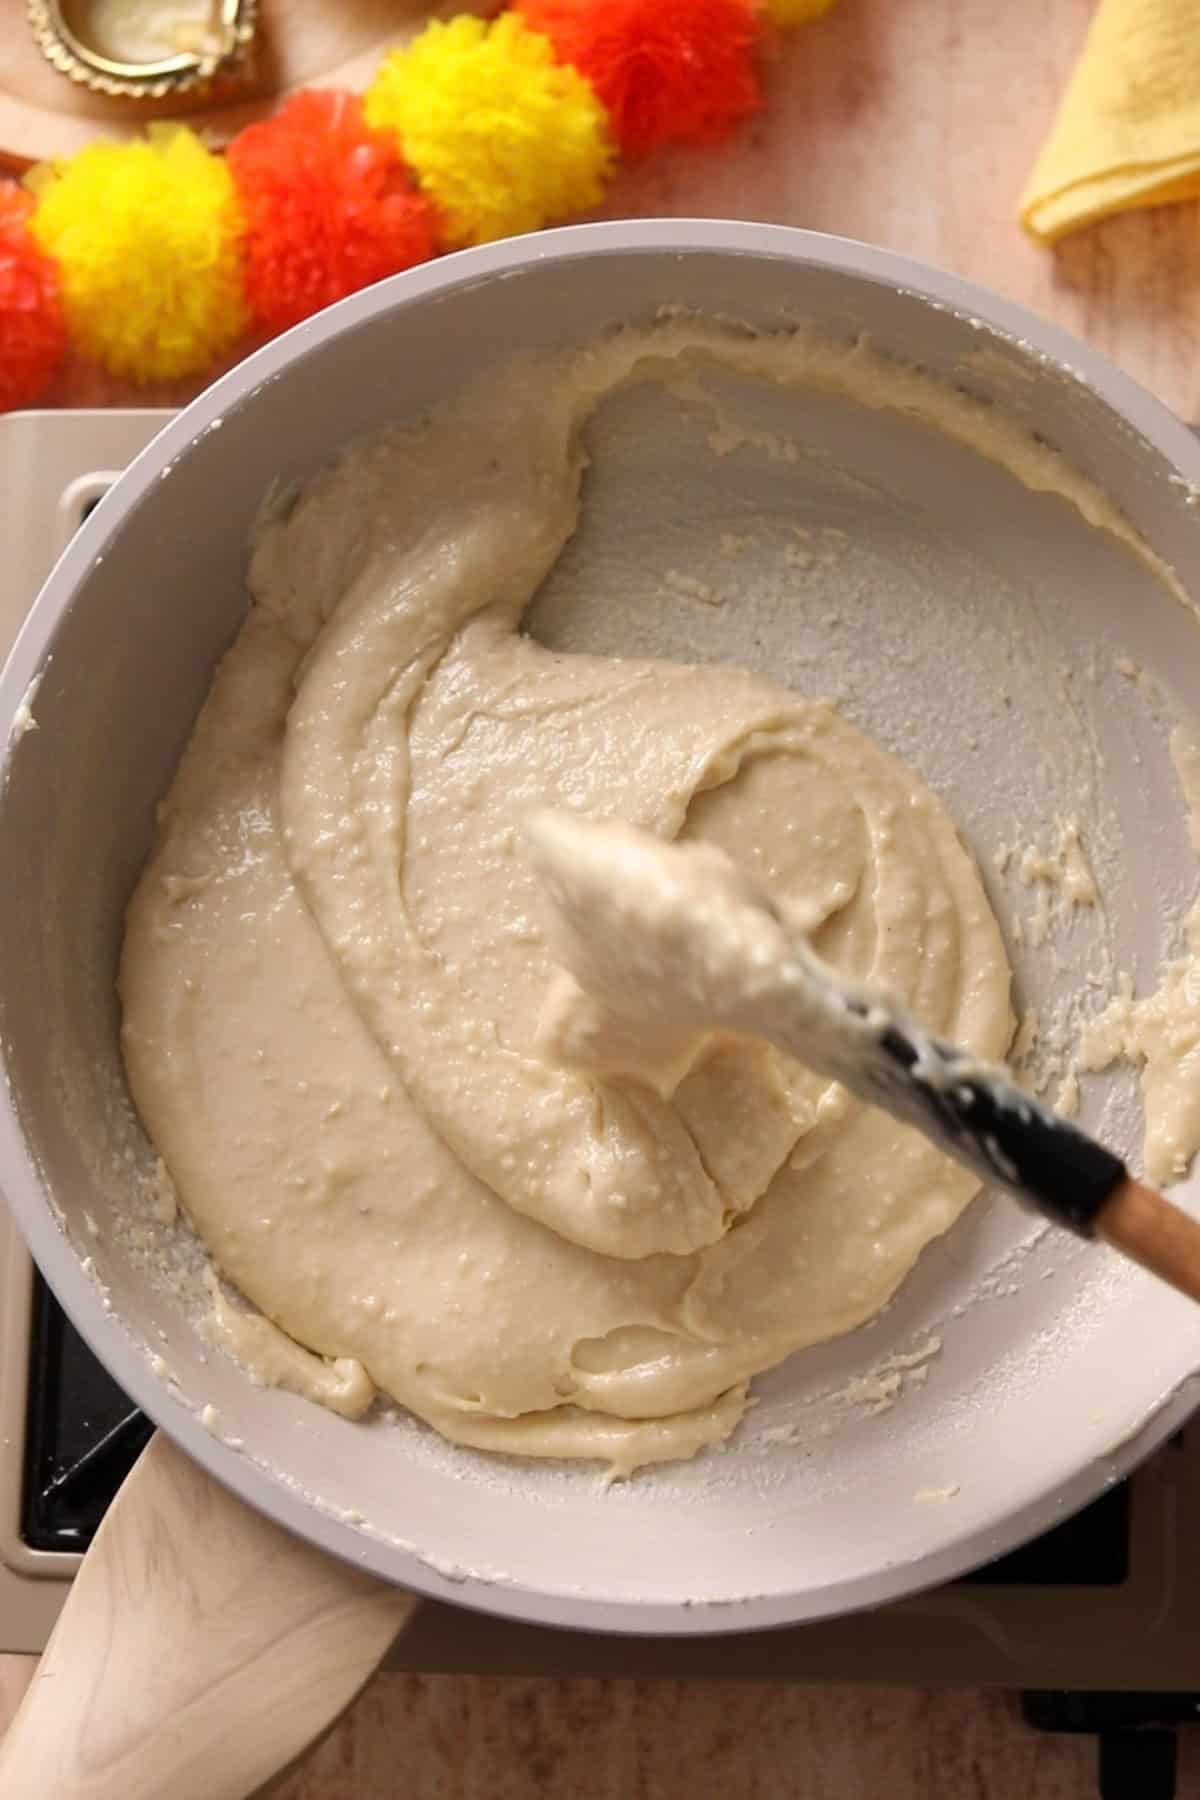
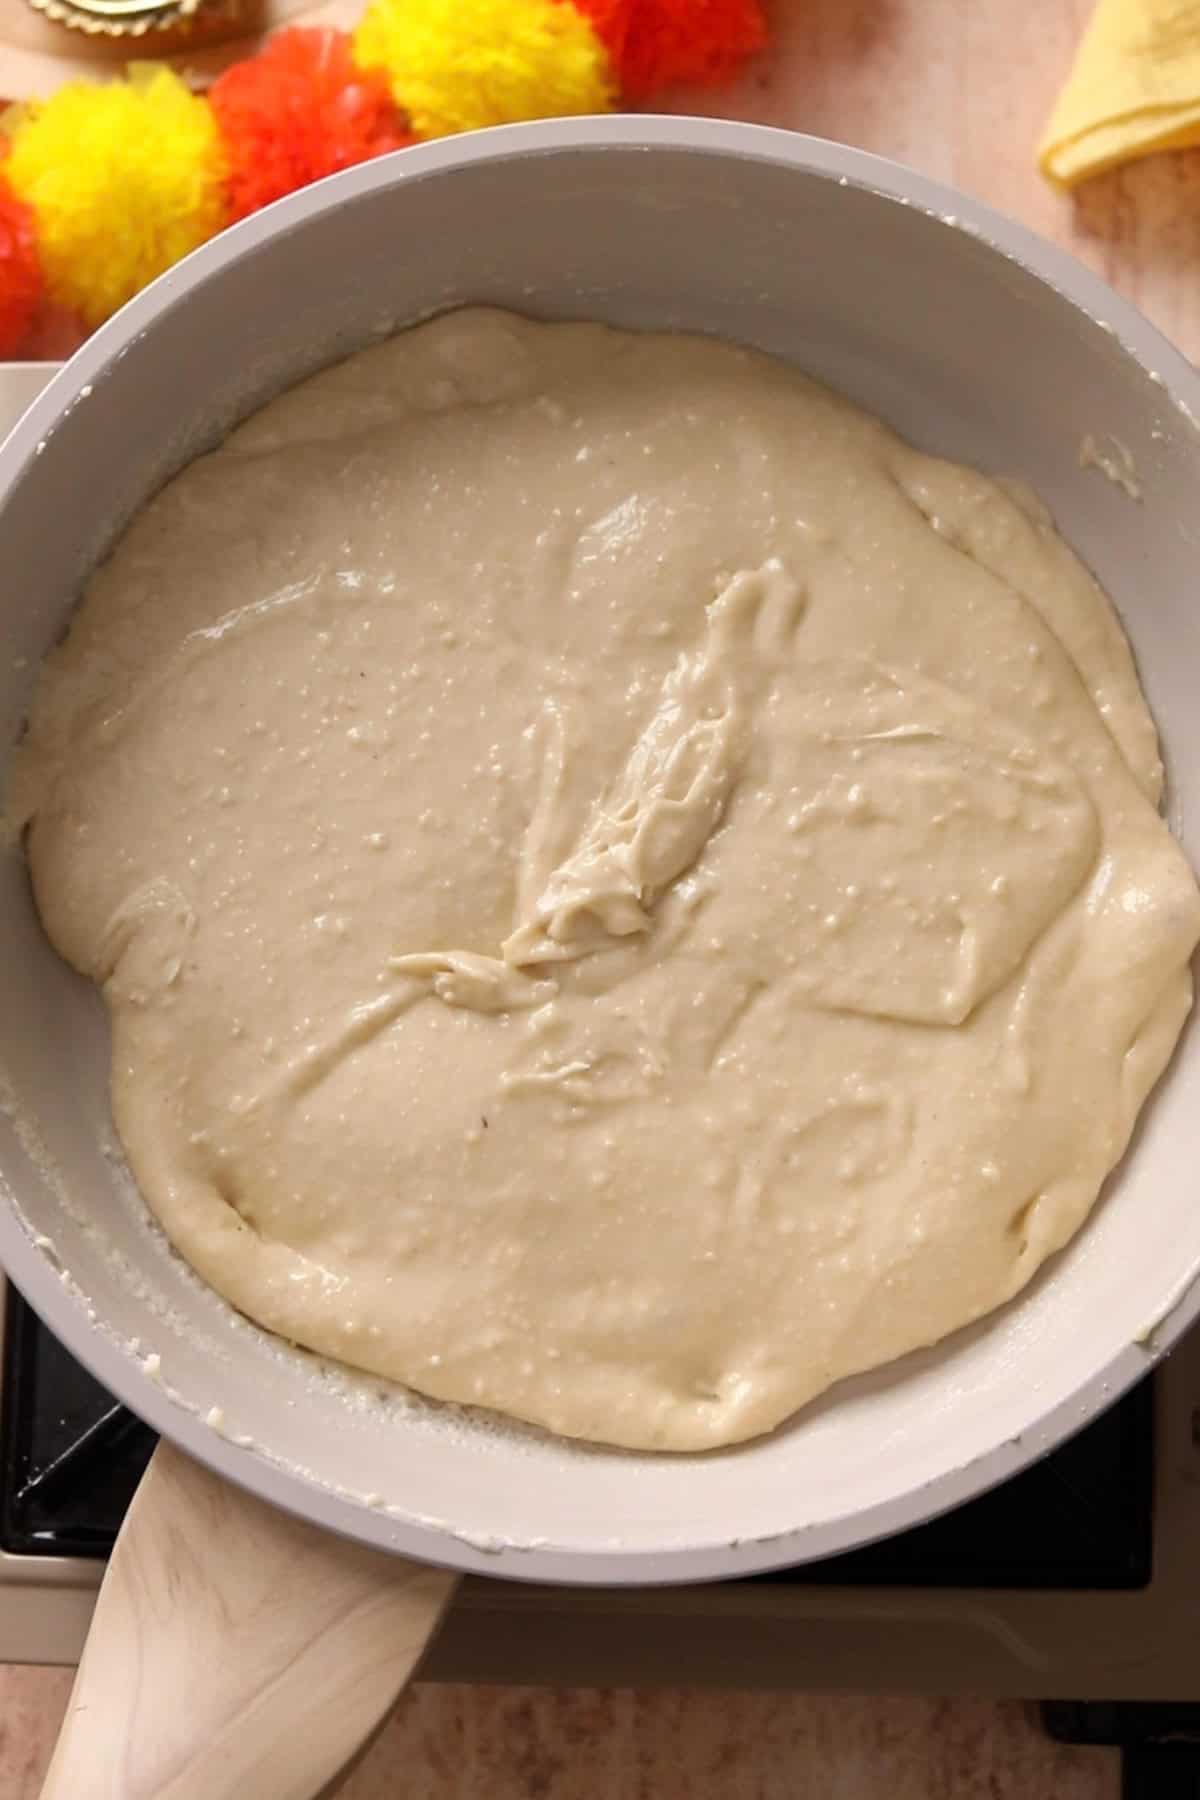
After 6 minutes, add 1 teaspoon of ghee along with 2-3 drops of rose essence if using. The kaju katli mixture will continue to thicken for next 3-4 minutes. After 6 minutes, the cashews sticking to the sides of the pan gets super dry so don't mix them back.
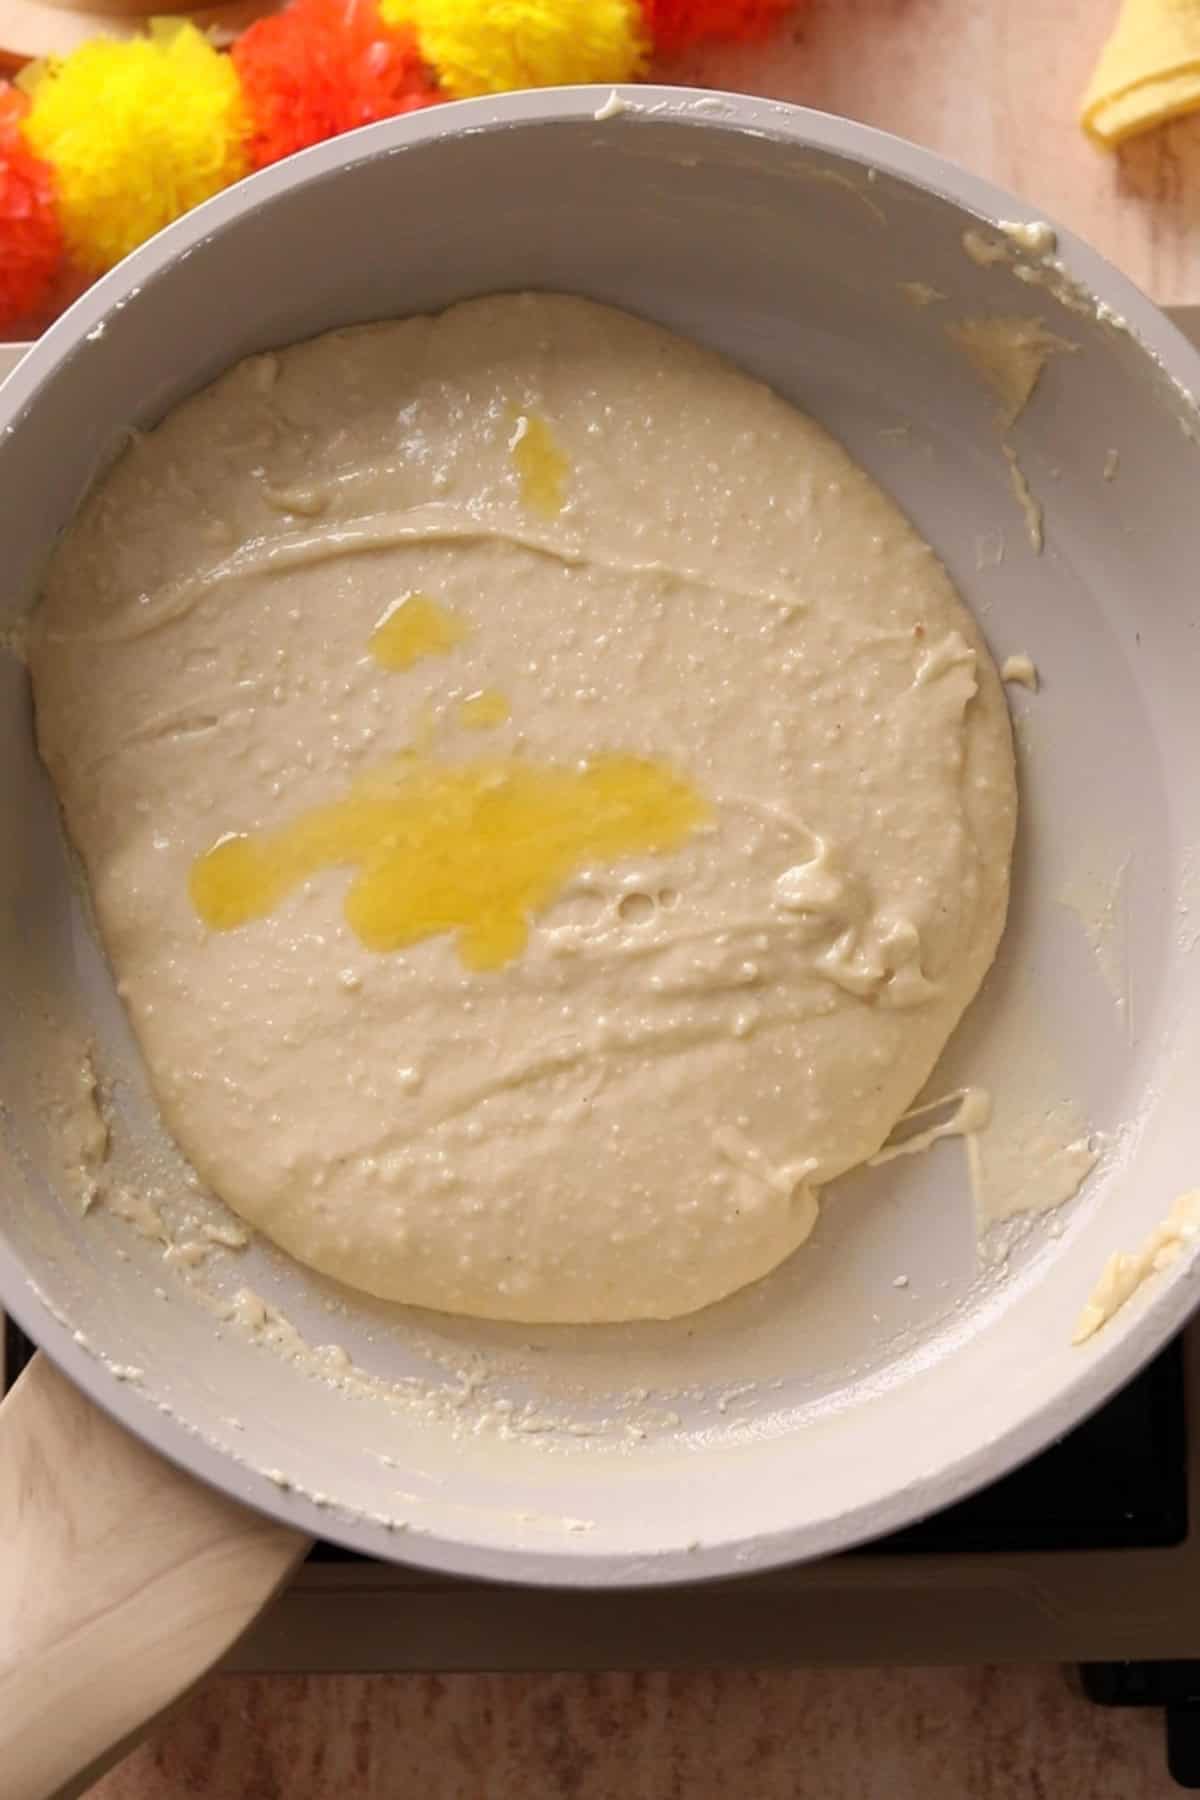
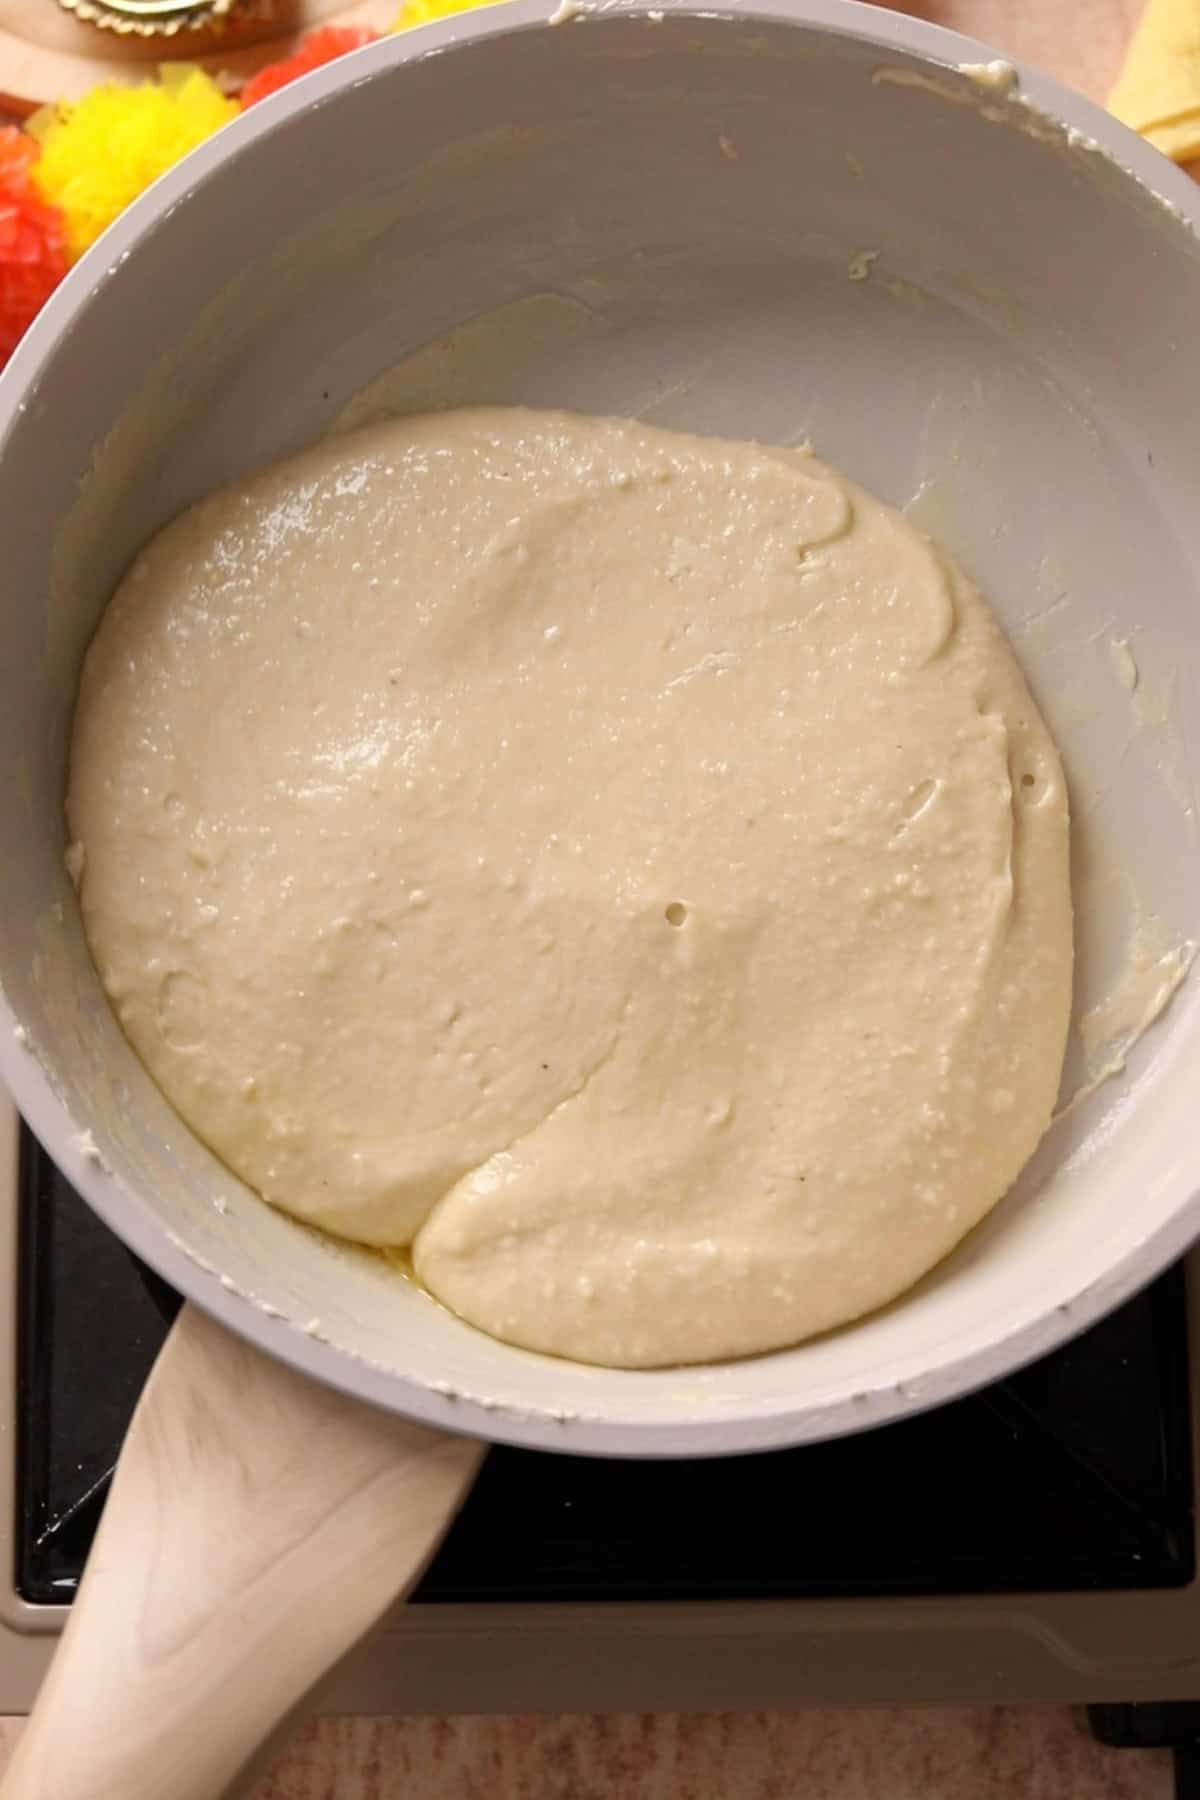
At 9 minute mark, the mixture will leave the sides of pan and start resembling a soft, sticky dough.It will begin to clump up around the spatula. If you try to bring the mixture together in one place, it will slowly spread out. It took me exactly 10 minutes to reach that stage.
You can add few drops of ghee if dough is not coming together. Remove from heat. One way to check the texture of the dough is by dipping your rolling a tiny amount of dough with wet fingers. It should be soft and supple, not sticky.
Roll The Cashew Dough and Cut
Immediately transfer the cooked kaju mixture to a greased parchment paper. Leave to cool for 2-3 minutes. Dont let the cashew dough turn cold- you wont be able to knead it. As soon as it is okay to touch while warm, start kneading it. Kneading the dough bring out the real texture. Don't skip this step else the katli won't form or they will be crumbly.
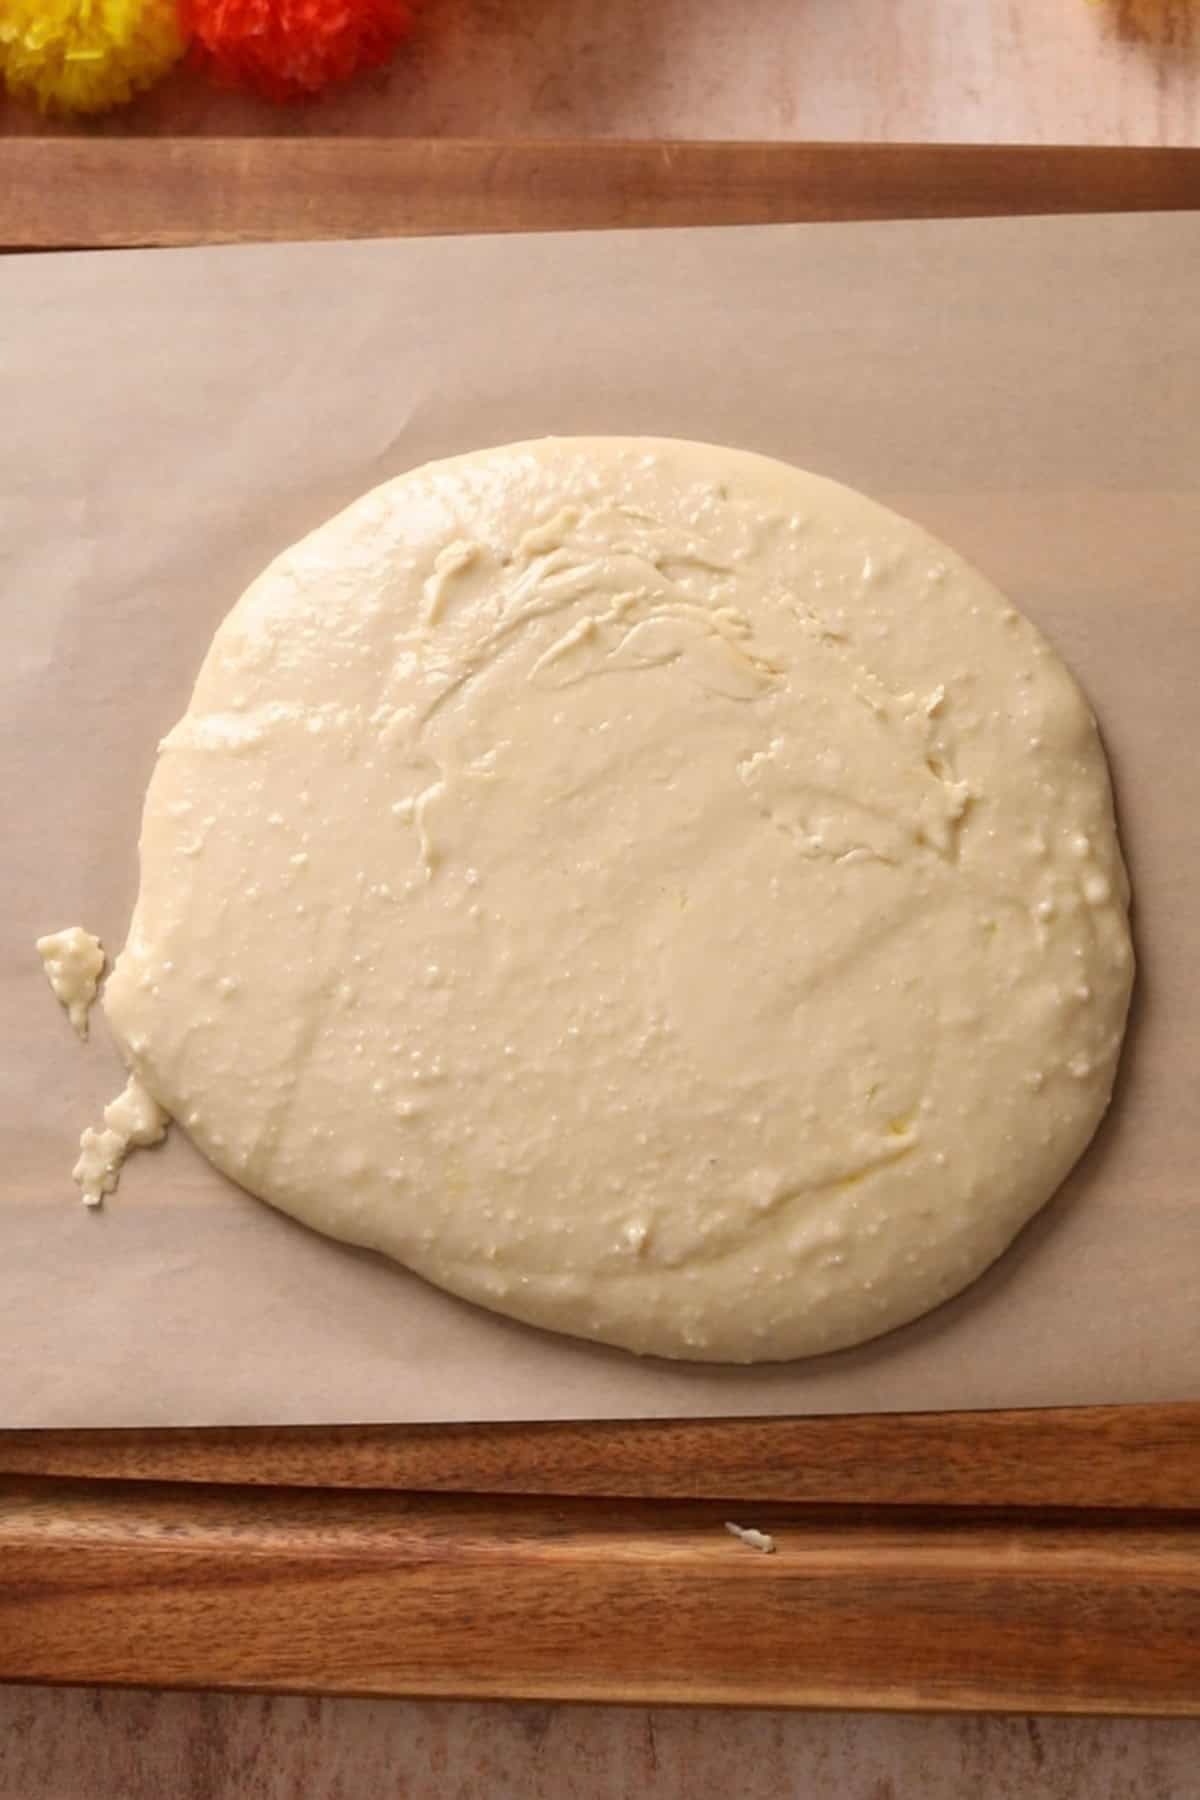
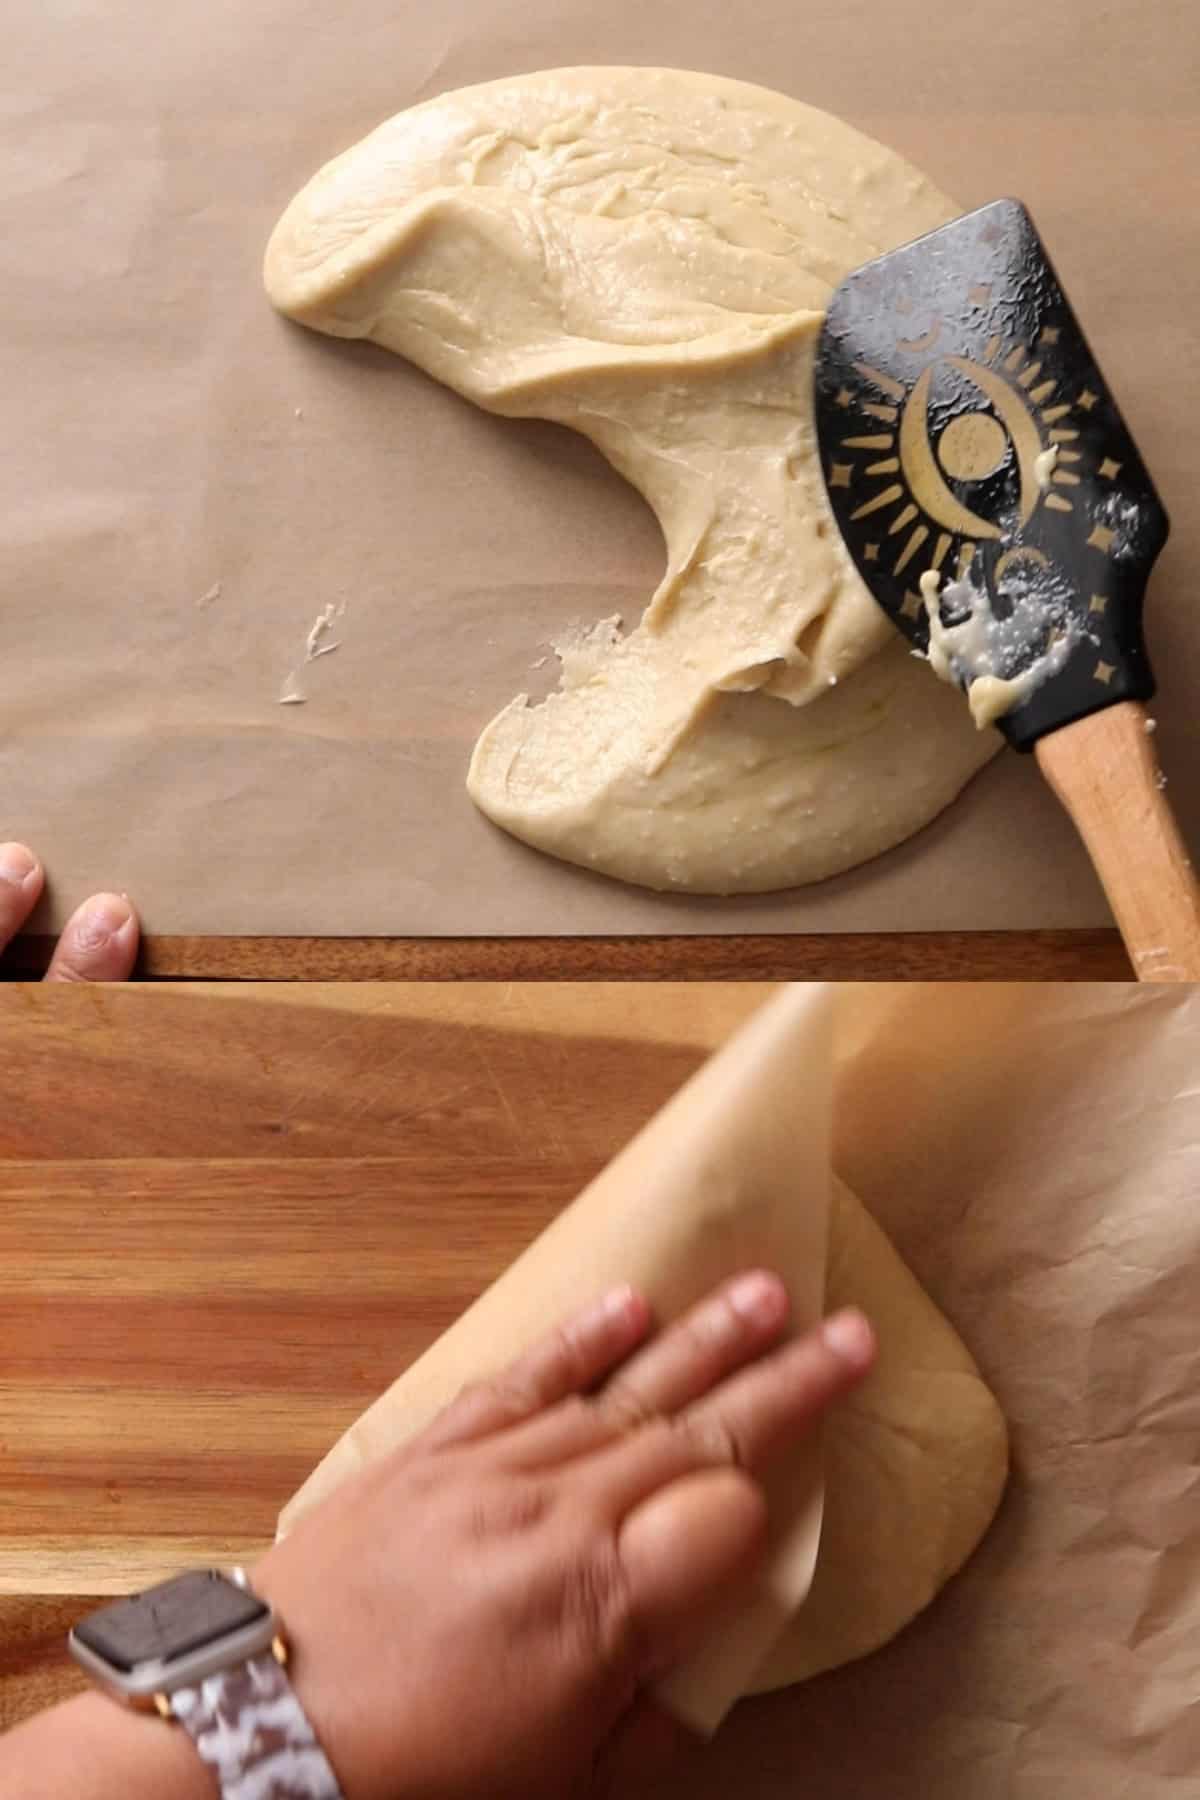
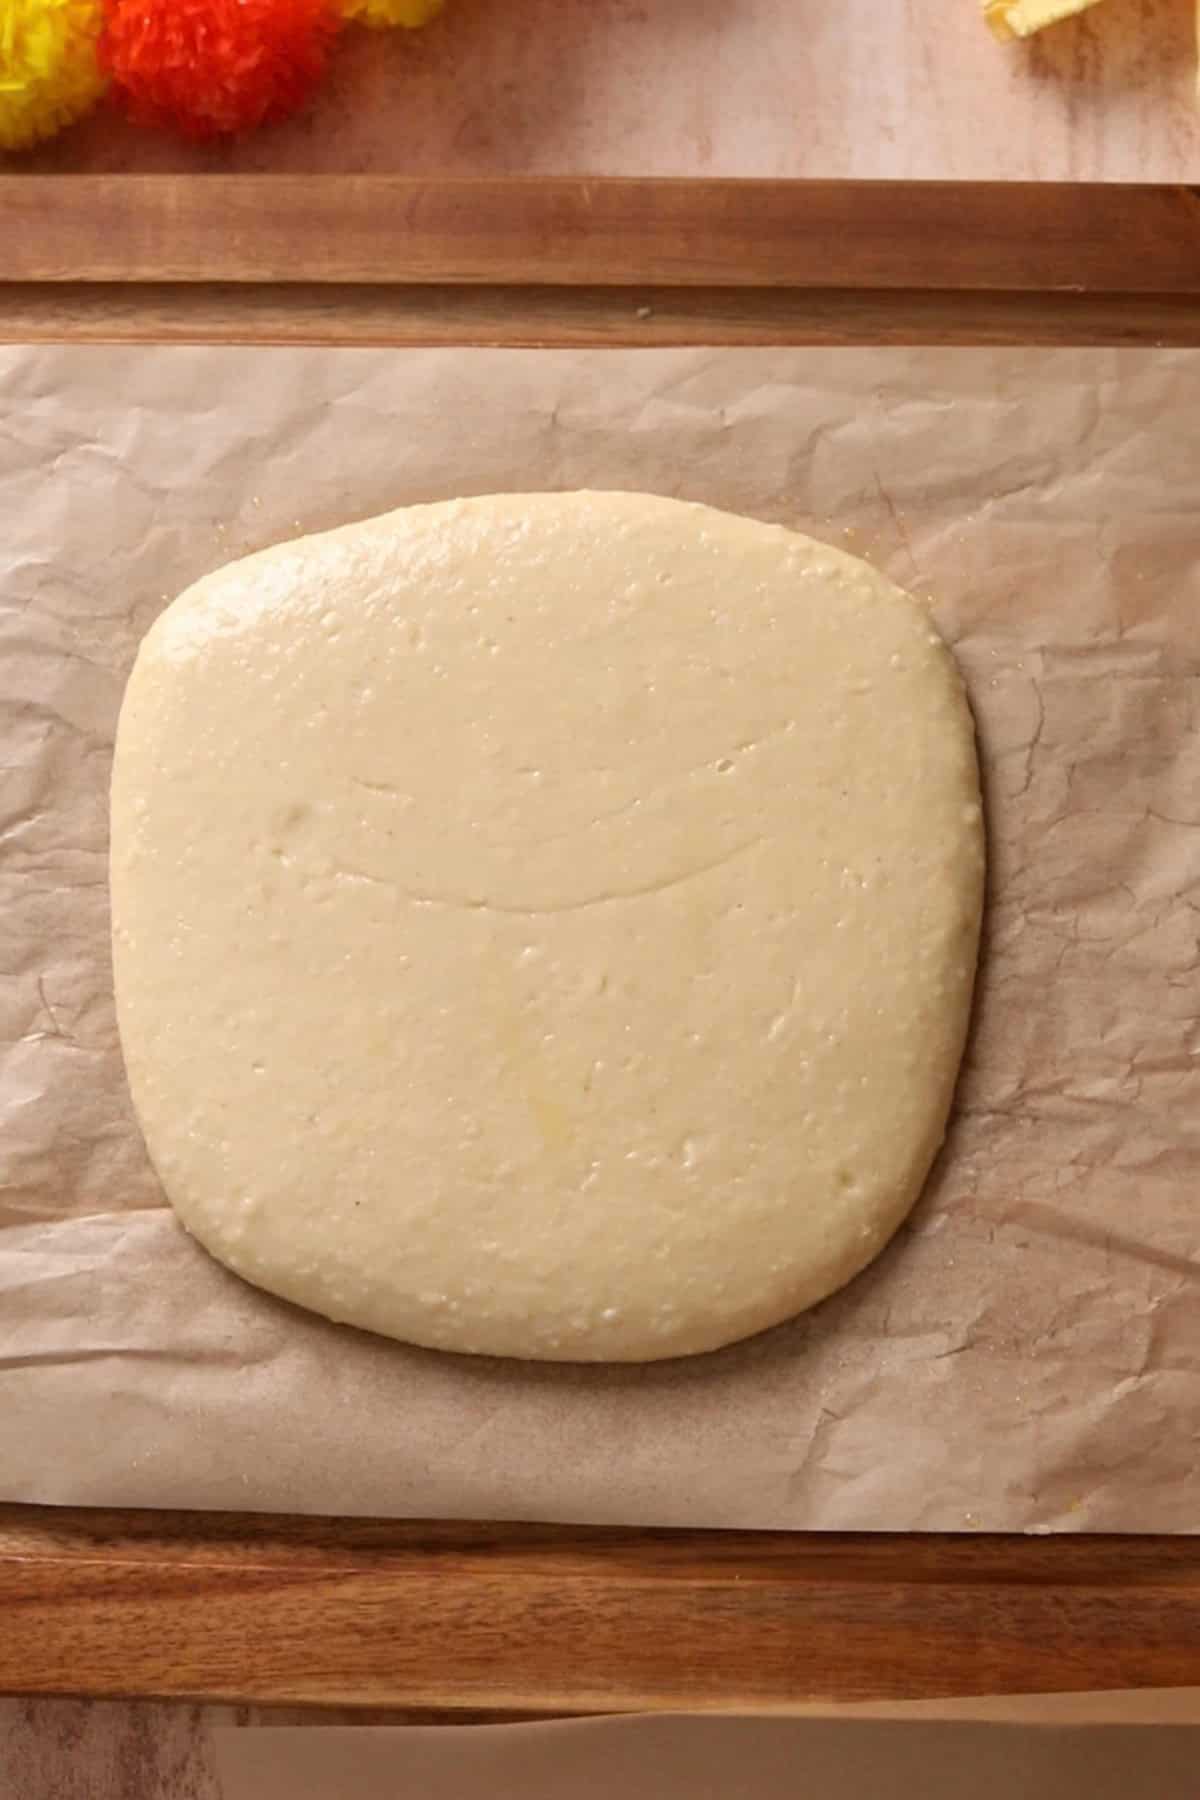
At first use spatula to knead the kaju mixture.Then, knead by folding sides of parchment paper. Knead and press the mixture to smoothen out. Knead for about 4-5 minutes to completely smoothen it. Do not press very hard while kneading else the cashews will start oozing their oil.
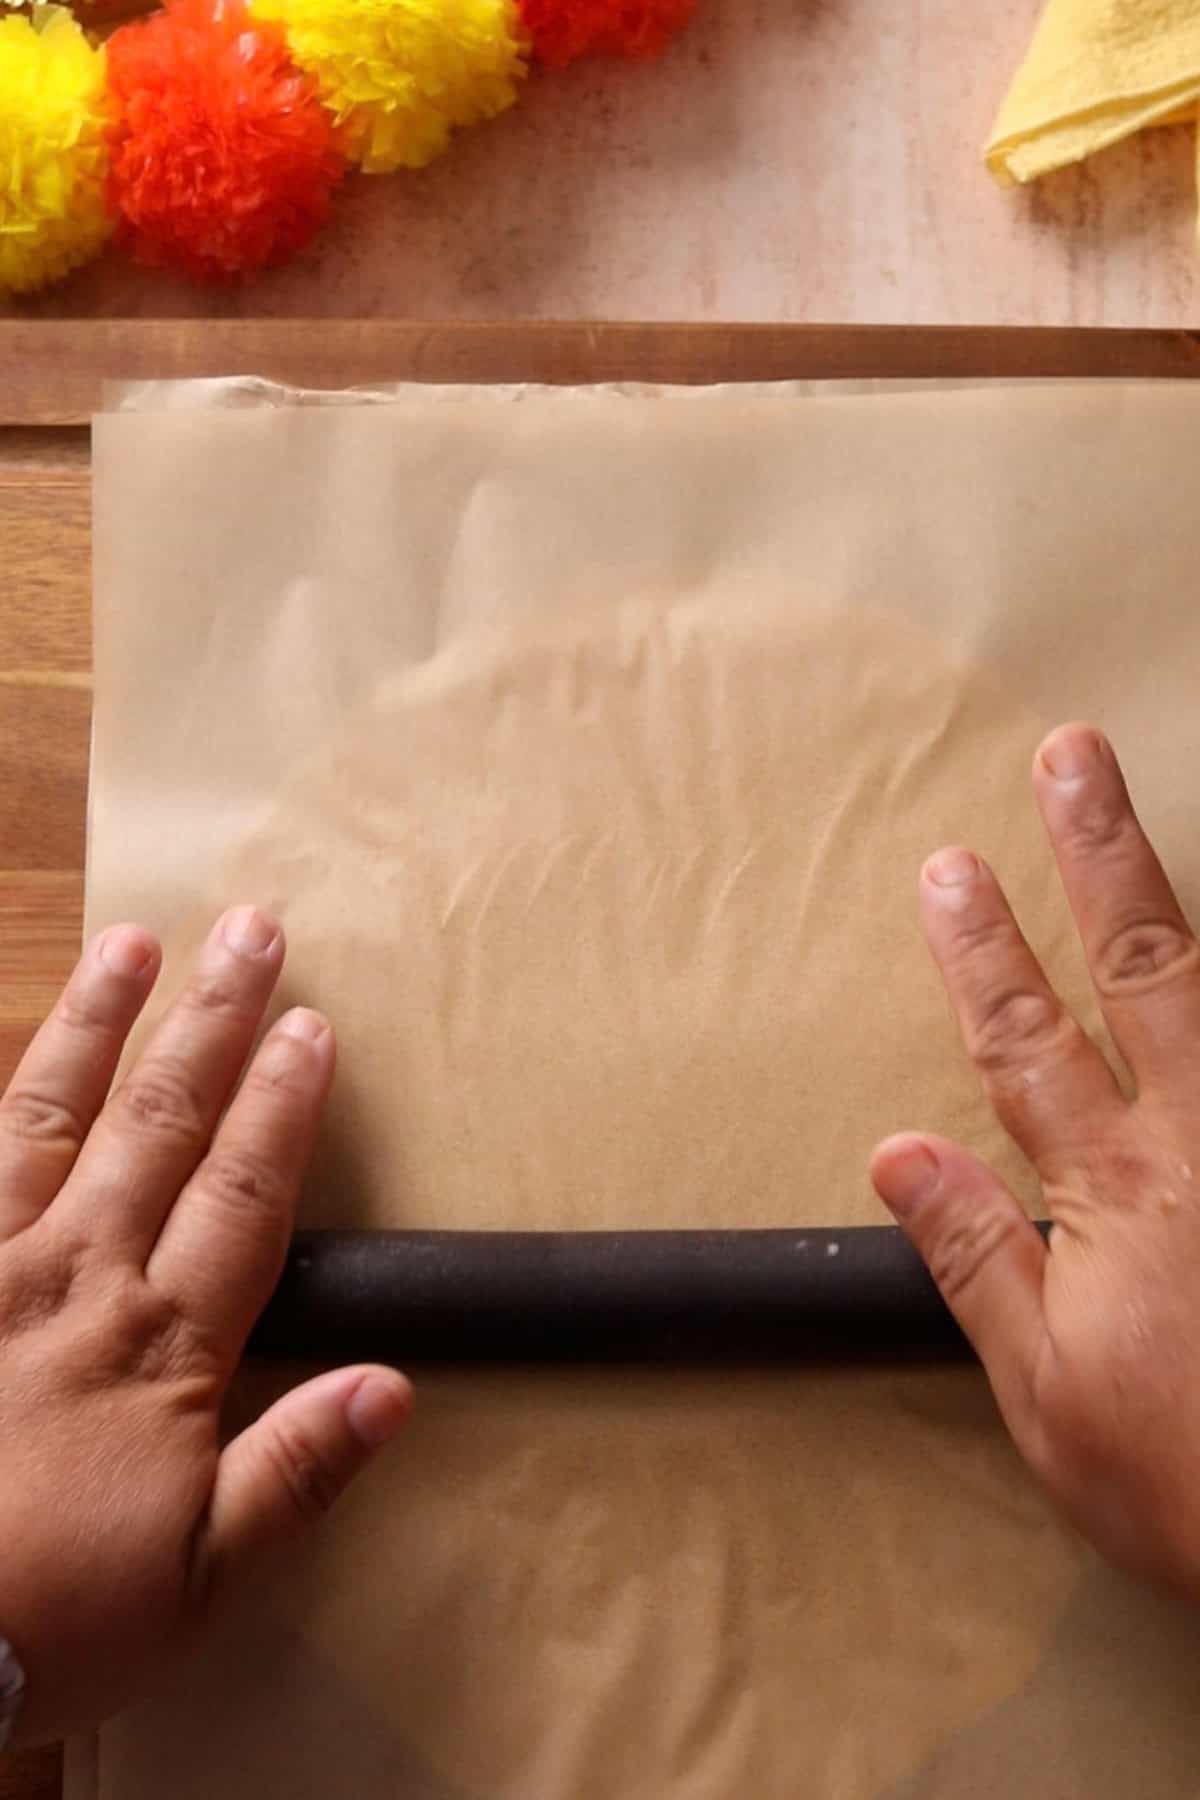
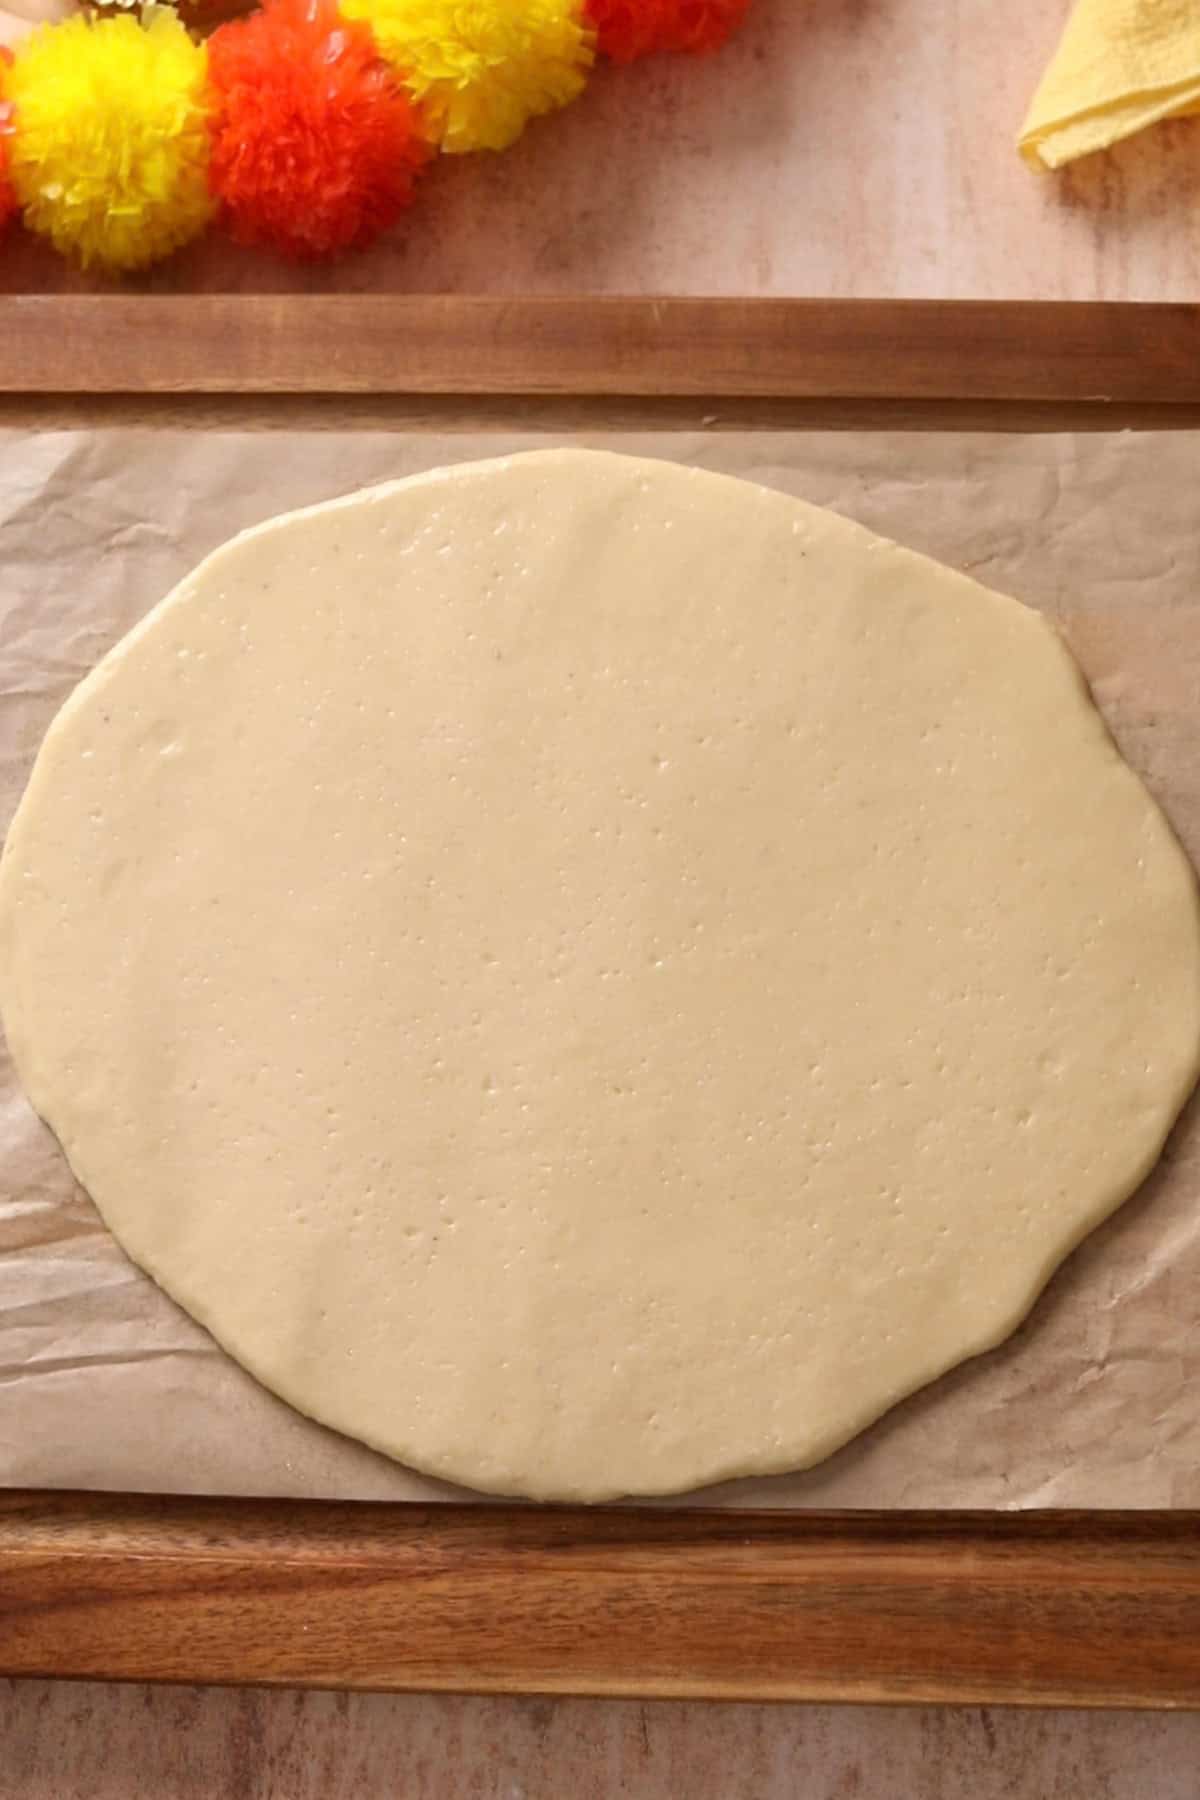
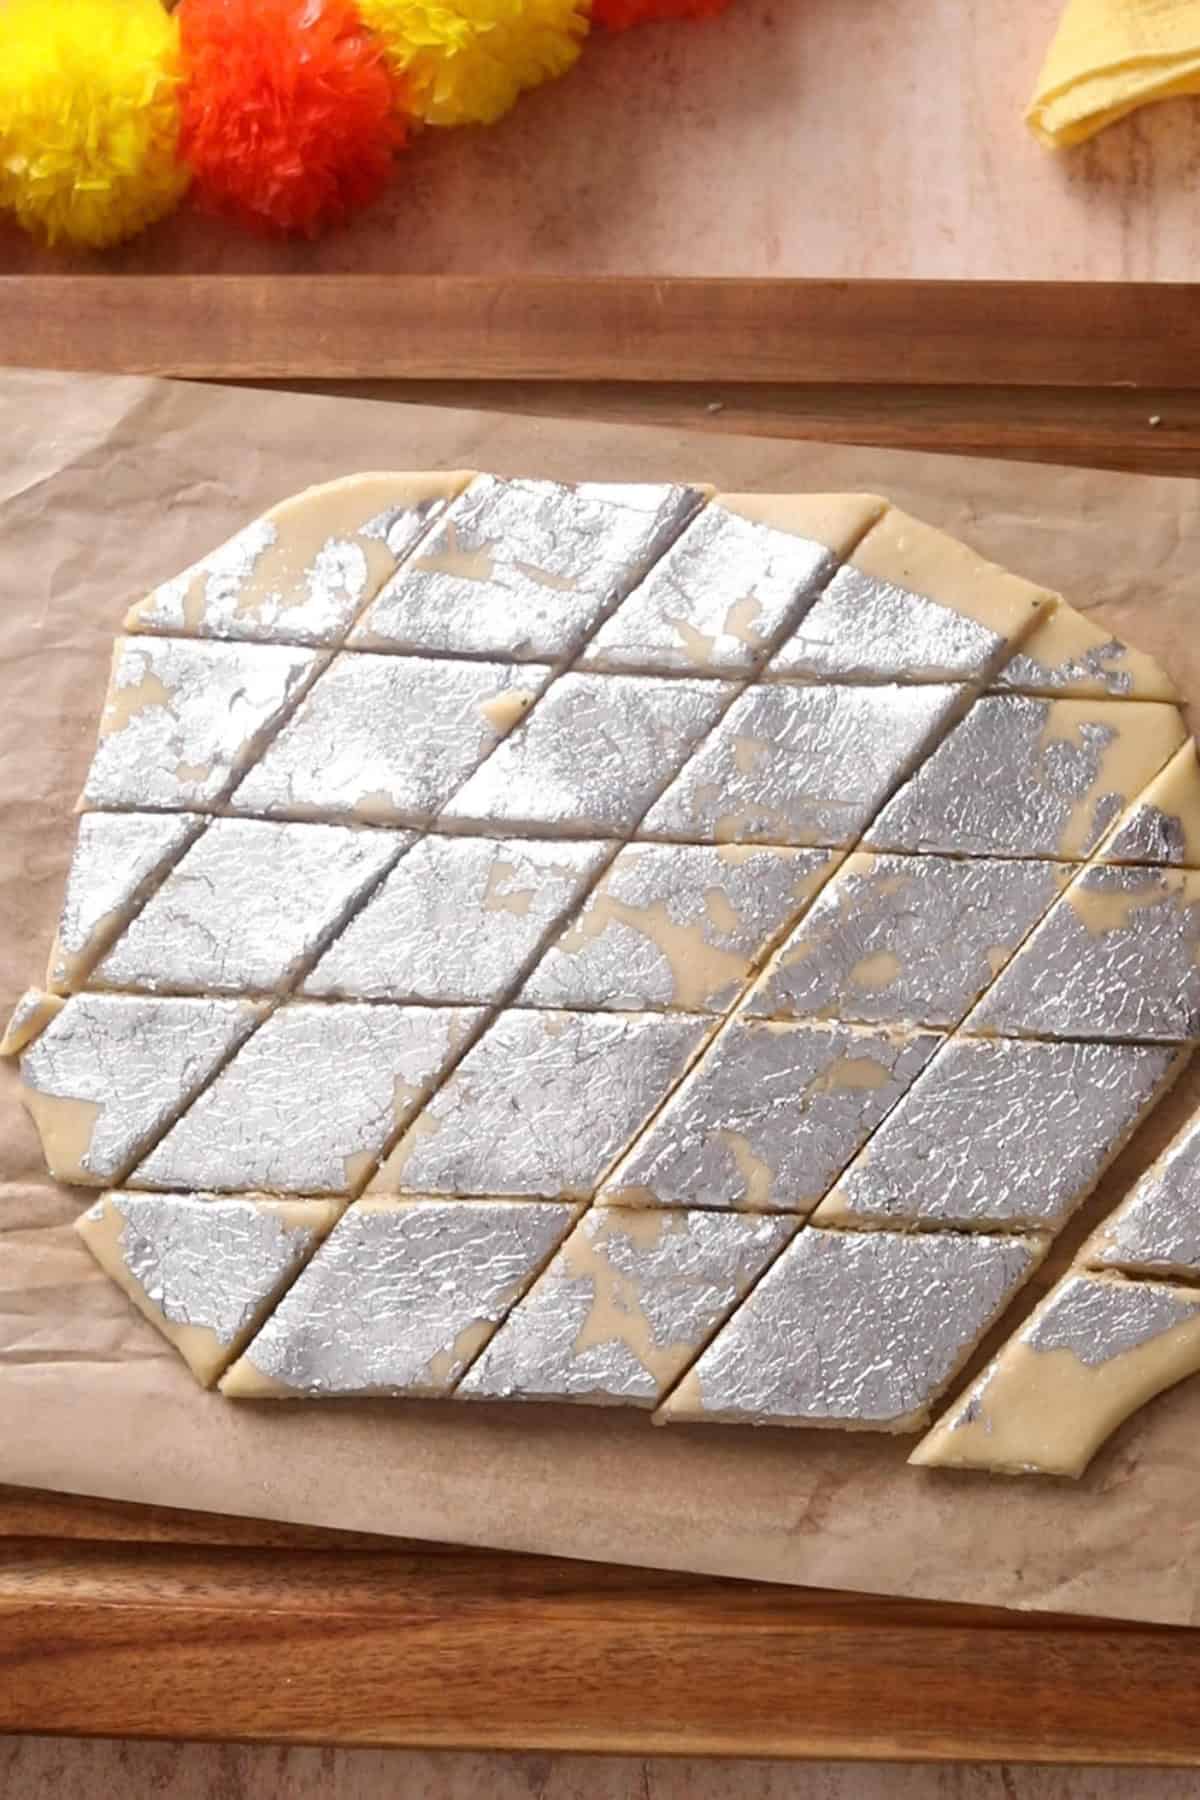
Once kneading, flatten the kaju katli mixture slightly and place a parchment paper on top. Using a rolling-pin, roll it out to a ¼ inch thickness. Place silver foil over the rolled dough. Let cool and then using a sharp knife, cut into diamonds or square shape.
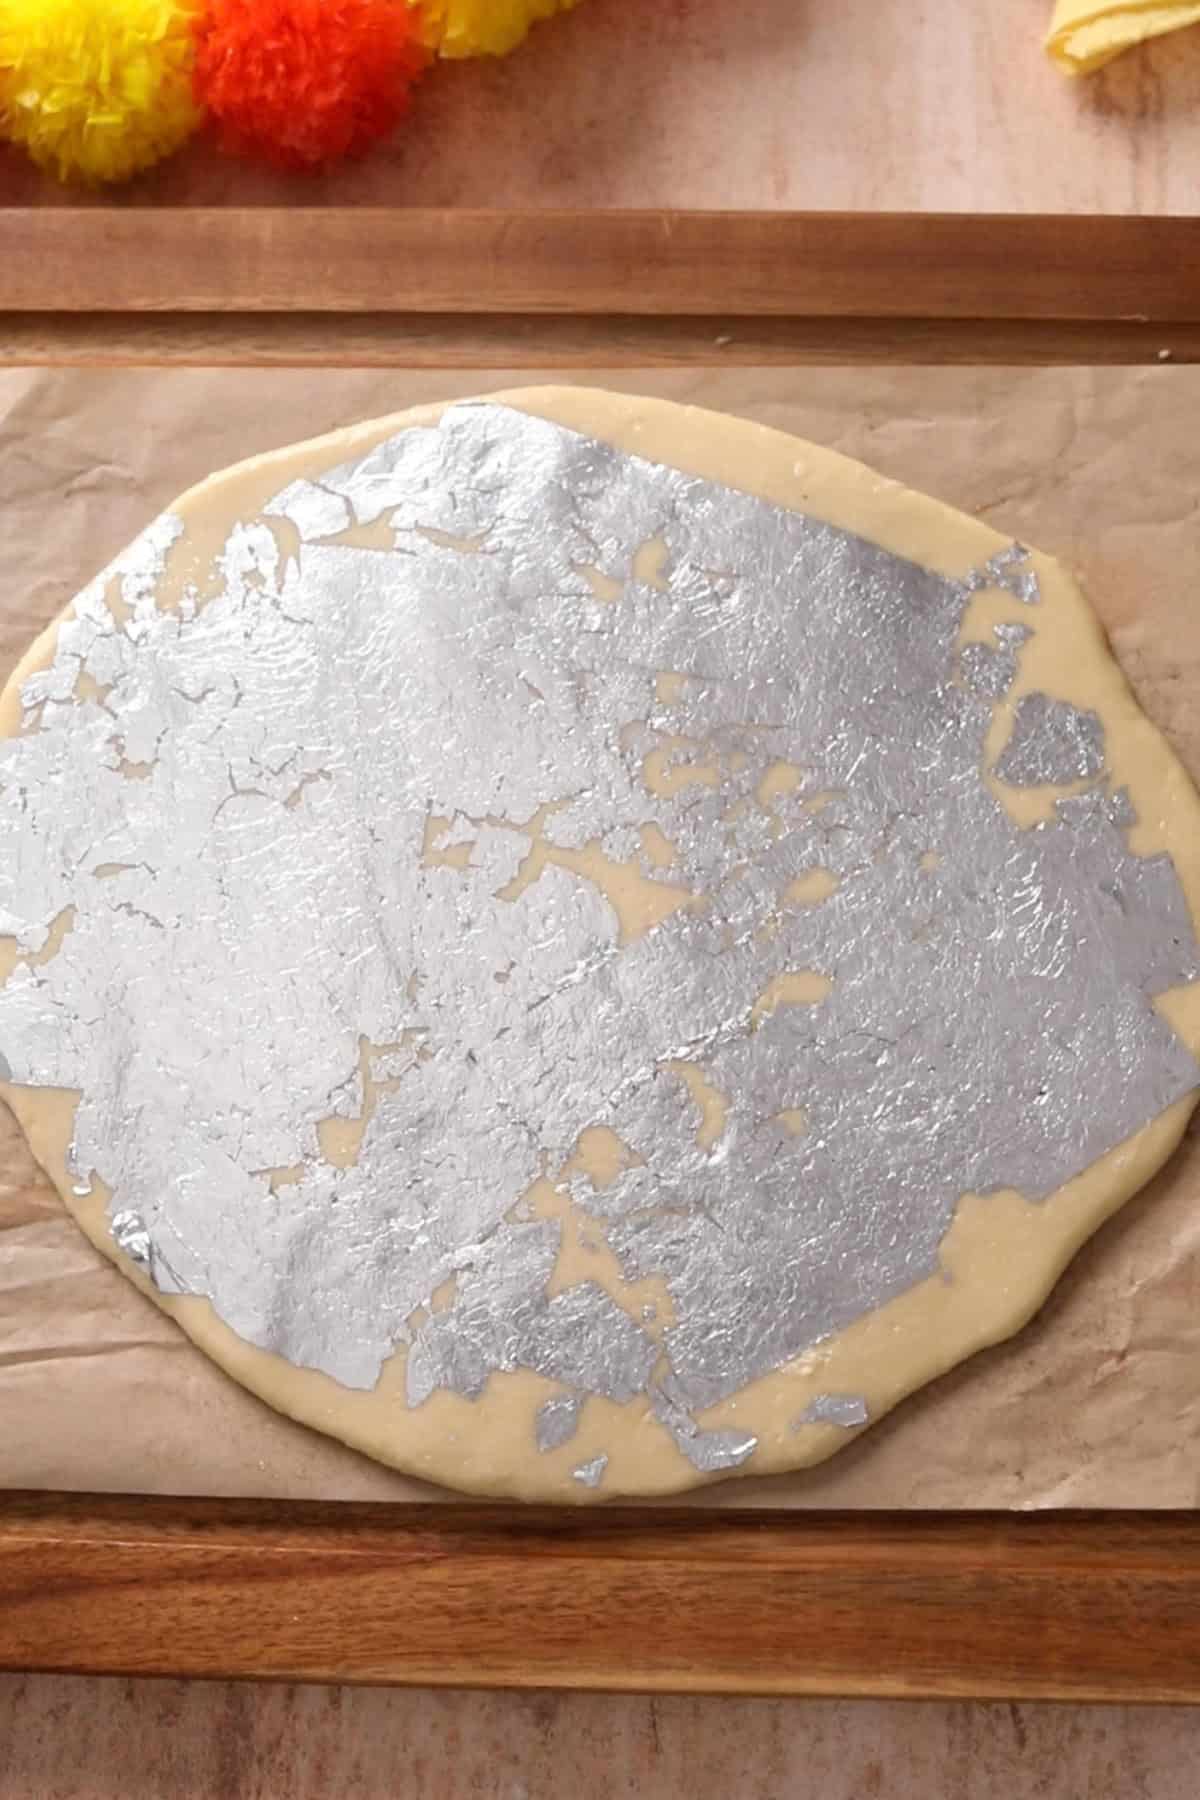
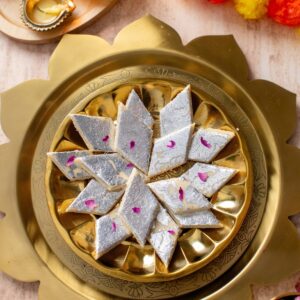
Since these have milk powder, store kaju katli in an air tight container for a week in the refrigerator. Leave refrigerated kaju katli on kitchen counter for 20 minutes before serving.

Homemade Kaju Katli (Soft, Milky & Melt-in-the-Mouth)
Save The Recipe!
Ingredients
- 200 g raw cashew powder
- 40 g milk powder I use Nido, don't use non fat
- 150 g granulated sugar
- ⅓ cup water
- 2 teaspoon ghee divided
- edible silver foil optional, purely for aesthetics
Instructions
Make Cashew Powder
- Start with cashews that are completely dry and at room temperature. This is especially important if you store your nuts in the refrigerator. Take them out the night before or for few hours and spread them on a clean kitchen towel so they can come to room temperature and air dry.
- Cashews are naturally high in fat, so any moisture or condensation can make them clump while grinding. And if you grind them for too long, they can quickly go from a fine powder to a greasy paste. For kaju katli, we want a dry, loose and finely ground cashew powder.
- Add the cashews to a completely dry blender jar. Work in short pulses of 15-20 seconds rather than running it continuously. We don't want the kaju powder to heat up. Stop and check the texture in between, and resist the temptation to keep blending just because you see a few slightly larger pieces.
- Sift the ground cashews through a fine sieve. This removes any larger pieces and gives the katli a smoother, finer texture. Do not keep regrinding the small amount of cashew pieces left in the sieve. Since the quantity is so small, they will take longer to grind and are more likely to release their oils and turn pasty.
Make The Cashew Dough
- Choose a wide, heavy-bottomed pan. A stainless steel pan(10 inch or larger) works perfectly fine, but I personally prefer nonstick for kaju katli. The mixture releases more easily from the pan, and I feel there is much less sticking and wastage.
- Combine the sugar and water in the pan and set it over low medium heat. Give it a gentle stir once with a rubber spatula, then let the sugar dissolve completely. The syrup may look quite thick at this point, but resist adding more water.
- Keep flame on low medium and let the sugar dissolve. Once the sugar has dissolved completely and is bubbling, you are ready for the next step. We are not looking for any string consistency.
- Lower the heat, if needed, and add the sifted cashew powder along with the milk powder. Mix immediately, pressing out any small lumps with the spatula as you go. At first, the mixture may look loose and slightly lumpy, but it will become smoother as it cooks.
- Set a timer for 10 minutes and brace yourself for some arm work now!From this point onward, keep the heat low and stir continuously. Keep stirring and scraping continuously so the mixture cooks evenly and doesn't catch at the bottom. It is the natural tendency of cashews to stick.Keep scraping and mixing back the sides
- At about 5 minute mark, you will see that the mixture is beginning to thicken and few bubbles start appearring. At this stage, the mixture has fully warmed up and raw cashews are beginning to cook. It also higher tendency to stick so continously mix.
- After 6 minutes, add 1 teaspoon of ghee along with 2-3 drops of rose essence if using. The kaju katli mixture will continue to thicken for next 3-4 minutes. At this stage, the cashews sticking to the sides of the pan gets super dry so don't mix them back.
- At 9 minute mark, the mixture will leave the sides of pan and start resembling a soft, sticky dough.It will begin to clump up around the spatula. If you try to bring the mixture together in one place, it will slowly spread out. It took me exactly 10 minutes to reach that stage. Be careful not to overcook it. A mixture that becomes too dry in the pan can give you crumbly katli and may crack when you try to roll it.
- You can add few drops of ghee if dough is not coming together. Remove from heat. One way to check the texture of the dough is by dipping your rolling a tiny amount of dough with wet fingers. It should be soft and supple, not sticky.
Knead, Roll And Cut the Katli
- As soon as the mixture is ready, transfer it to a lightly greased work surface or a sheet of greased parchment paper. Let it cool just until it is comfortable enough to handle. You don't want it completely cold because the dough is much easier to smooth and roll while still warm.As soon as it is okay to touch while warm, start kneading it. Kneading the dough bring out the real texture. Don't skip this step else the katli won't form or they will be crumbly.
- At first use spatula to knead the kaju mixture.Then, knead by folding sides of parchment paper. Knead and press the mixture to smoothen out. Knead for about 4-5 minutes to completely smoothen it. Do not press very hard while kneading else the cashews will start oozing their oil.
- Once kneaded, flatten the kaju katli mixture slightly and place a parchment paper on top. Using a rolling-pin, roll it out to a ¼ inch thickness. Place silver foil over the rolled dough. Let cool and then using a sharp knife, cut into diamonds or square shape.
- Since these have milk powder, store kaju katli in an air tight container for a week in the refrigerator. Leave refrigerated kaju katli on kitchen counter for 20 minutes before serving.

surabhi says
very few ingredients and awesome result
Nishu says
Hi Tanvi! Wishing you and your family a very Happy Diwali and a Prosperous new year! Discovered your blog couple of weeks back and I must say that photography is stunning. I am a food blogger and aspiring food photographer too. It makes me very proud as an Indian to come across blogs like Playful cooking, Cook republic, A brown table, Indian simmer and yours. You all are very talented and doing an excellent job 🙂