
Welcome to Sinfully Spicy. On this blog, you will find Indian food recipes showcased through my lens. From traditional Indian food to family favorites to fusion food ideas, my recipes are easy to approach and add a perfect sprinkle of spice to your table.
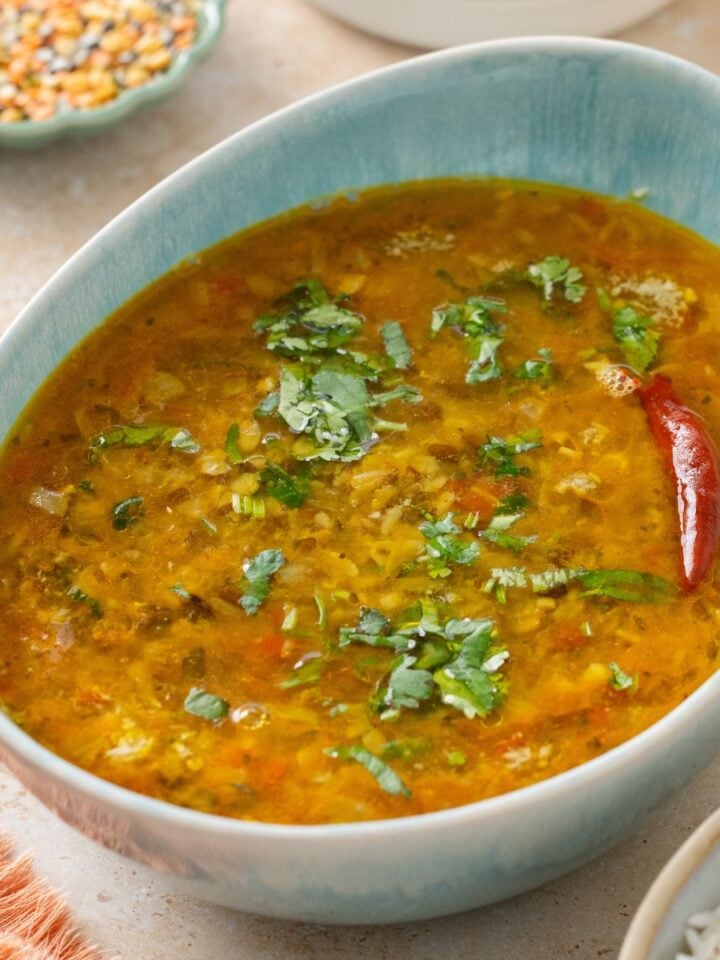
Dal Recipes


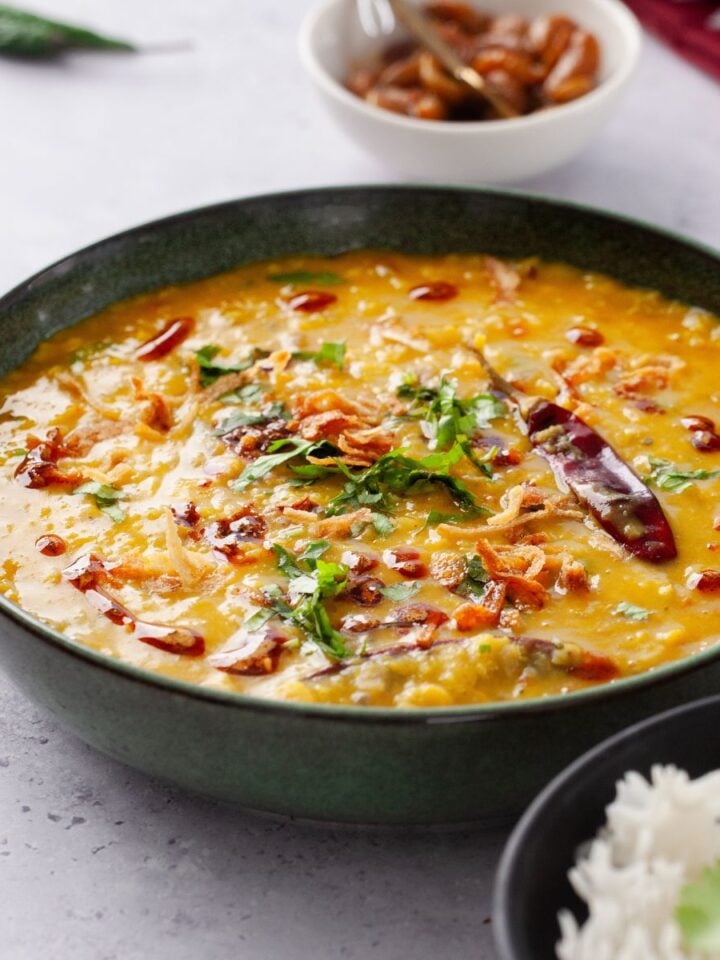

See more dal recipes
Latest Recipes


Recently Updated

Mouthwatering Desserts
Browse mouth-watering classic and fusion desserts


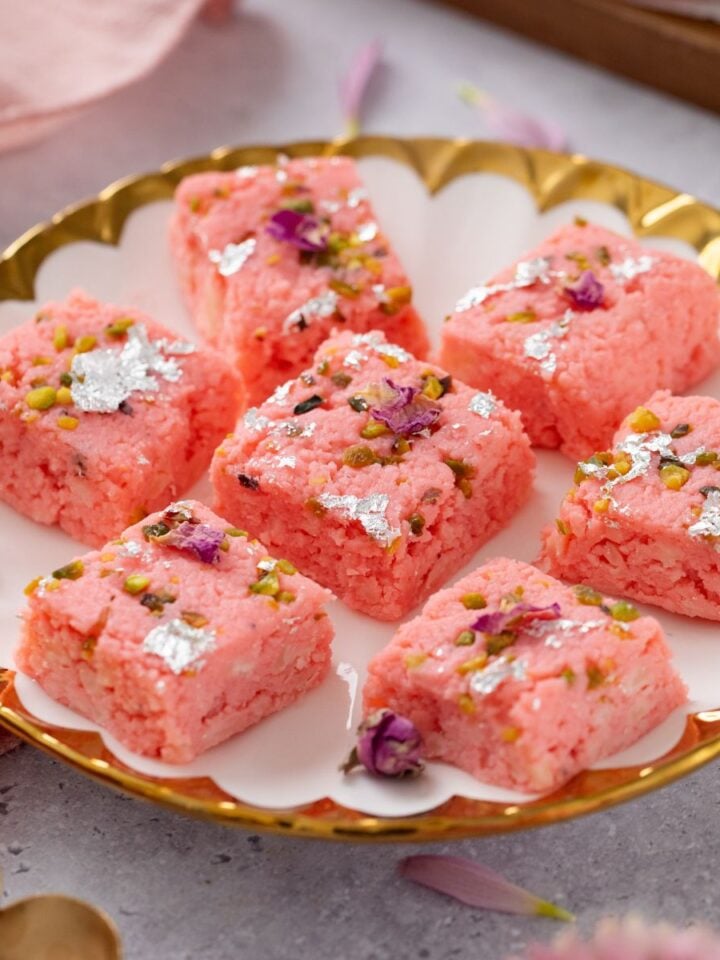
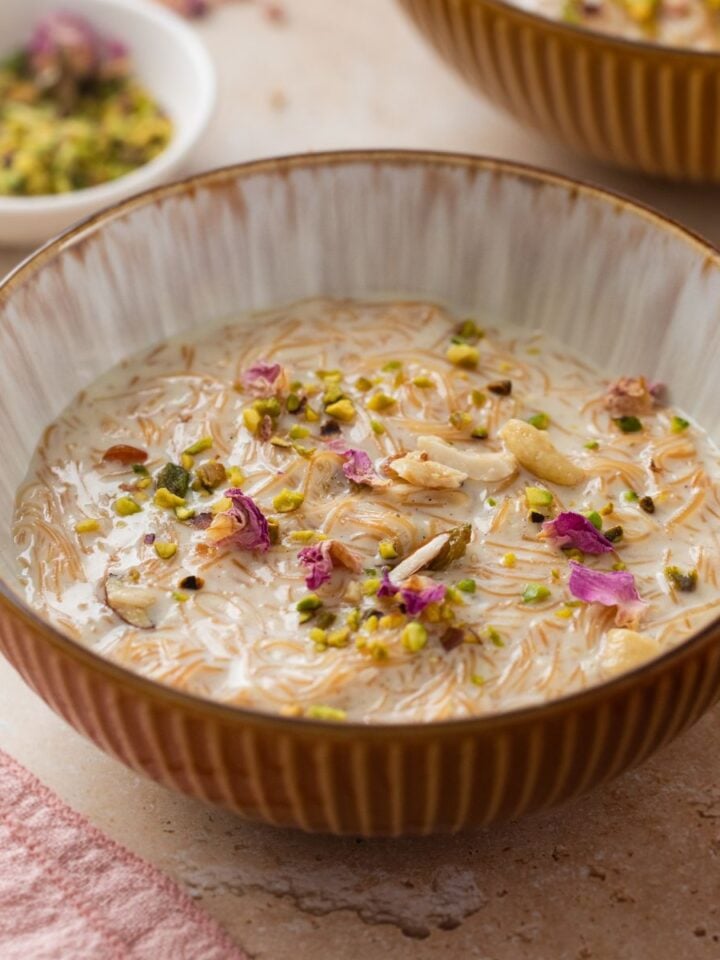
See more dessert recipes
Learn by watching!
Here is a collection of Indian cooking videos to guide you step by step through my recipes.
Must Try Indian Flatbreads
Indian flat breads are unique and hand made freshly unlike the store bought ones.
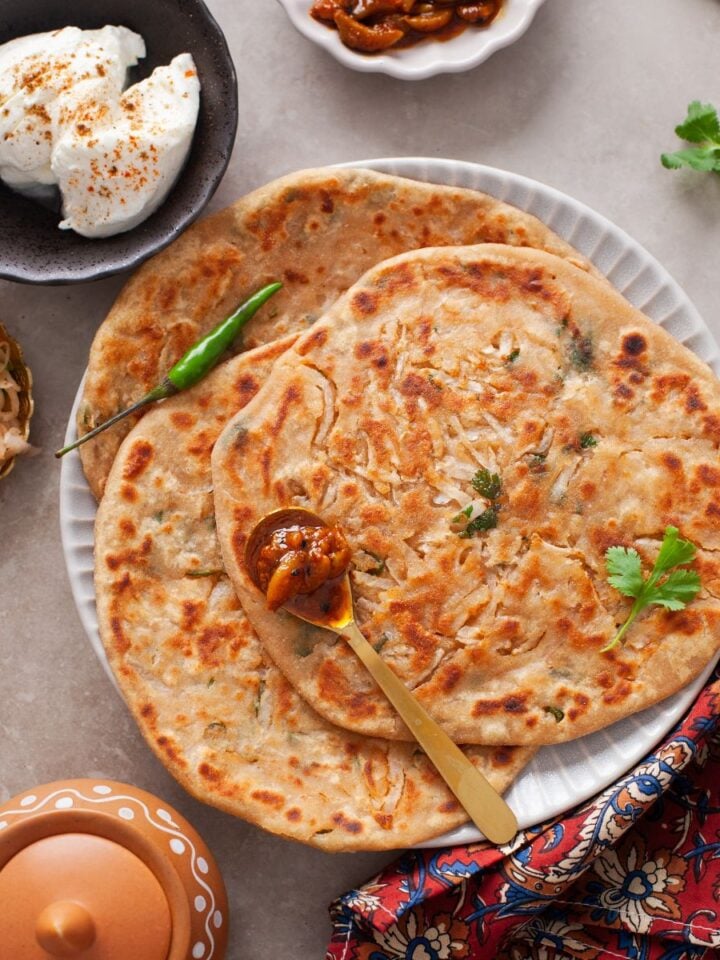


See more flatbread recipes

About Tanvi
Hi! I am Tanvi, welcome to Sinfully Spicy. Here, everything is better with a dash of spice! You will find traditional Indian recipes, fun fusion recipes, desserts and my family recipes. Whether you are a beginner cook or an expert home chef, I hope to inspire you to create something delicious in your kitchen.
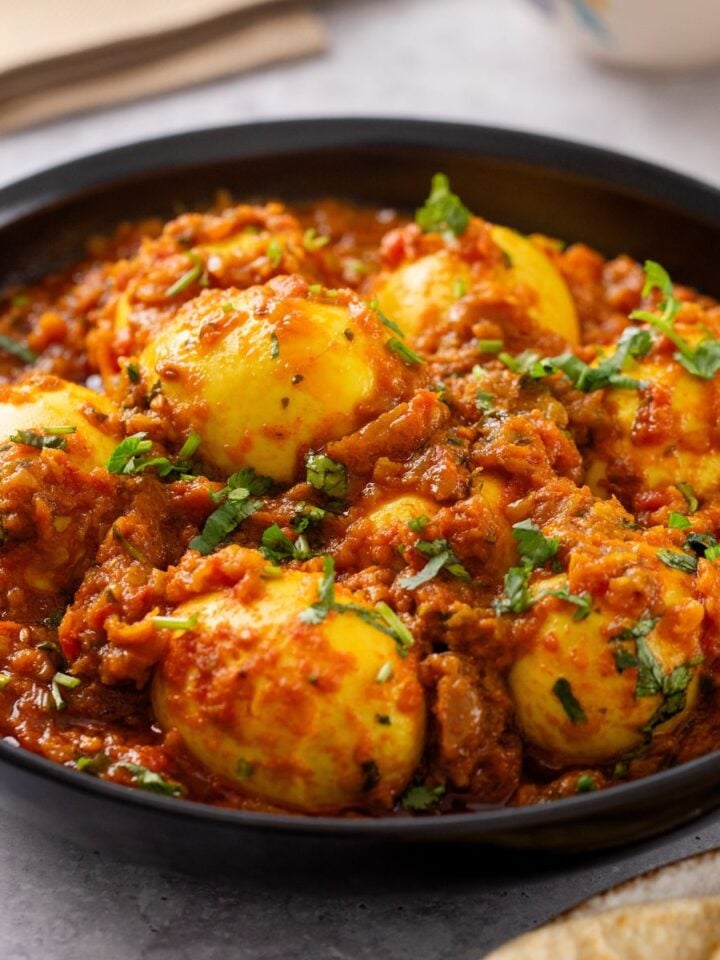
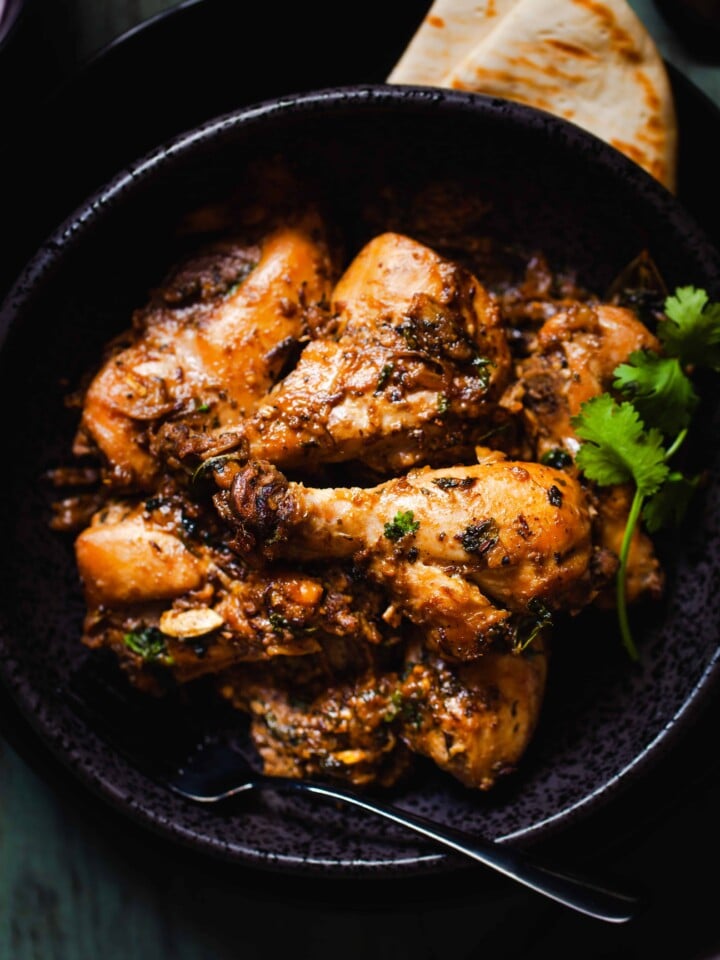
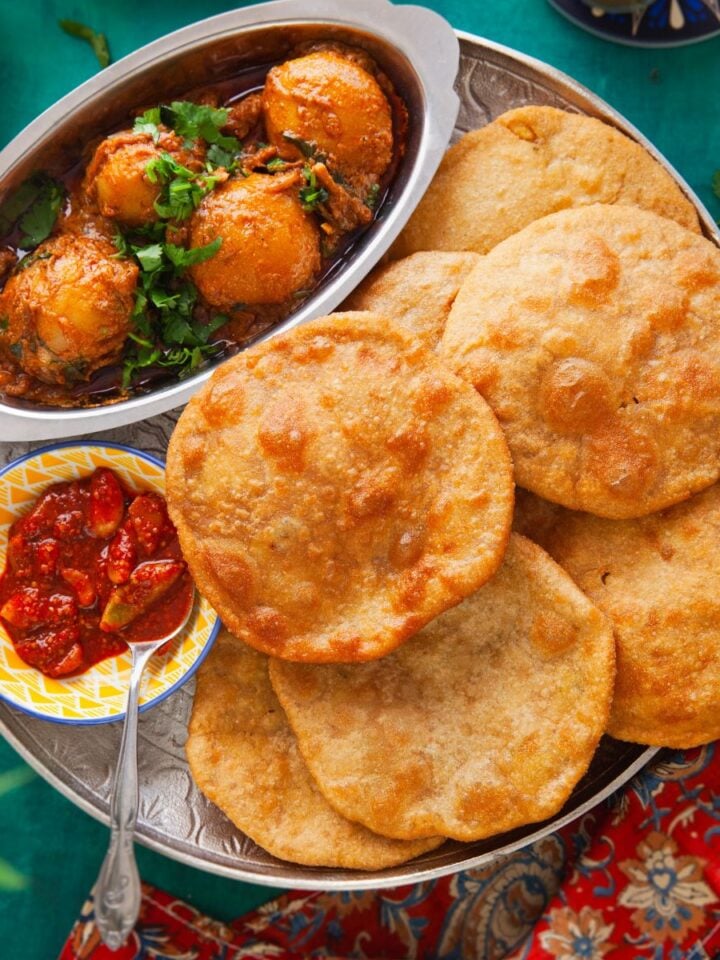
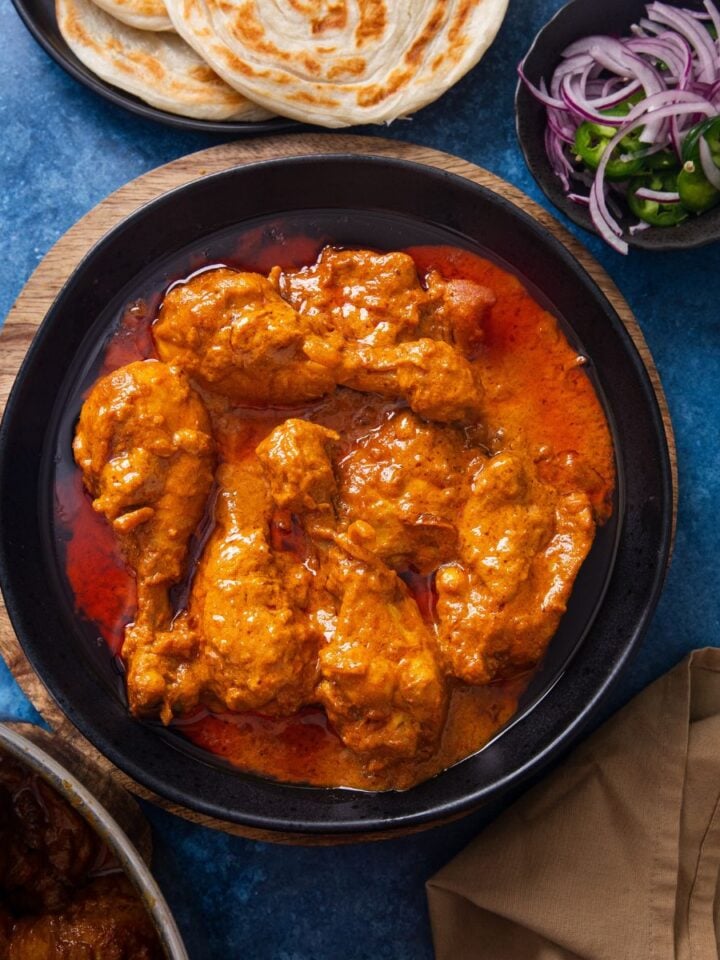
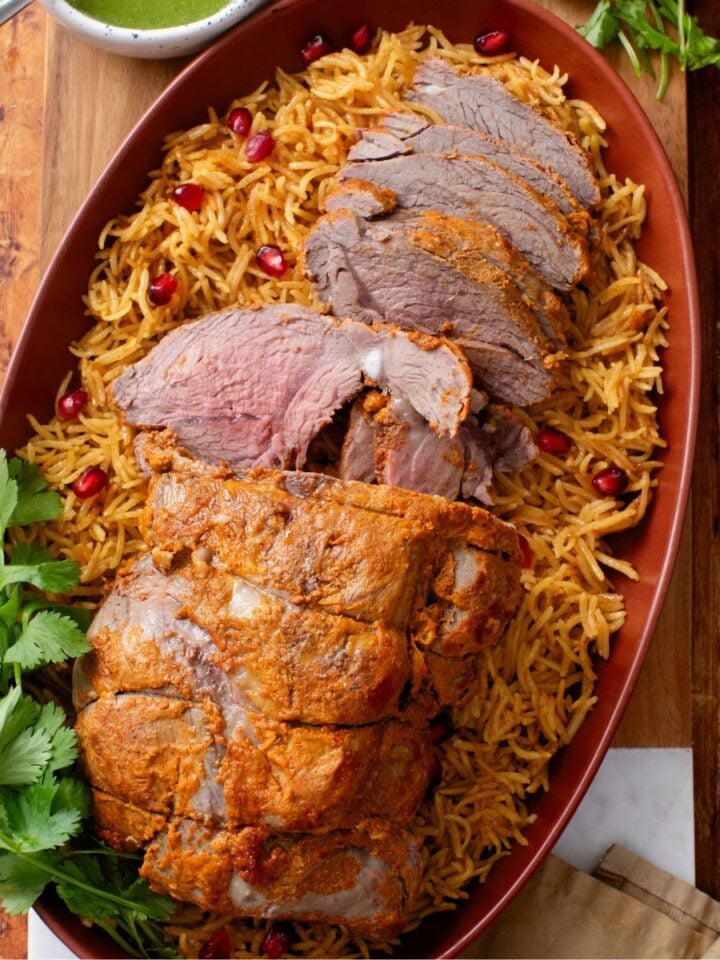
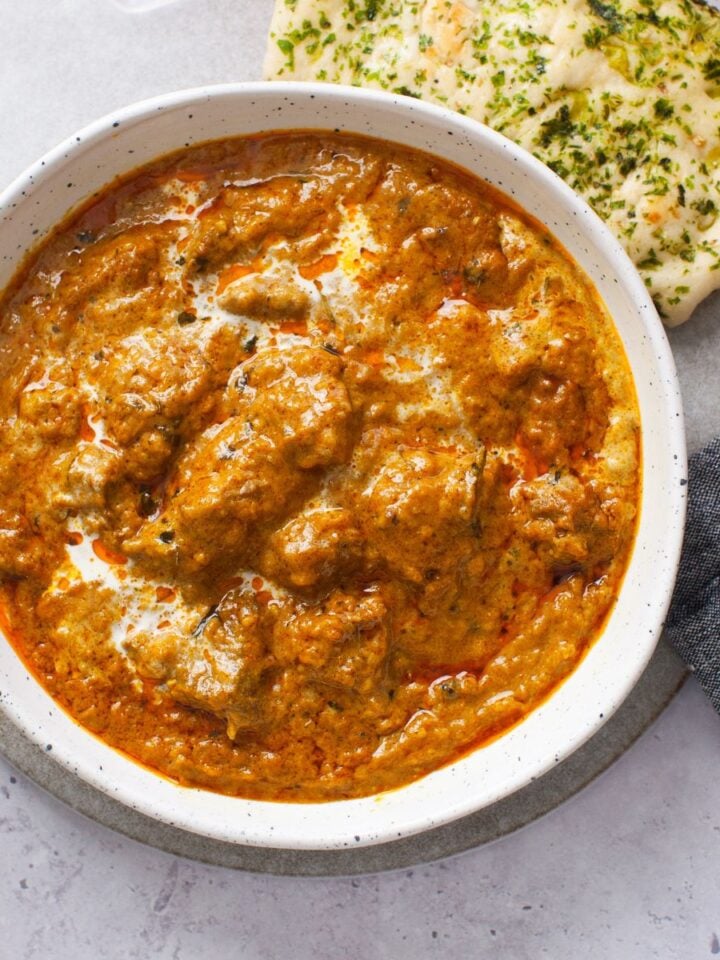
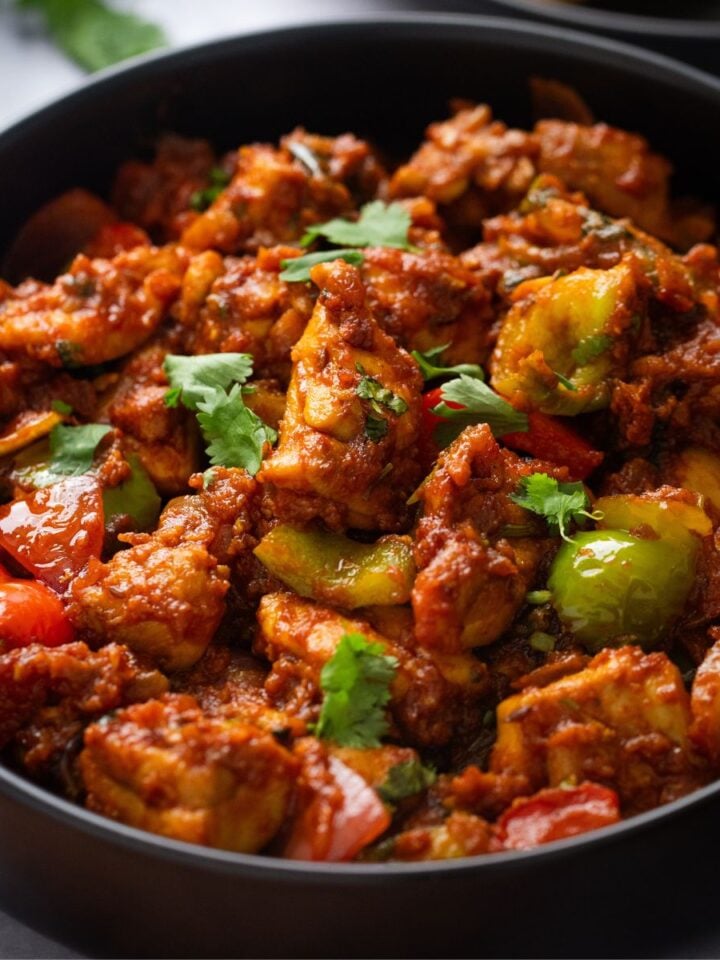
Indian Non-Vegetarian Dinner Dishes
Explore delicious Indian non vegetarian dishes! From chicken tandoori to lamb rogan josh,we have it all.
See more non-veg recipes
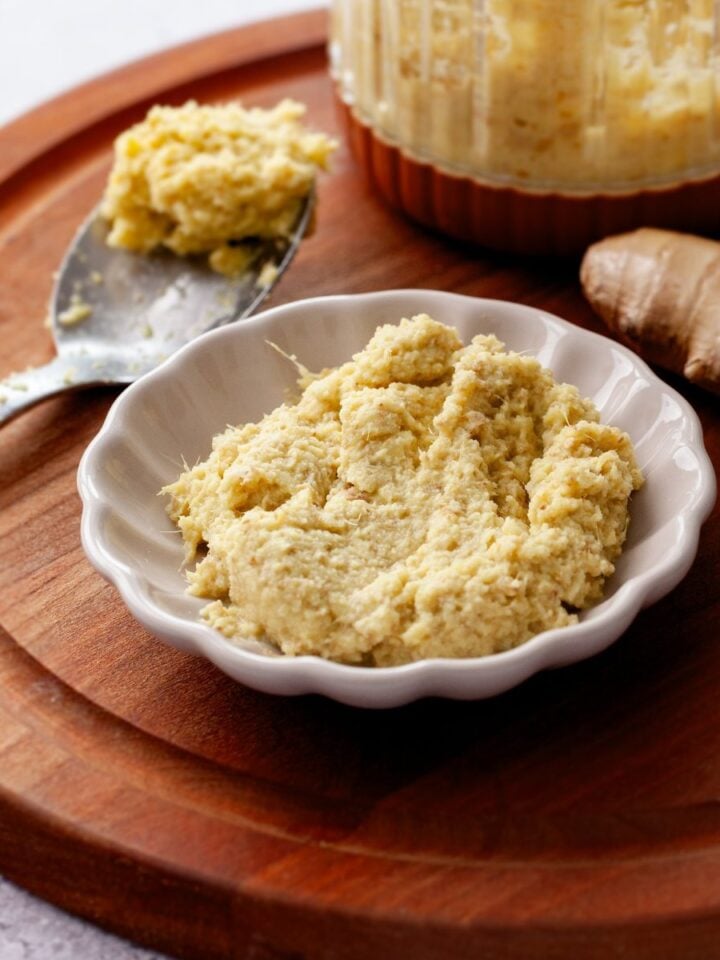
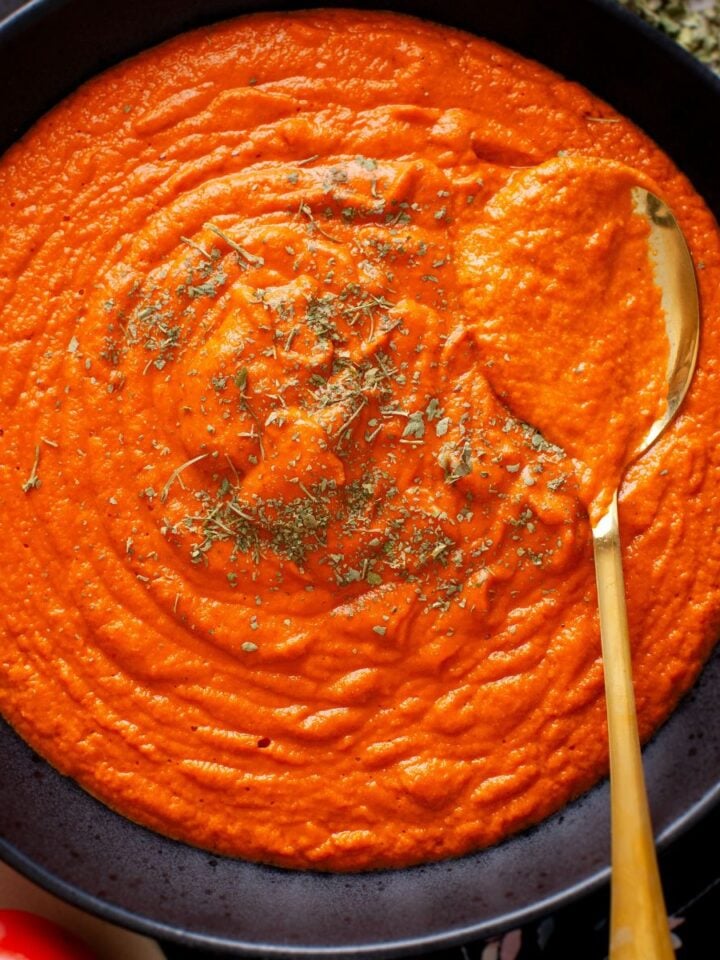
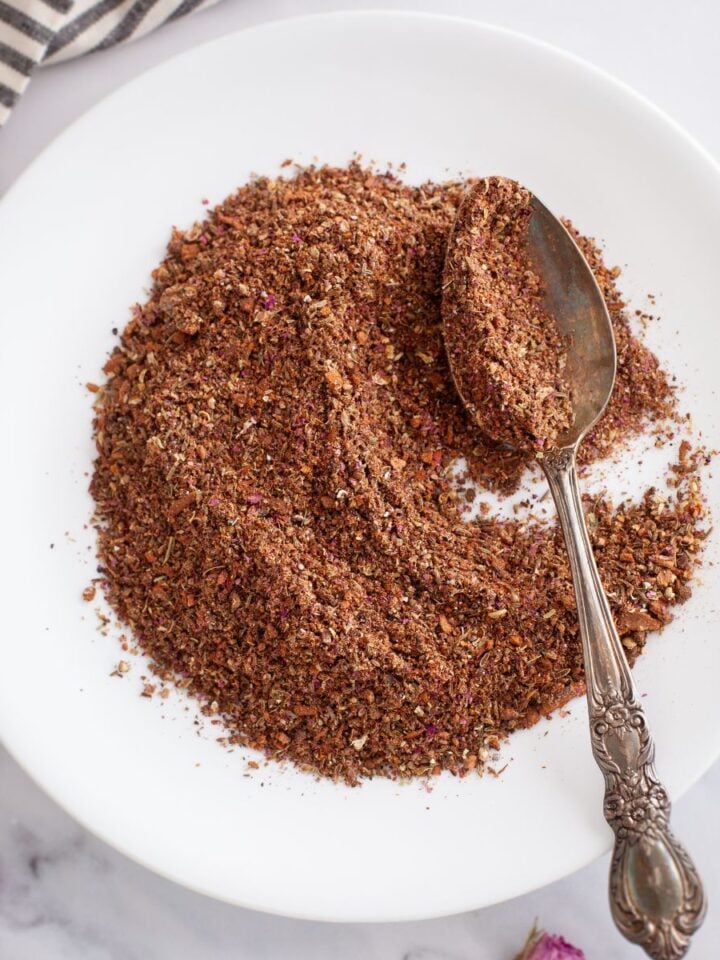
Indian Basics
Indian cooking becomes less complex when you excel the basics.Easy tutorials and kitchen tips and hacks.

See more DIY
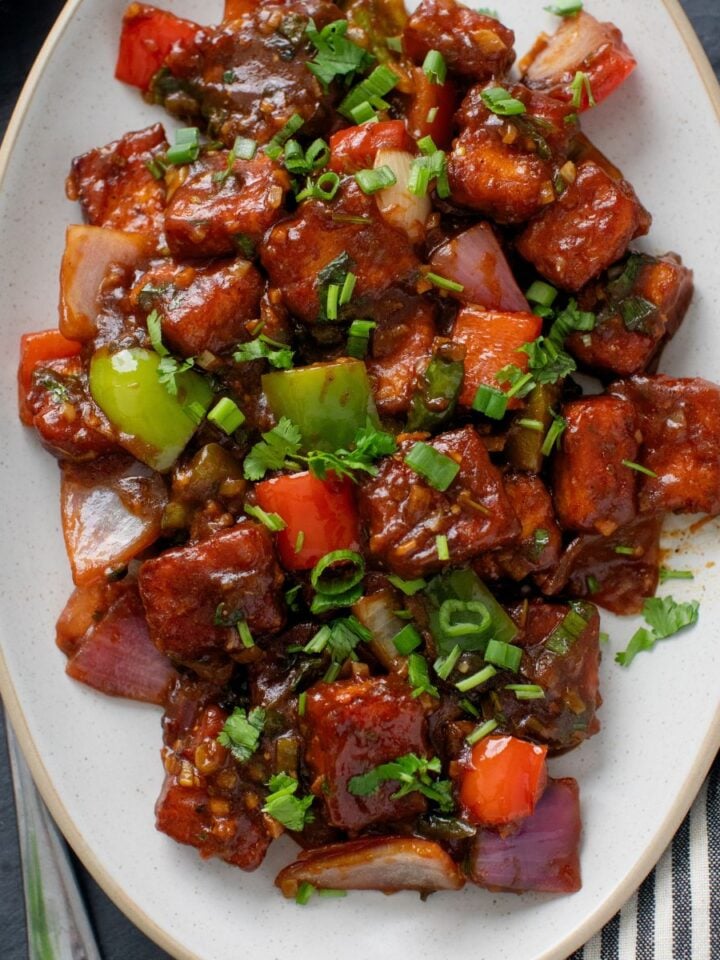
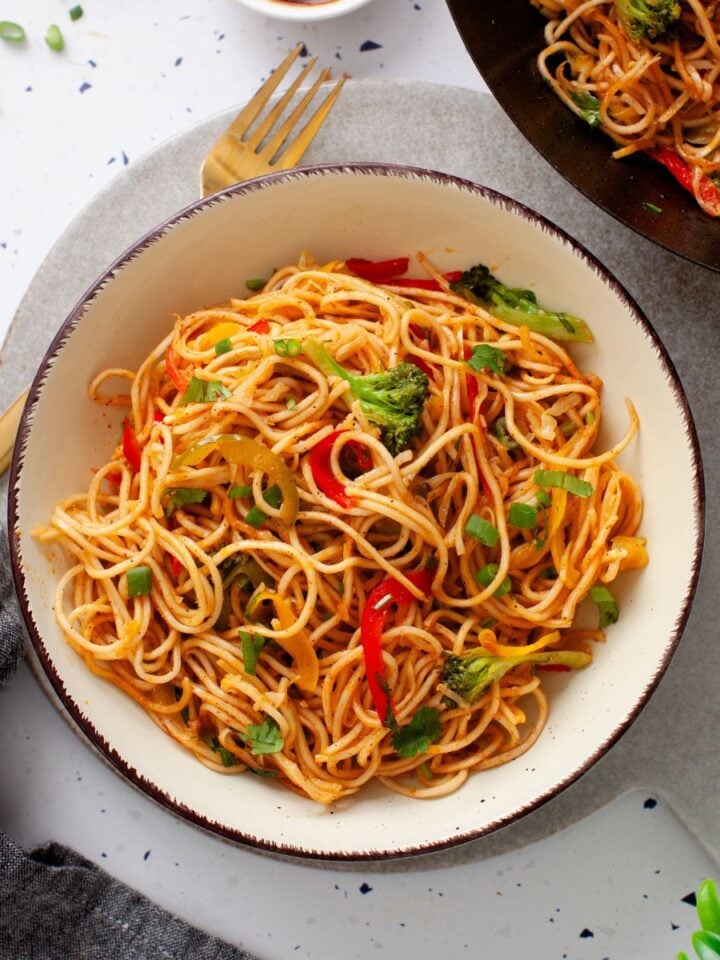
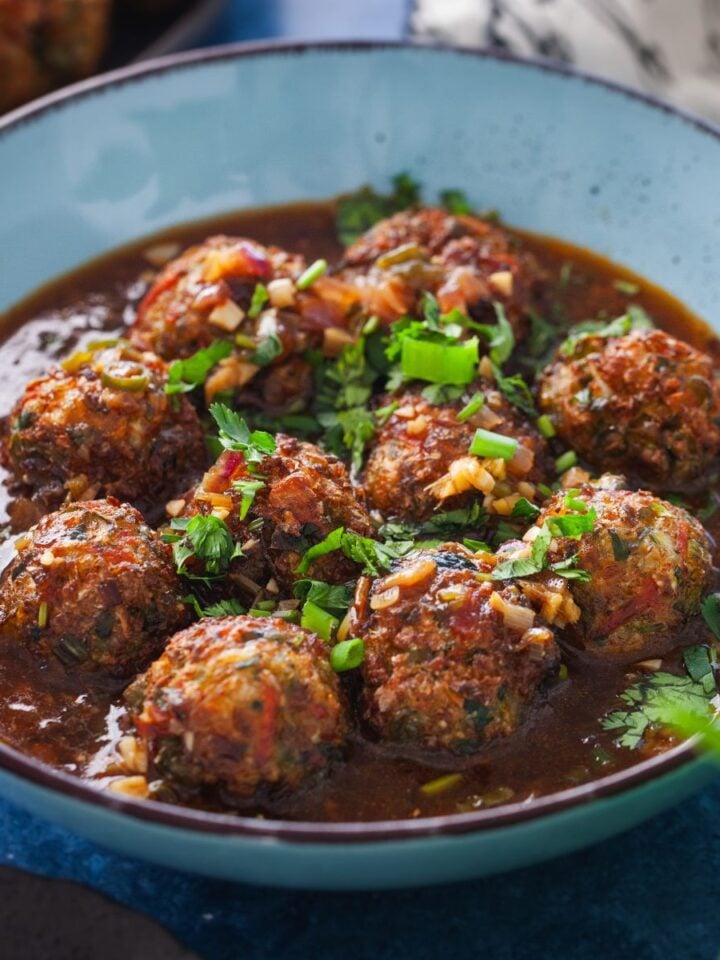
Indo-Chinese Street Food Recipes
Browse hundreds of Indian street food recipes from chicken tikka to manchurian, all in one place

See more street food recipes